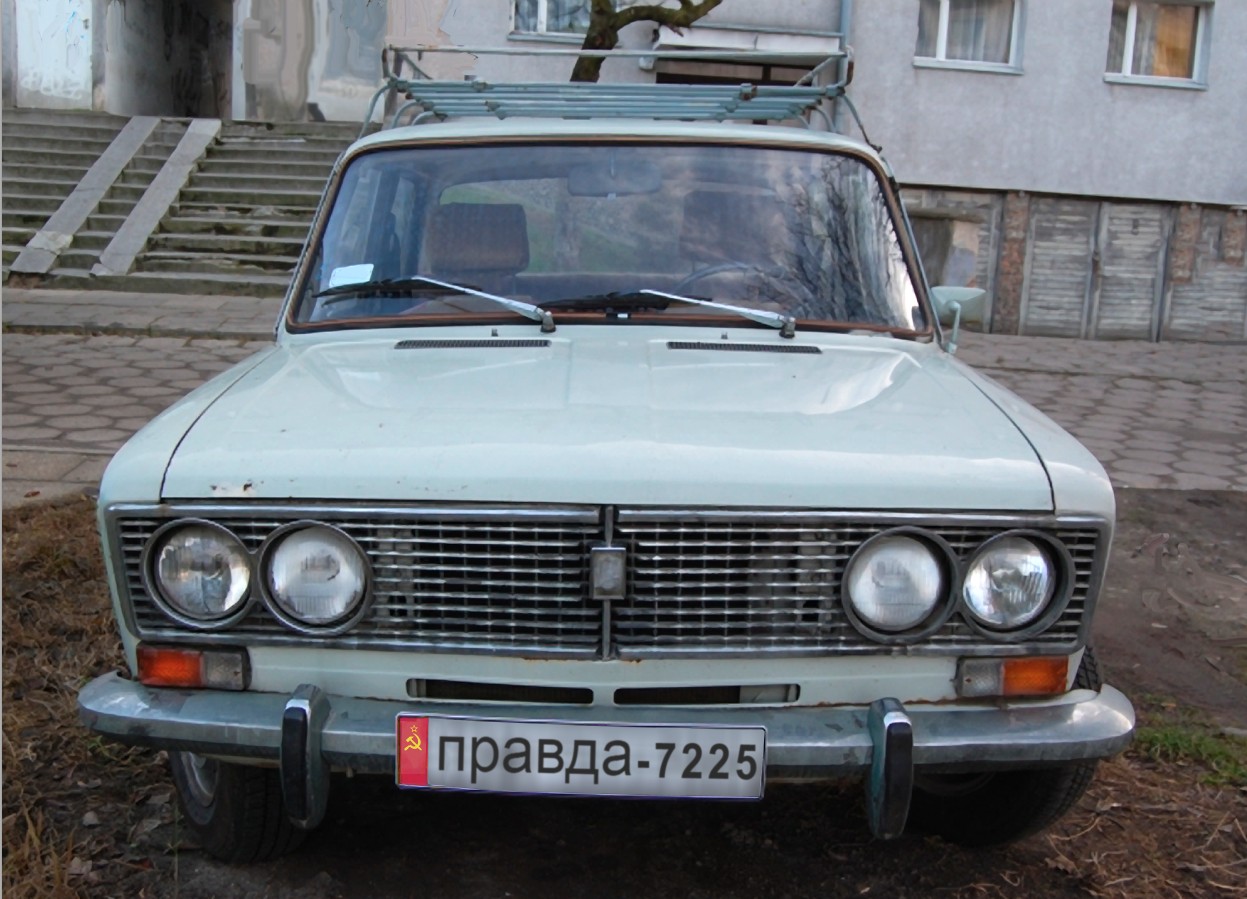
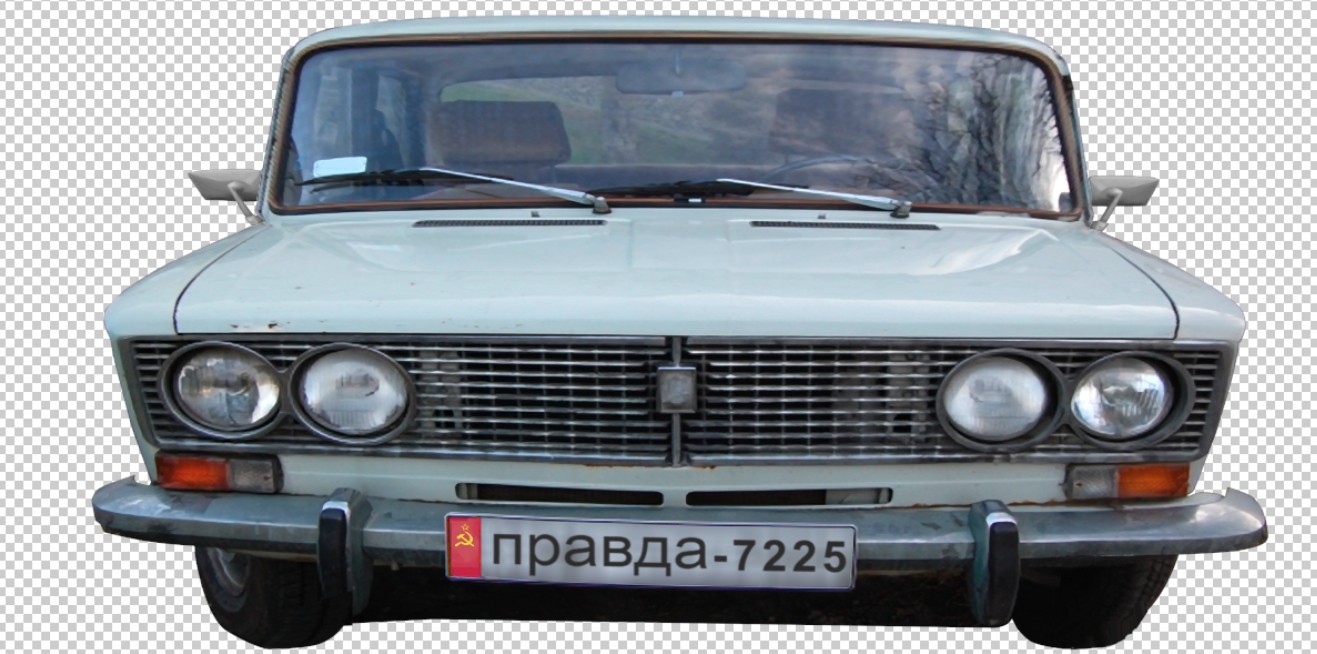
At first you need a car and a wall. Everything can be drawn, but that route is already well presented, so I start from a car photo.

The car has unnecessary background and roof rack. They must be removed. It's a normal photo background removal job which belongs to photo processing elementaries and it's skipped here.
The car in your image is obviously a slightly more premium model than my. To get some extra width and luxury we add another side mirror and distort the image a little.

The top half of the car got perspective distortion which made the top edge wider. The bottom part (just below the hood) is squeezed vertically. The selections were made with polygonal lasso tool.
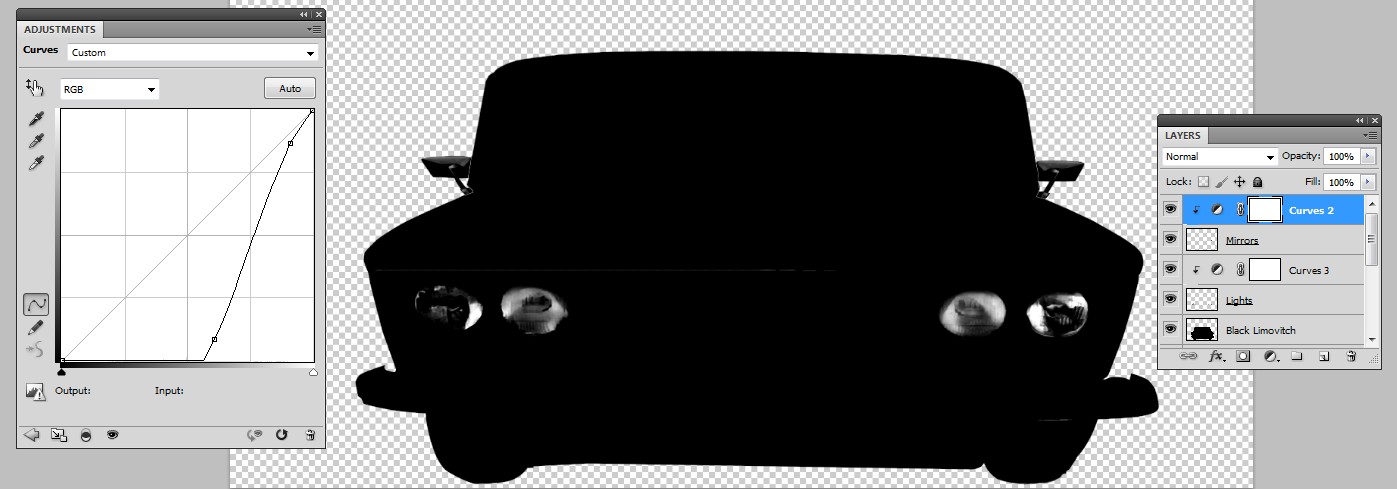
The extra back mirror is a flipped copy of the other mirror. Both mirrors and also the front lamps were cut off and pasted to new layers "mirrors" and "lamps" because they must have different color treatment than the car body.
The car body is blackened with the curves tool. Separated mirrors and lamps were desaturated and they got Curves adjustment layers which have "only the next layer" switch ON

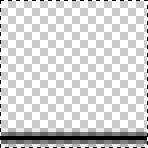
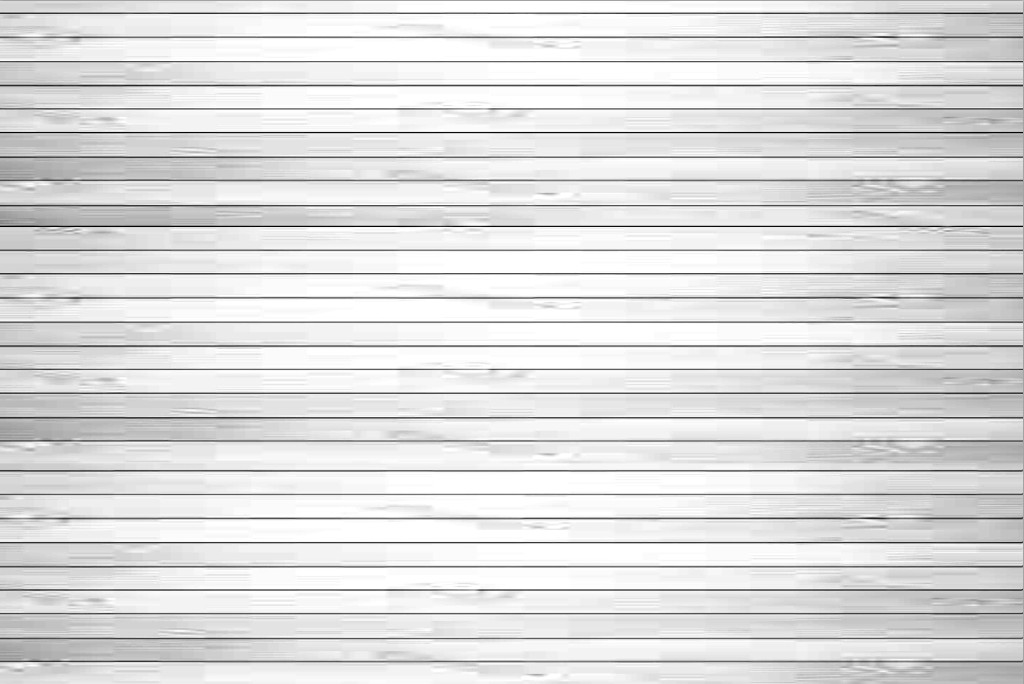
Next we need the background. I took a photo of vertical wooden panel. It is rotated to horizontal, stretched to wanted width, duplicated vertically to get high enough number of bars and finally squeezed to wanted height:

The background need some darkening, it is too white to be colored. A curves adjustment layer is inserted for it. Also two additional color layers are inserted:
- a red coloring layer, blending mode = Color.
- a black cover which hides the background outside the backlights.
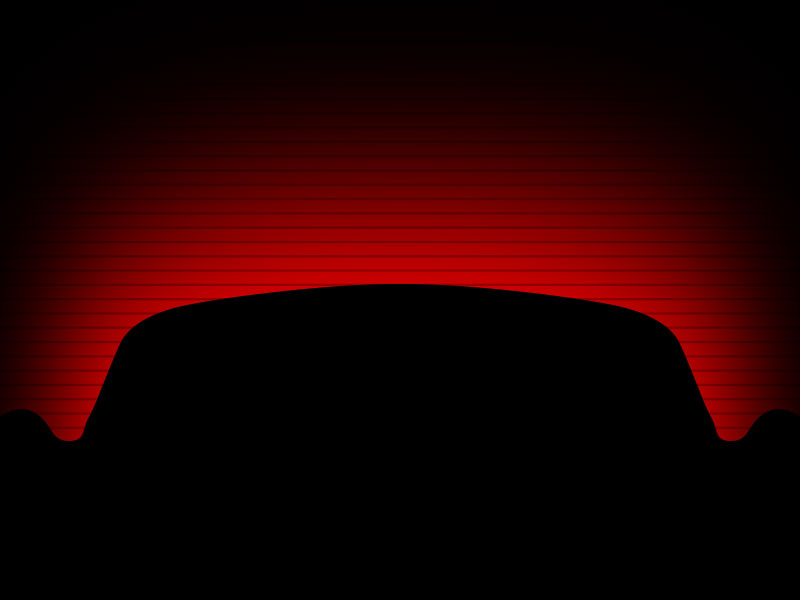
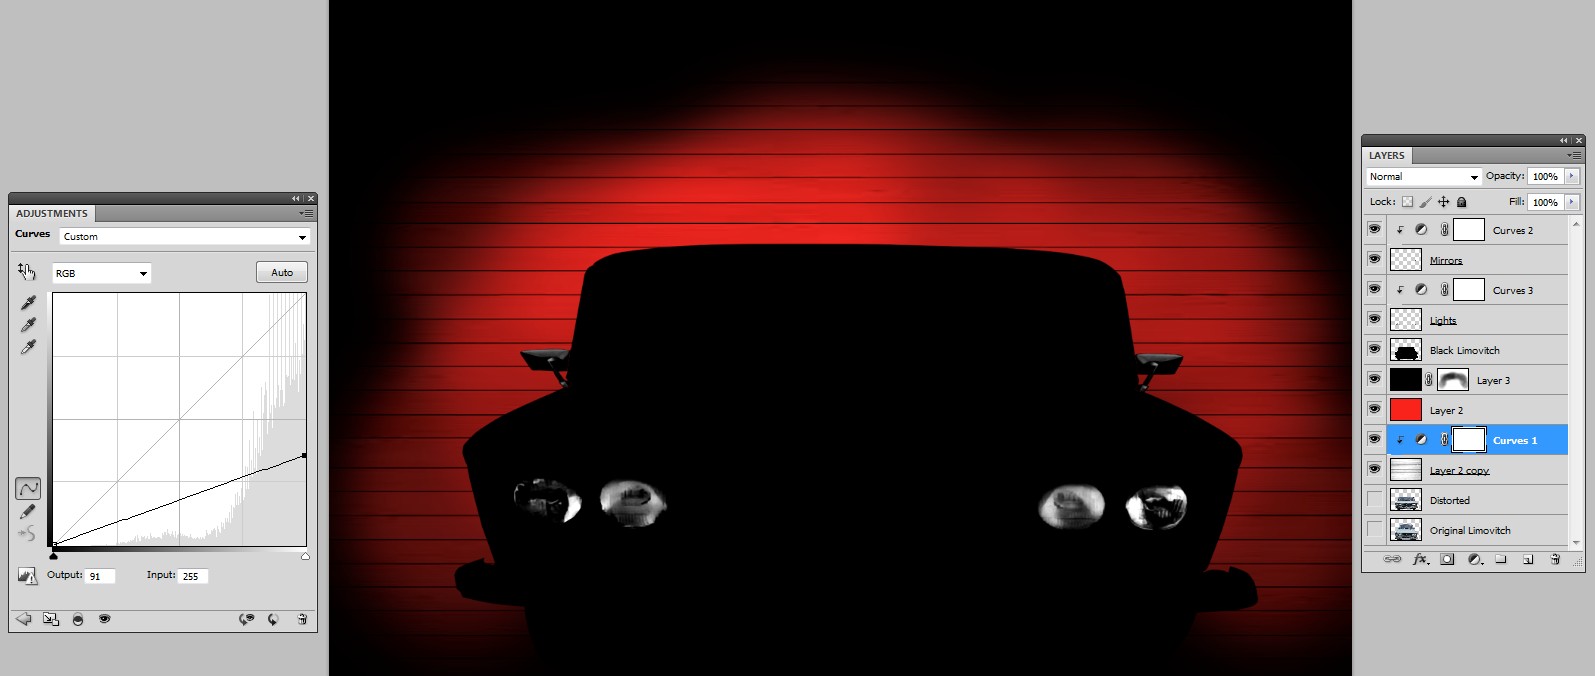
Now we can pile everything:

Layers from the bottom:
- two unnecessary car layers - original without the background and the distorted version
- the background
- curves layer which makes the background dark enough
- solid red layer, blending mode=color
- the black mask which hides the red at the edges. It's solid black color with nomal blending mode and the layer mask has manually painted + blurred black
- a copy of the car body, turned to full black with Image > Adjustments > Curves
- separated front lights (desaturated) and a curves layer to adjust their brightness and contrast.
- mirrors (desaturated) and a curves layer to adjust their brightness and contrast.
About T-shirt printing:
Most printers seem to want a single PNG image with some predefined pixel dimensions. That's simple image size and save as png job.
Things start to be complex if the printer needs color separations for spot color printing. In this case consult the printer.


