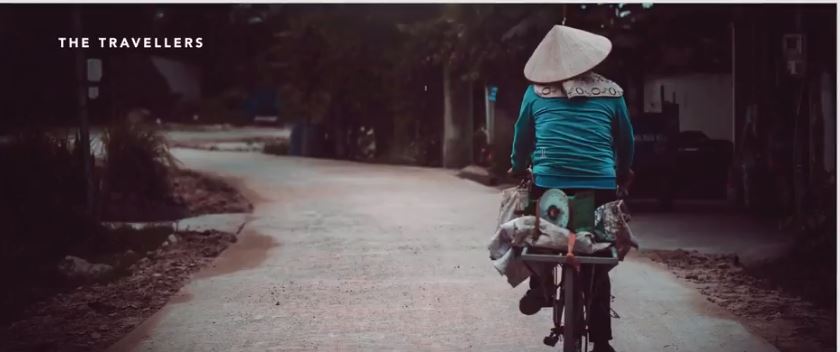
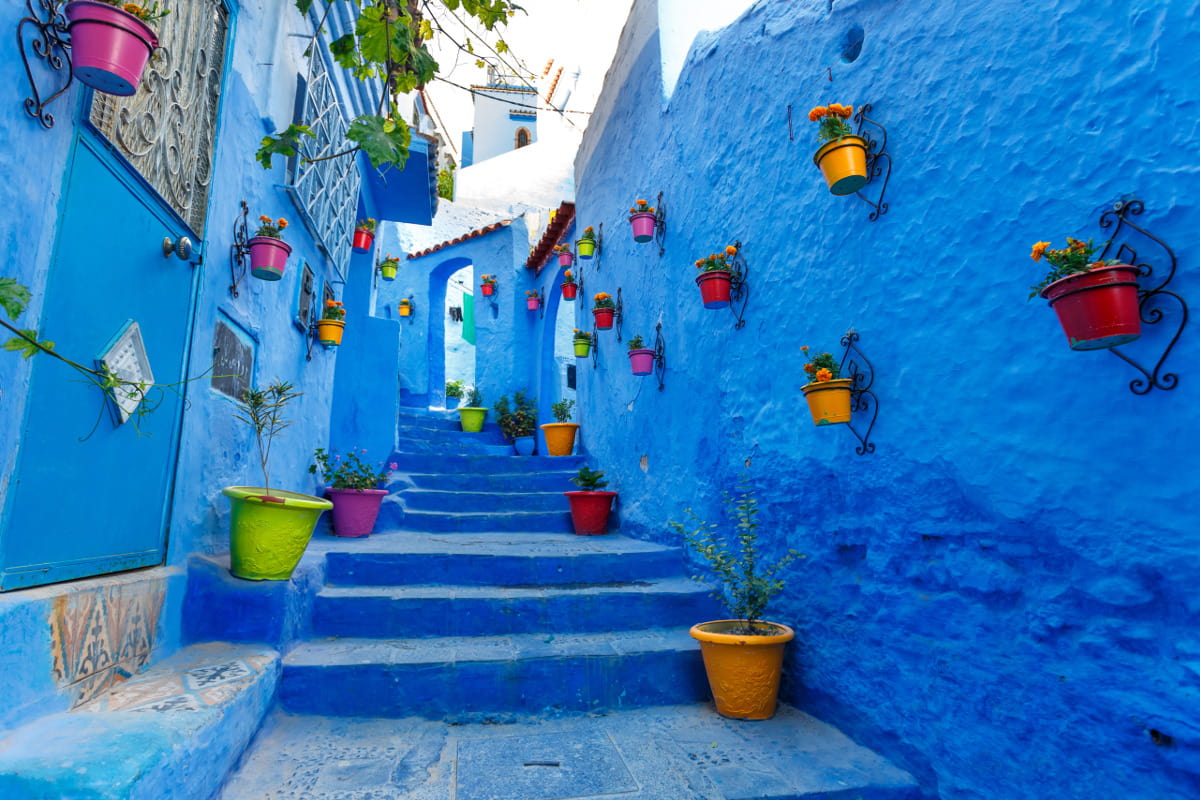
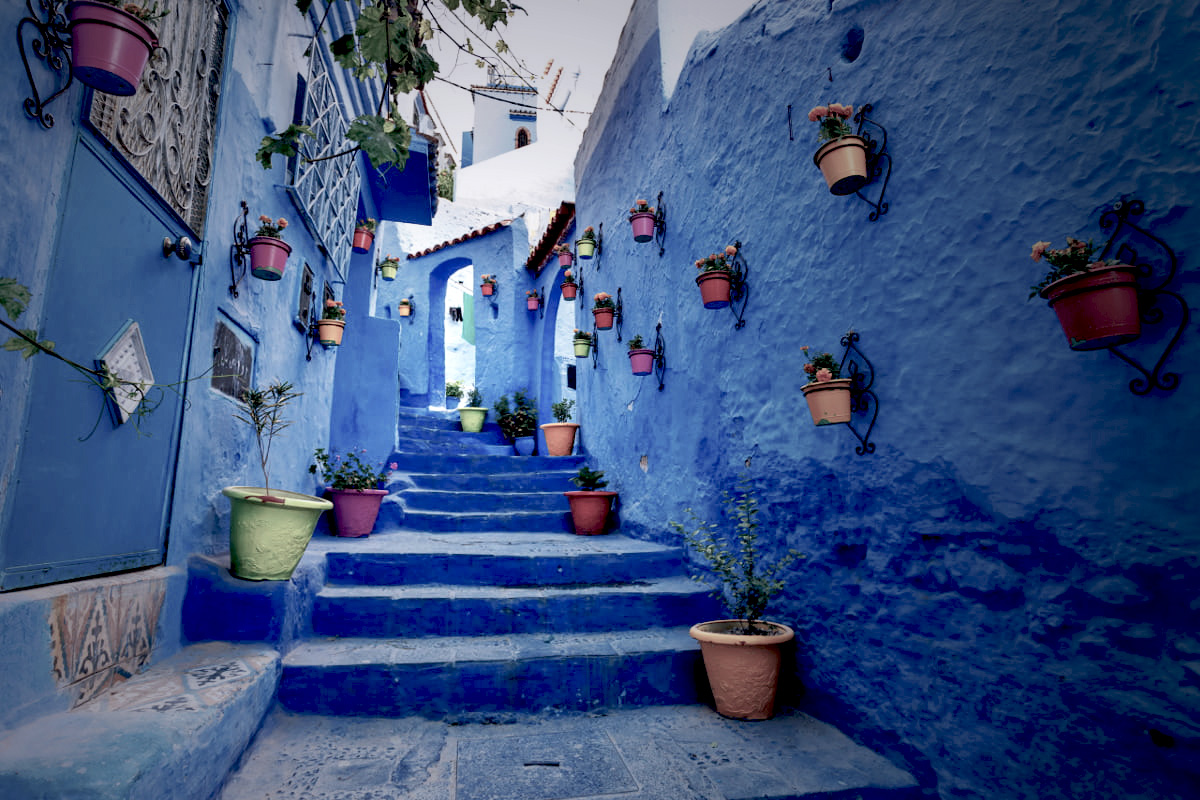
on This picture
3 Answers
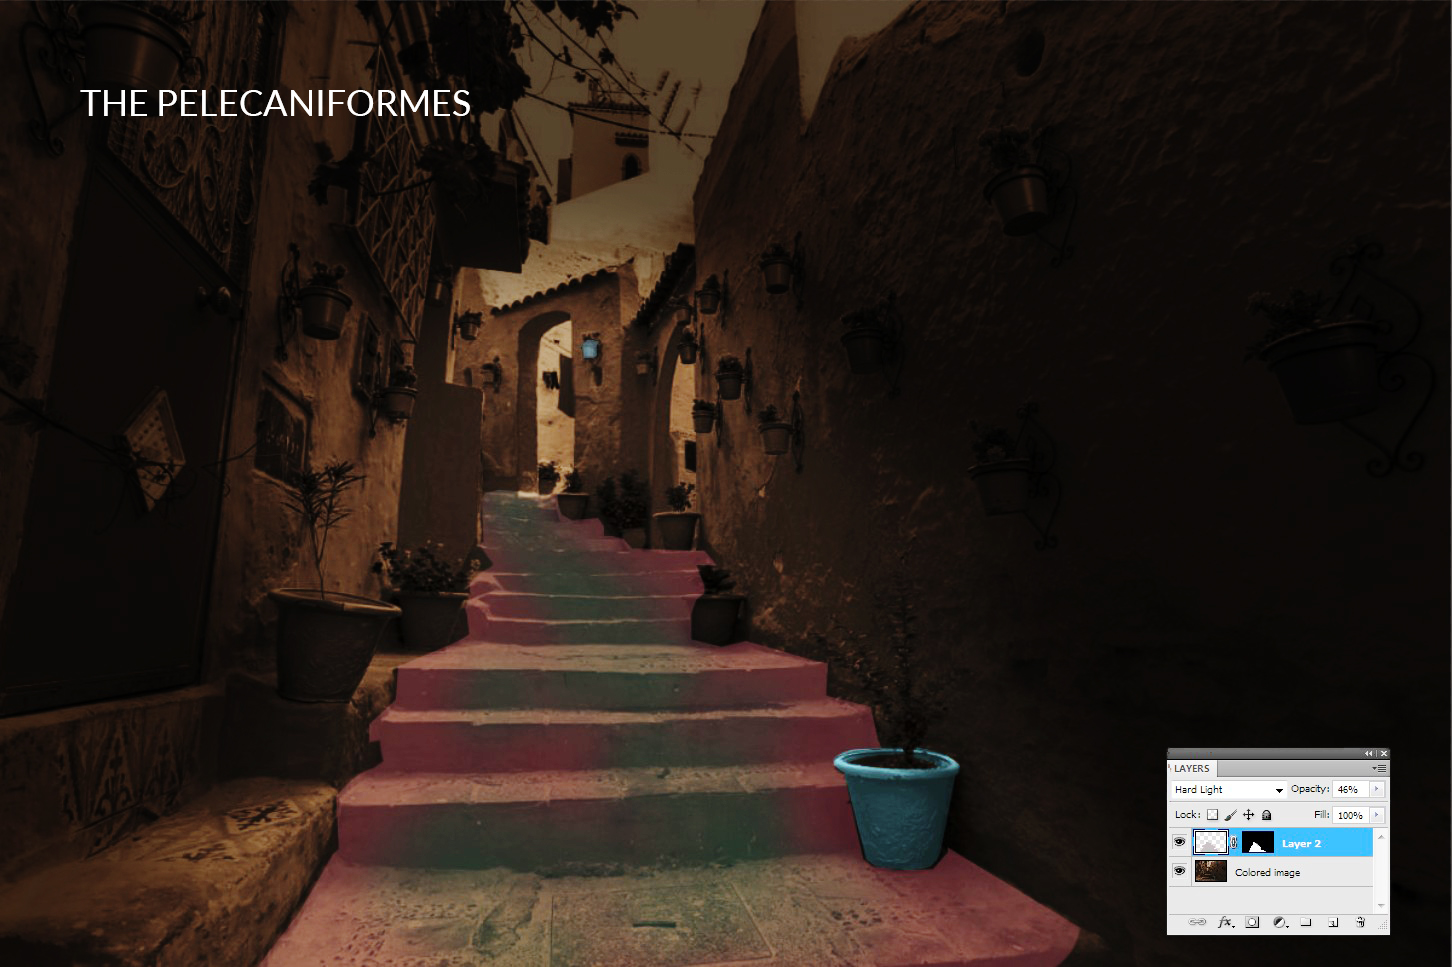
The problem is that there's many clearly artificial (=edited) tricks in your image. I try to add a few:
- colored to brown, can be made with Image > Adjustments > Hue&Saturation > Colorize
- painted the road with green and pink, can be done with a layer which has got the road area as mask, random spraying of color and blending mode hard light to keep the original shading
- heavy vinjetting, can be made with levels adjustment layer and sprayed layer mask or simply spraying black with reduced opacity and brush blending mode =hard light
- a couple of blueish objects left well visible (here colored ones)
- some text which can be a name of a pop group in year 1960.
Here's one method.
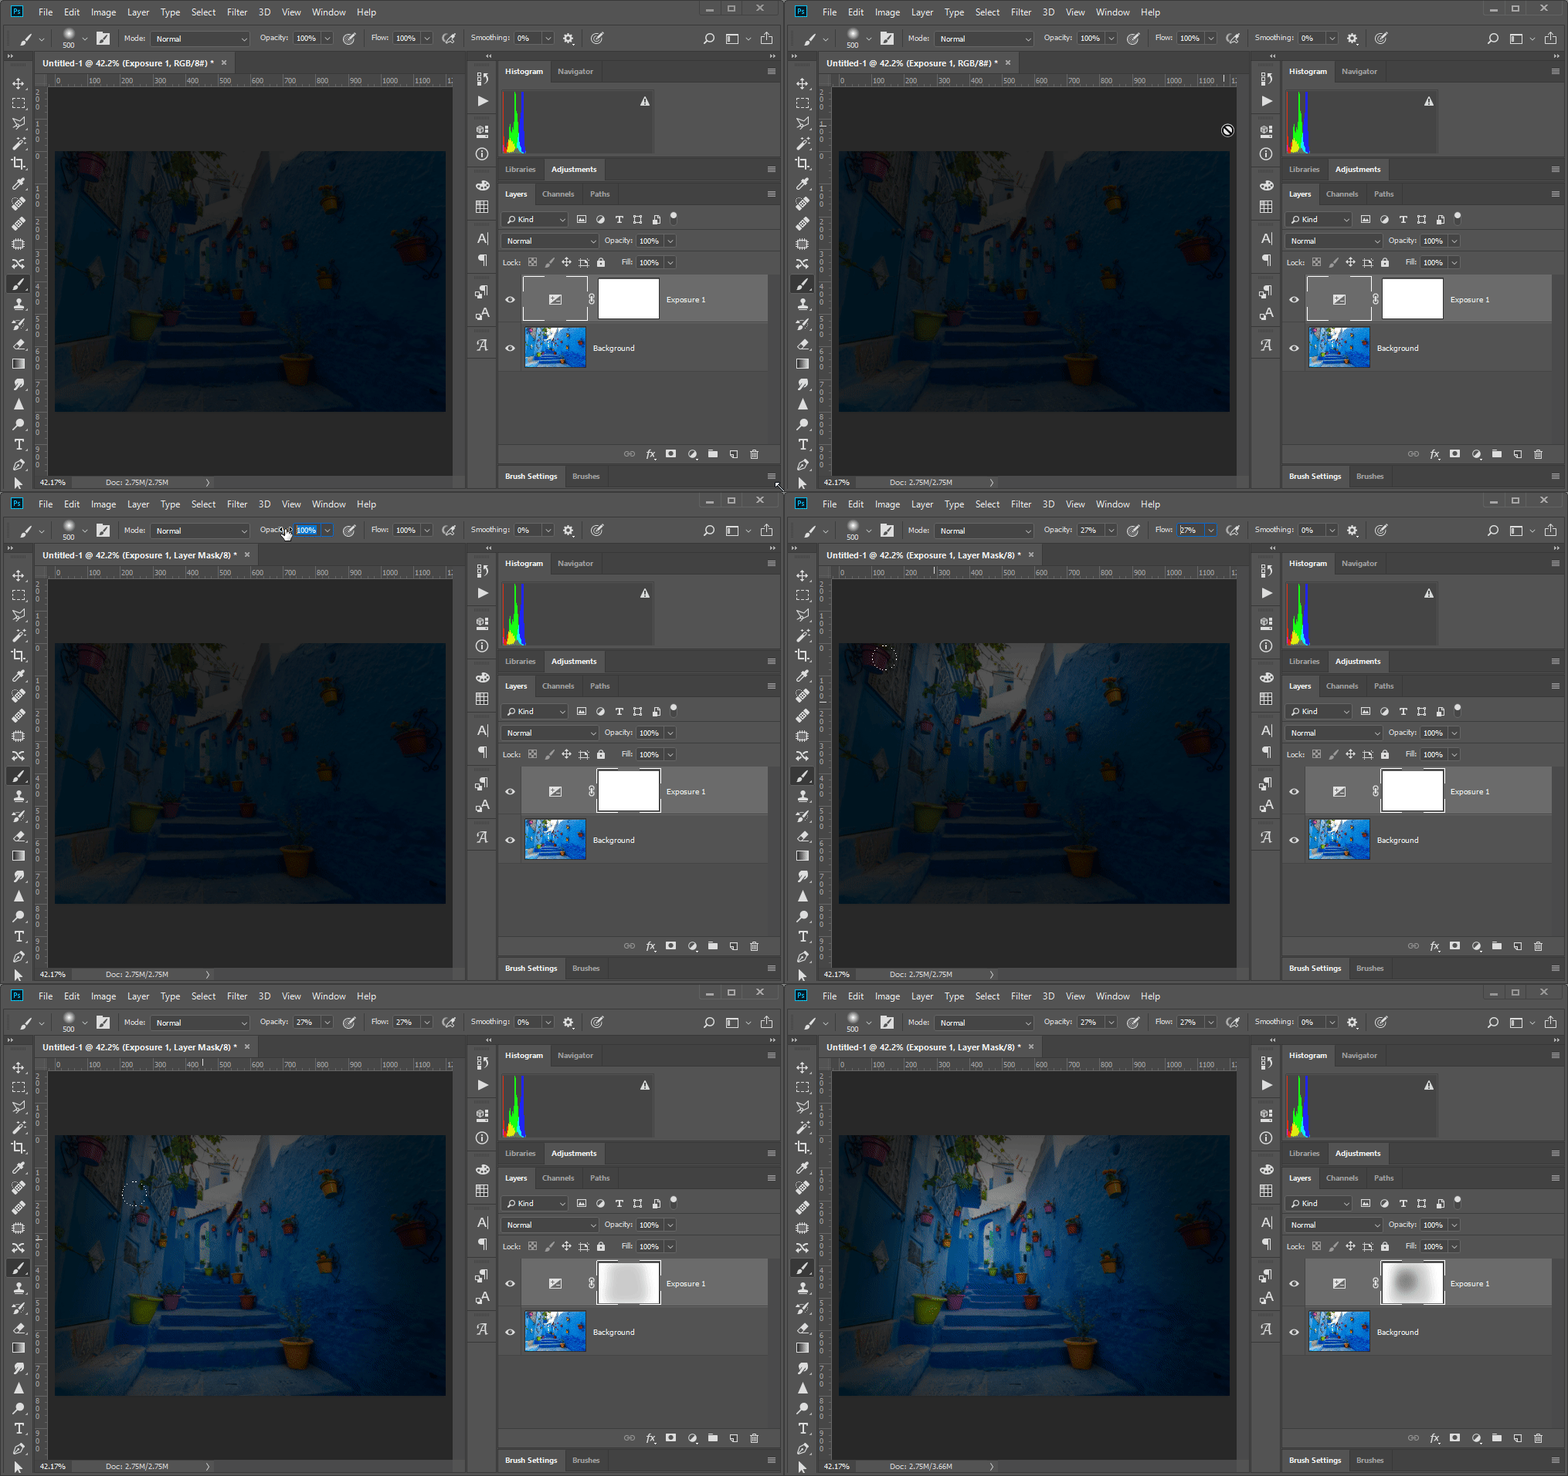
Apply an Exposure adjustment layer, reduce the exposure slider to around -6.3, and adjust the Gamma slider to around 1.07, or to the point at which the photo becomes very dark, but the detail is still visible.
In the layers panel, select the layer mask thumbnail for the Adjustment layer.
Choose a large soft edged brush, foreground colour black, set the opacity and flow settings to about 27%.
Paint on the image to reveal the areas you wish to lighten. Paint more around the subject or part of the photo you want to focus on.
This method is non-destructive, so you can repaint the mask, or change the exposure adjustment settings.
Note: my screen recorder didn't capture the proper size or position of the brush tool, in reality it was much larger, around 500px.
Desaturate Color Range
Looks like the image had a colour range selected then inverted. This would select all areas of the image other than the colour range so that the colour could be toned down/desaturate and leave the colour you selected untouched.
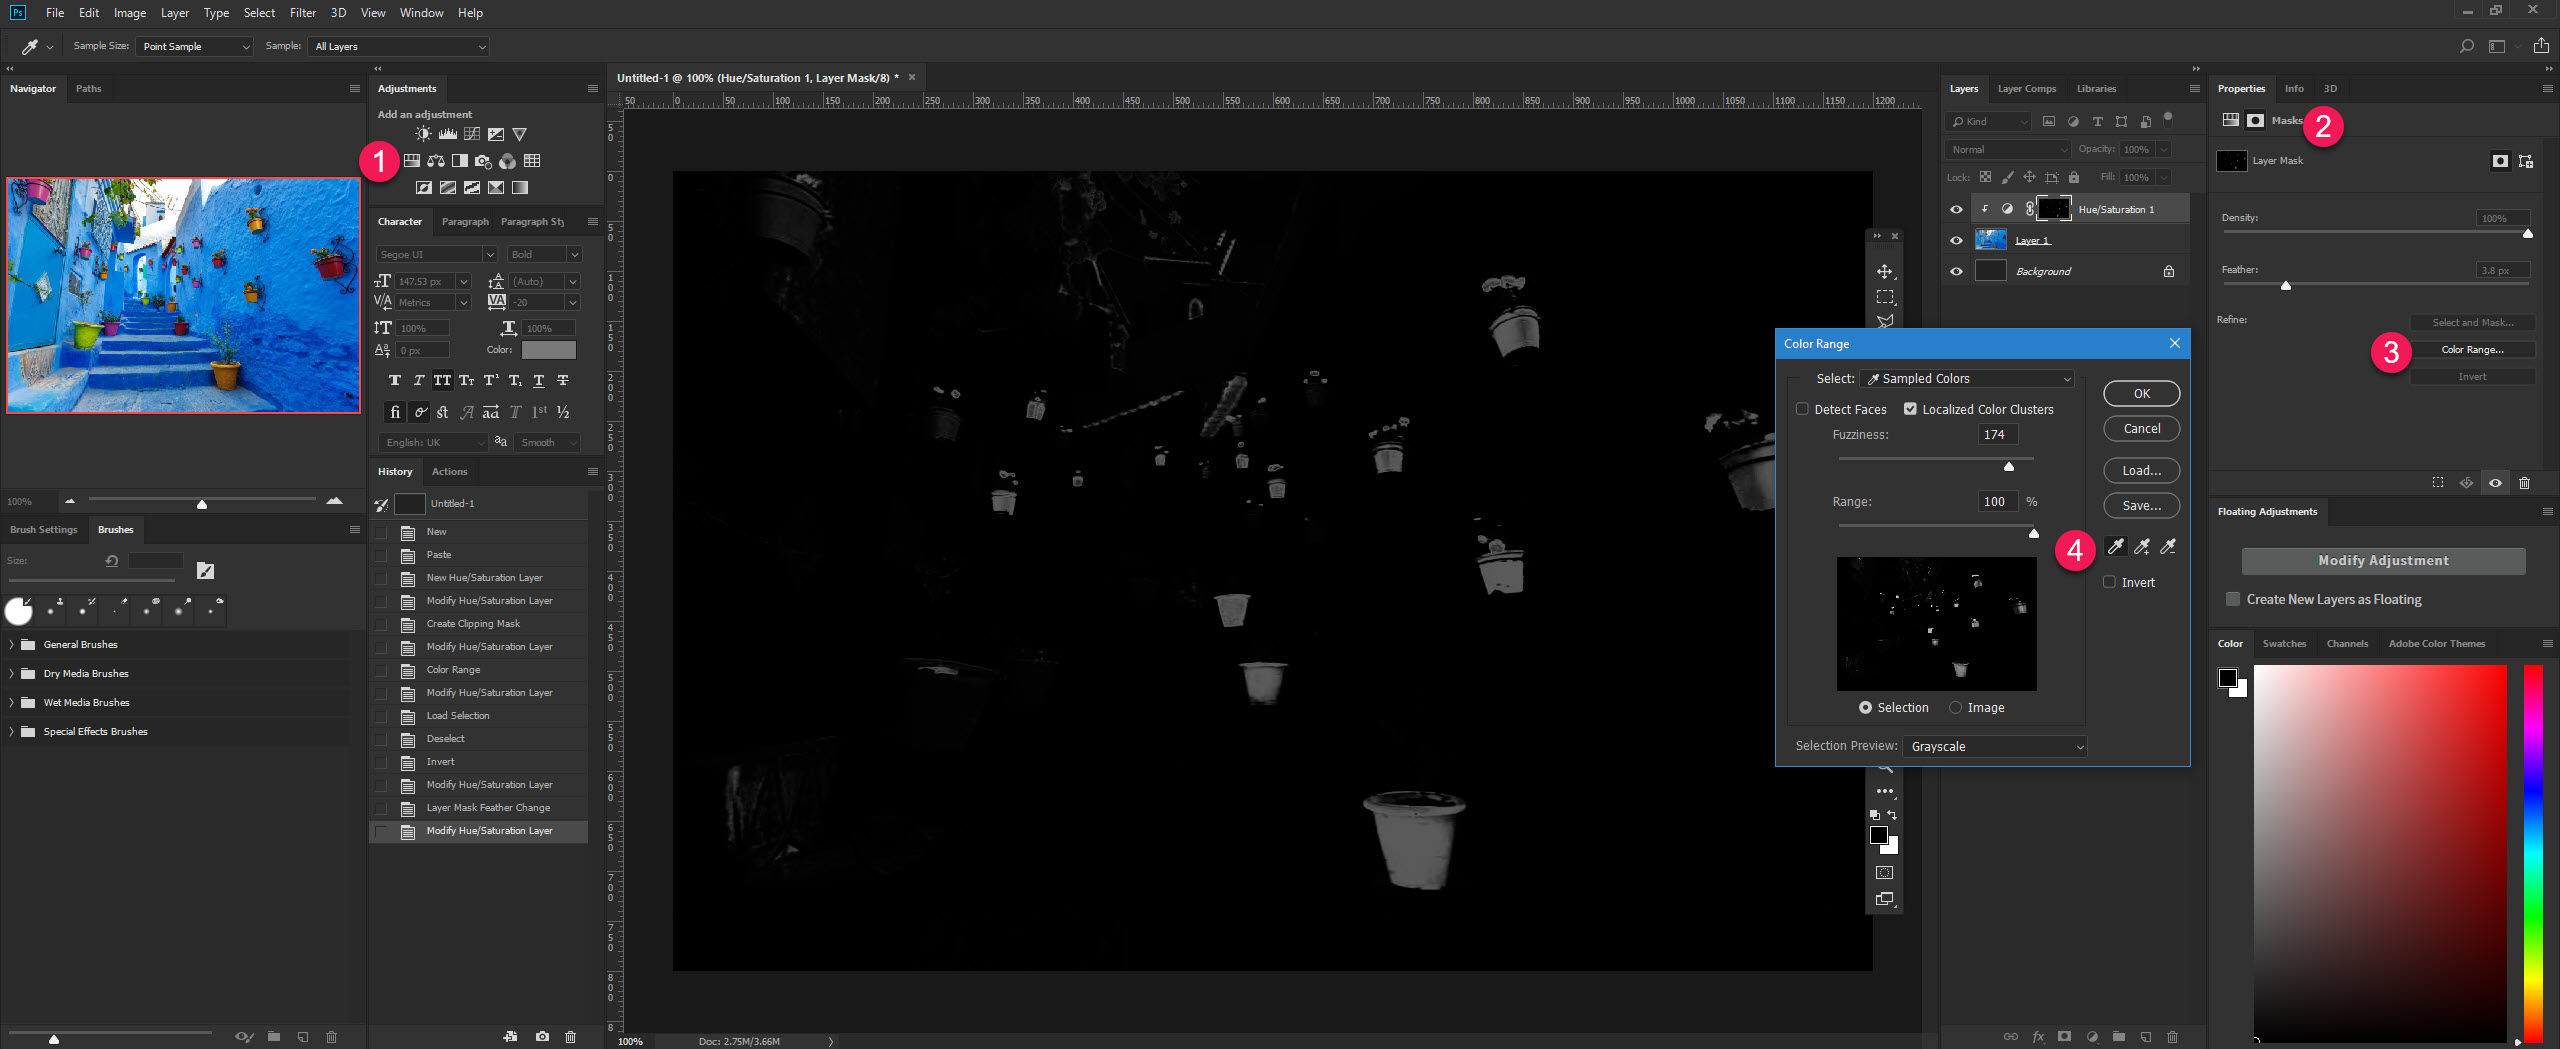
Here is one way of doing it.
- Create a Hue/Saturation Layer Style
- Click on the Mask icon
- Select Color Range
- Use the eyedropper tool to select the colour to target
- Click on your Layer Mast Thumbnail and press Ctrl/Cmd+i
- Click out of the Layer Mast Thumbnail back on to the Hue/Saturation Layer Style thumb
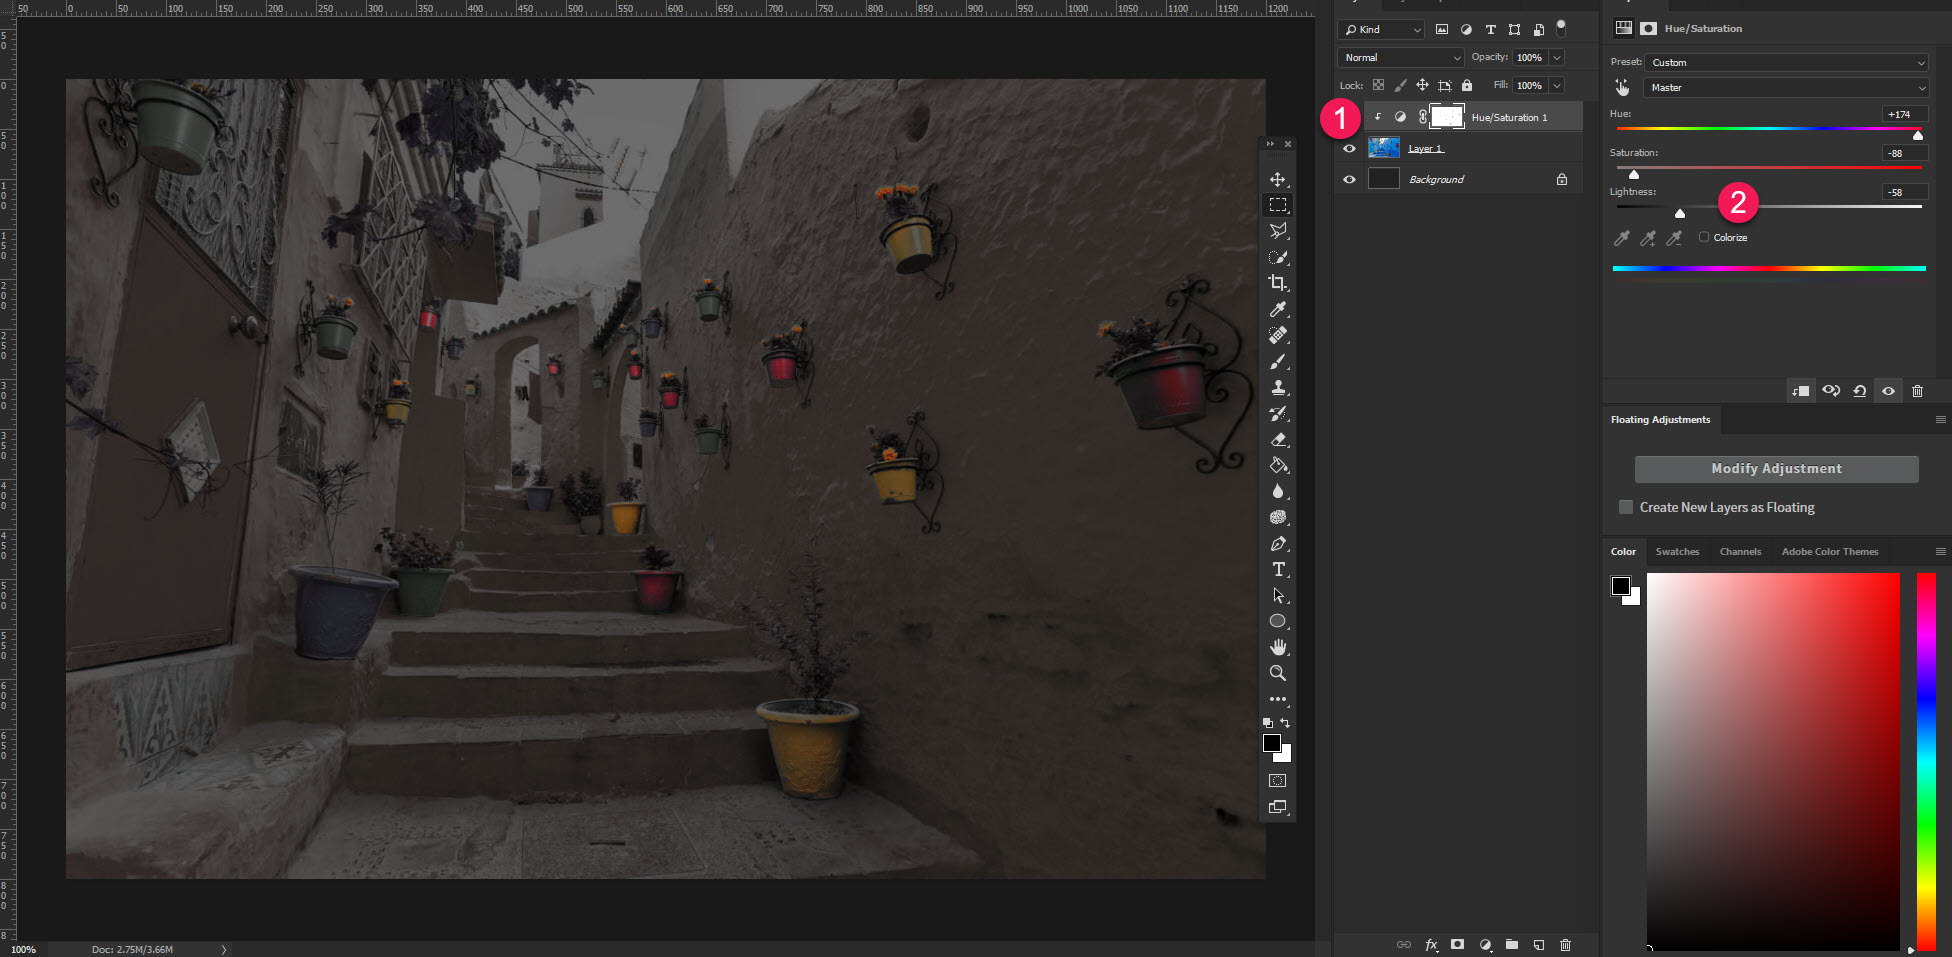
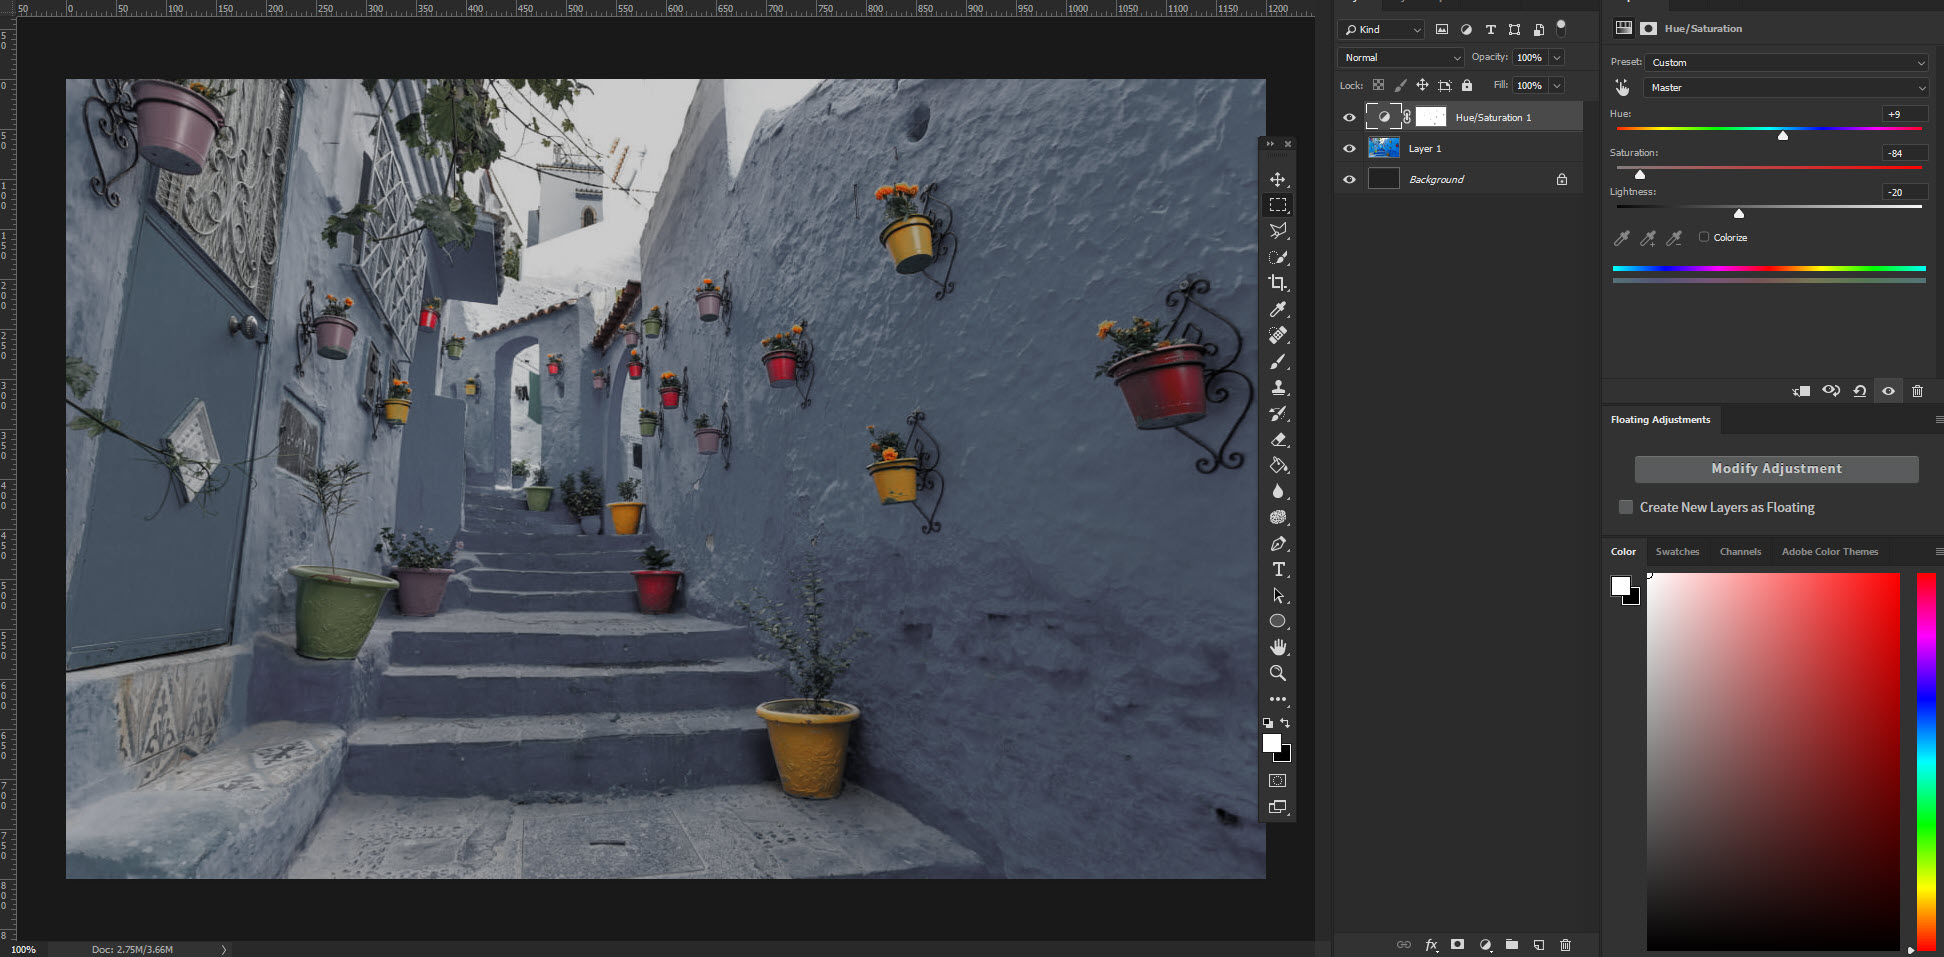
- Take the Saturation down and adjust to your preferences
Play around until you get the effect your after:
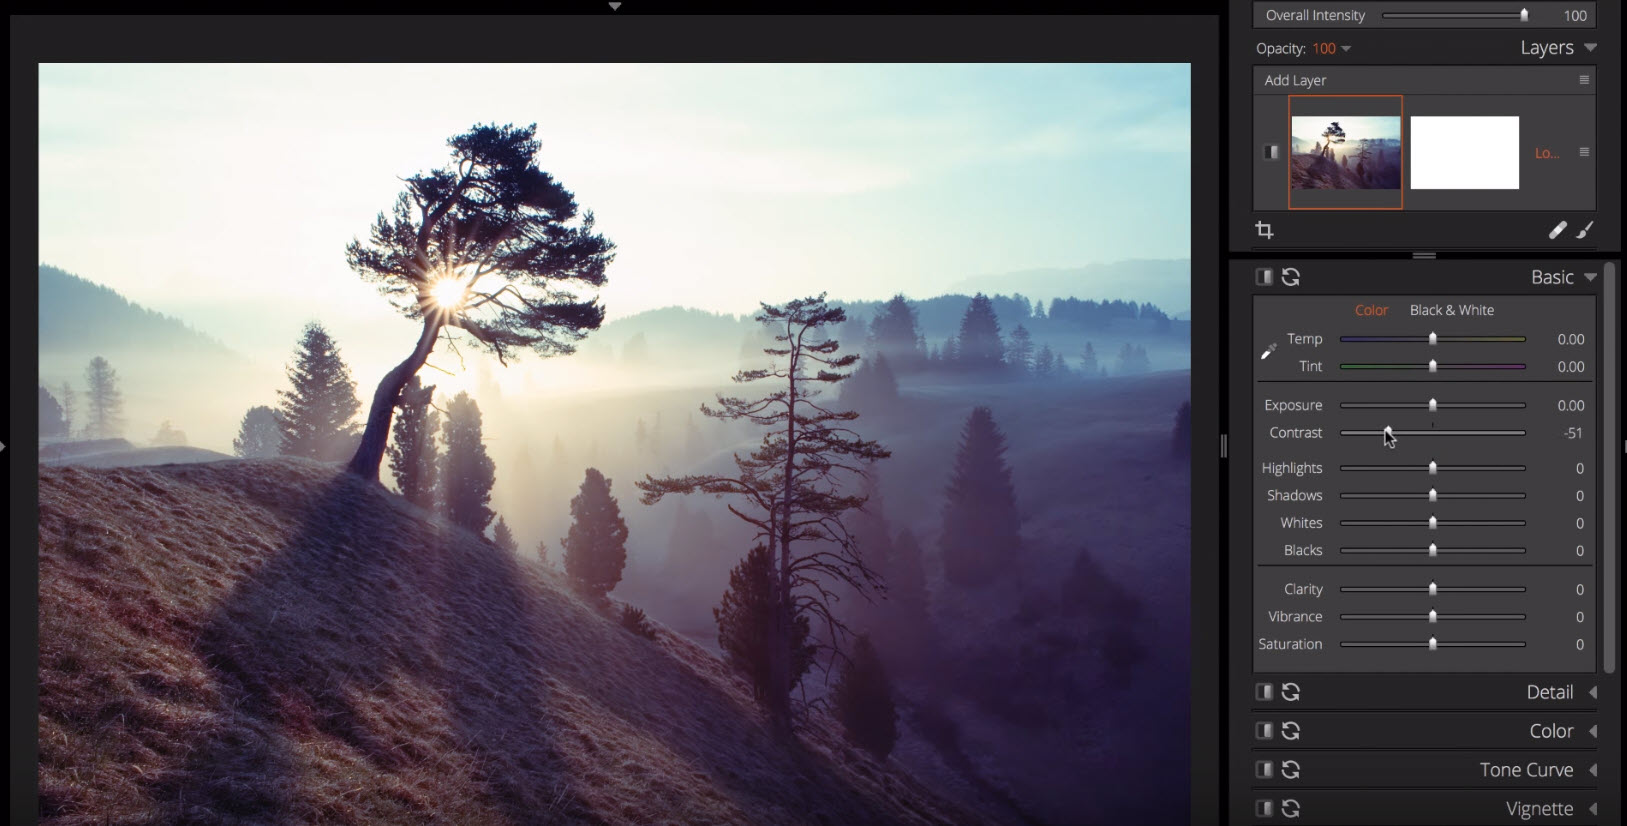
Look Up Tables (LUT) - Vintage Effect
The other effect on your image is a Vintage LUT.
What are LUTs
3D LUTs or Look Up Tables are nothing more than a table of numbers that apply a color transform to an image. What makes color grading LUTs unique however is their ability to apply complex color grades that can imitate the look of major motion picture films.
Most people use a good plugin such as Alien Skin Eposure to achieve these types of effects.

