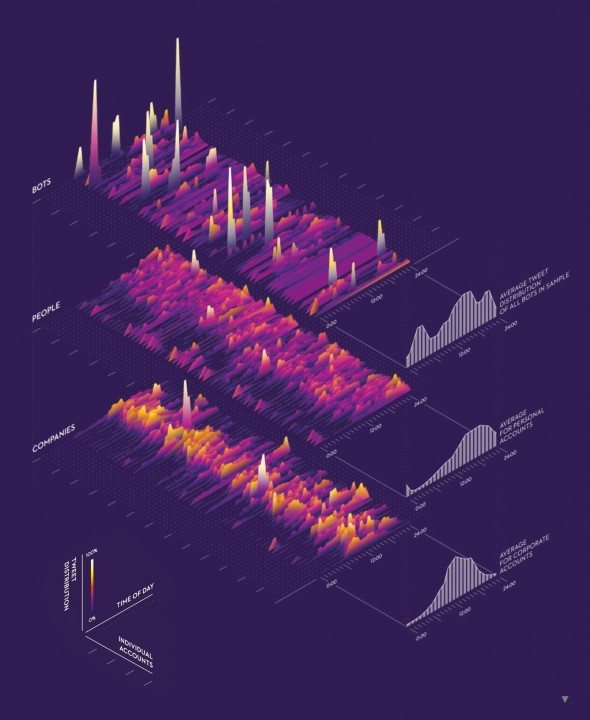
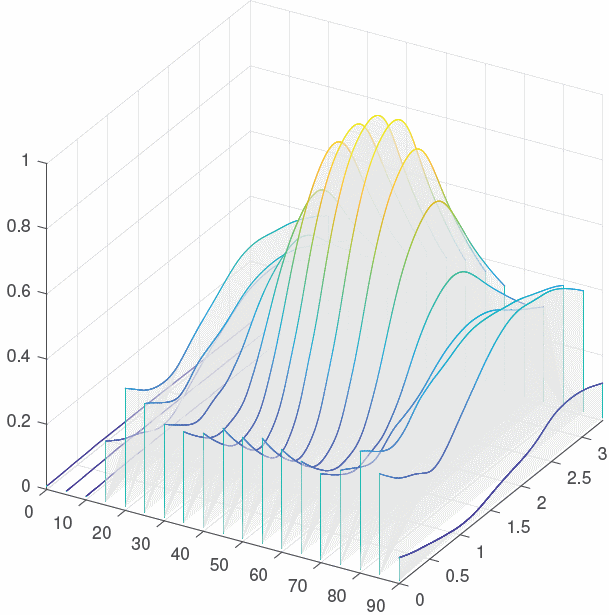
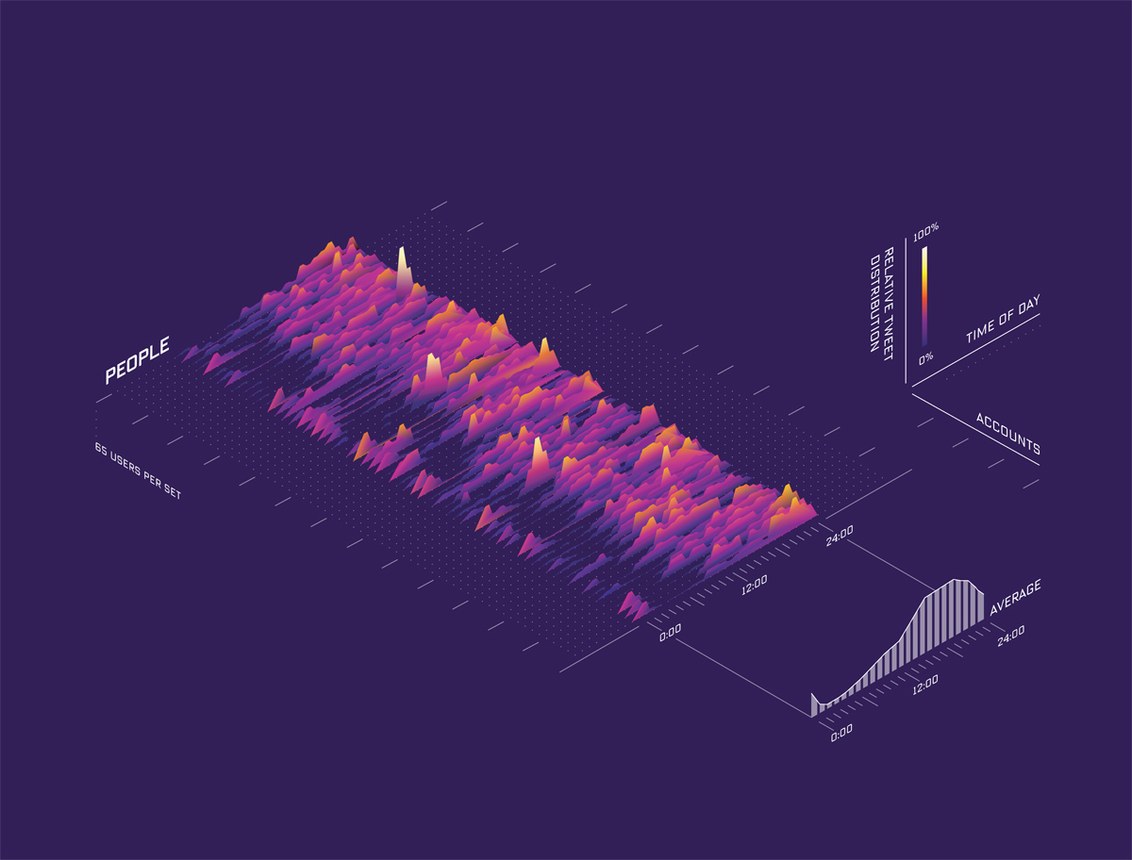
For decorative purposes you draw one manually.
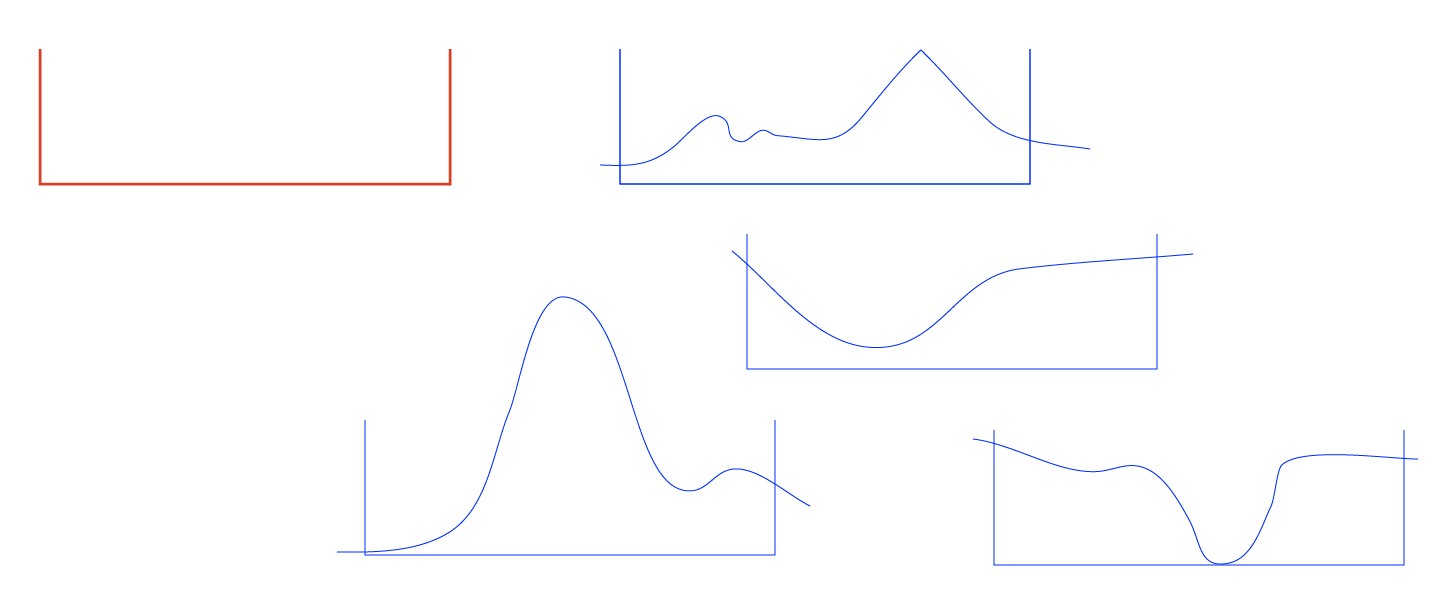
The red frame is a mold to get equally wide subgraphs. I have made a few blue copies of it and with the pencil I drew a few curves. Be sure that the curve nowhere turns back to left.
The areas can be filled with the shape builder:
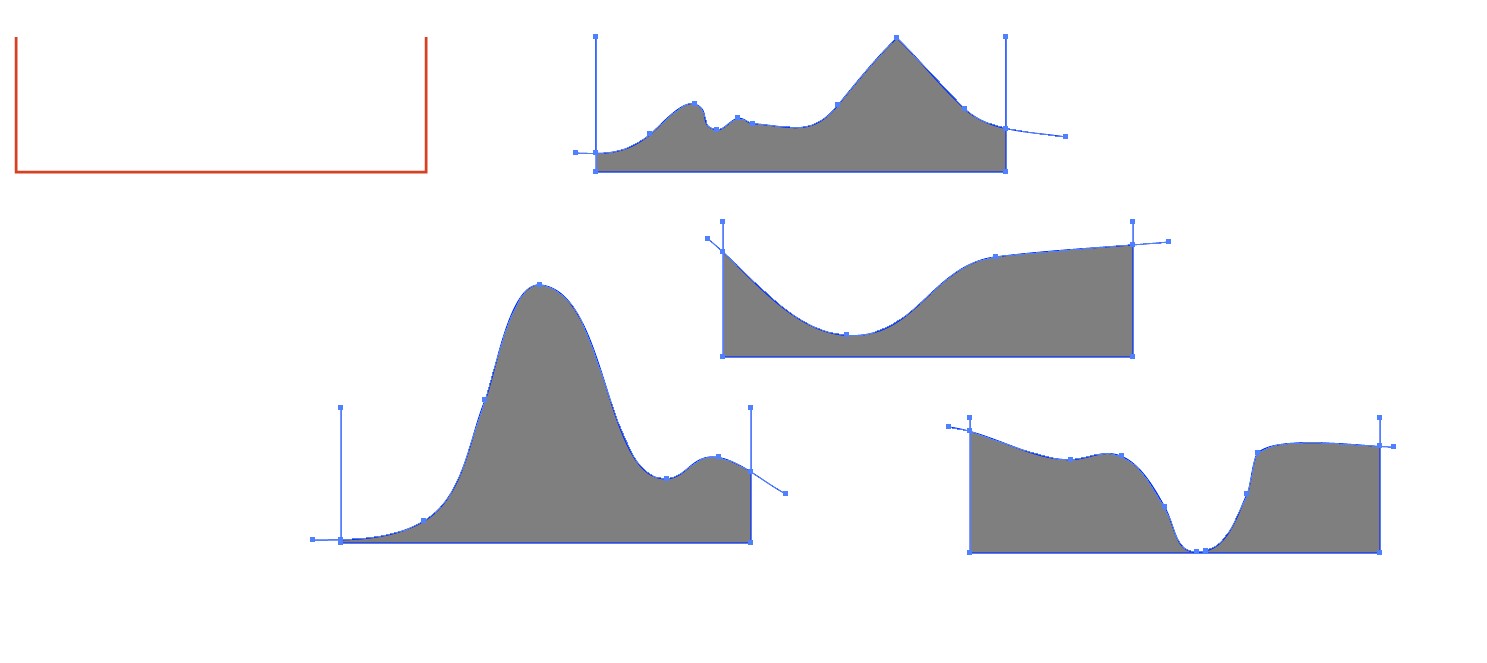
NOTE1: You can double the production rate if you have a rectangle as your mold. Only remember to flip the upper halves.
NOTE2: Select from tool options how much the pencil smooths your drawing. If you want polylines with corners, you can click with the pen instead of using the pencil
Select all filled areas, copy them to the clipboard, delete the mold remnants and paste the filled areas back. Align them, remove possible strokes:
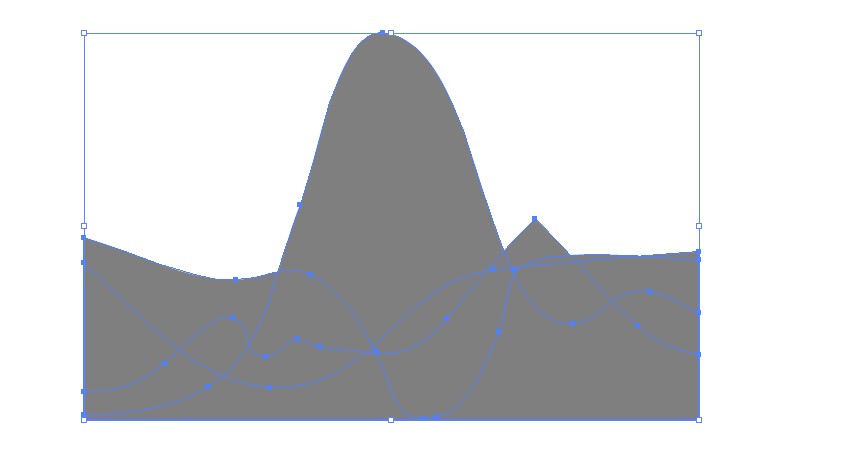
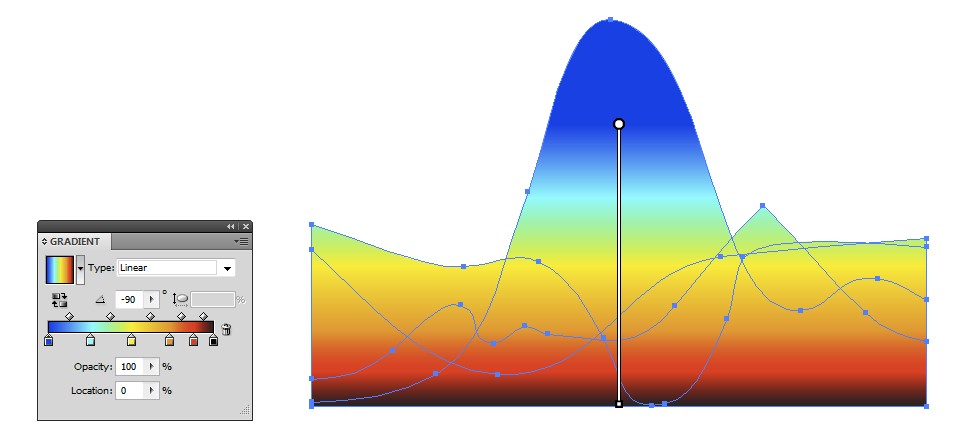
Make a gradient and fill all with it:
Take the Shear tool and skew the shapes. Hold shift to prevent rotation.
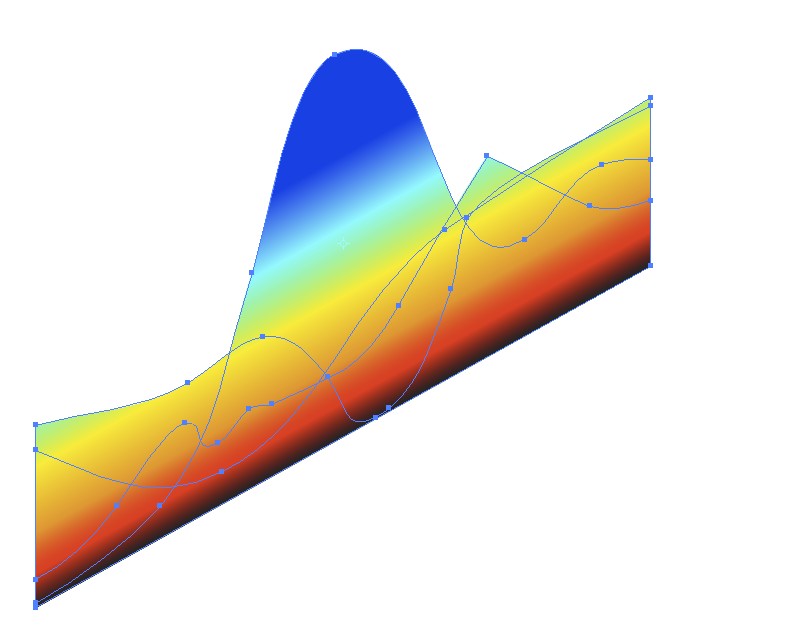
Make a placement guide for the shapes and place them. I drew a line, applied a couple of times Object > Path > Add Anchors to it. That duplicated the anchor points twice and inserted them with equal spacing. I placed the corners of the shapes on the anchors:
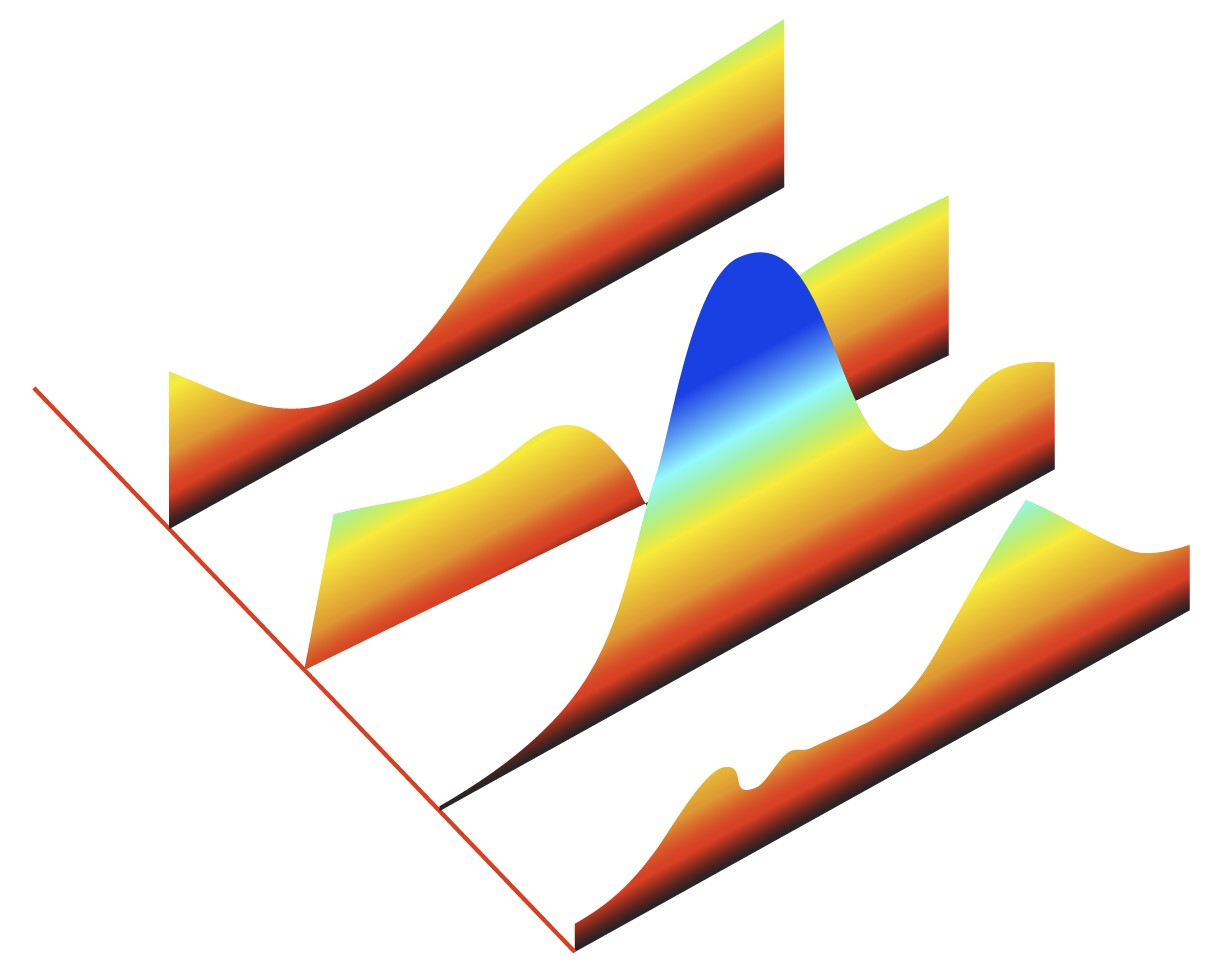
Have smart guides and snap to points ON, select a shape, drag the corner with the direct selection tool, it snaps and the rest of the shape follows.
Use a common shearing angle, you need it to make texts. I believe traditional isometric shearing is a good choice.

