With a bit of boolean operation trickery this is a pretty easy process.

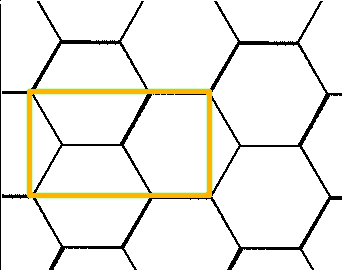
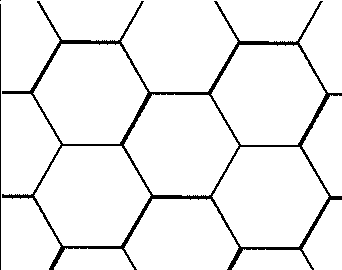
Just take a set of the hexagons you have there, create a rectangle that matches the orange one I've got in the image above (make sure the corners snap to the appropriate points on the hexagons), and then use the intersection tool to get rid of everything outside of the rectangle. That should leave you with a tilable pattern.
Edit: Per horatio's comment (good call!), I figured I should explain how I settled on that particular rectangle. When creating a tile, you need to have each part of your pattern appear at least once in said tile (and ideally, no more than once). With this pattern I looked to see if there were any recurring points on the x or y axis; fortunately for me, the hexagons aren't sitting at an odd angle, so this made things a relatively easy task.

On the X axis, I picked two hexagons that were aligned. These would be the start and end of the pattern, horizontally. I next selected a matching point from each (in this case, the left-most point). This would mark the exact width of the clipping rectangle for the pattern. Next, I did the same vertically, using the points I already chose for the width as the top corners of the pattern's clipping rectangle. Once I found the matching lower points, the clipping rectangle was defined.
You could use this technique on any number of shapes. You can use it on hexagons (or other shapes) at an angle as well, but keep in mind the tile will become substantially larger, depending on the angle.


