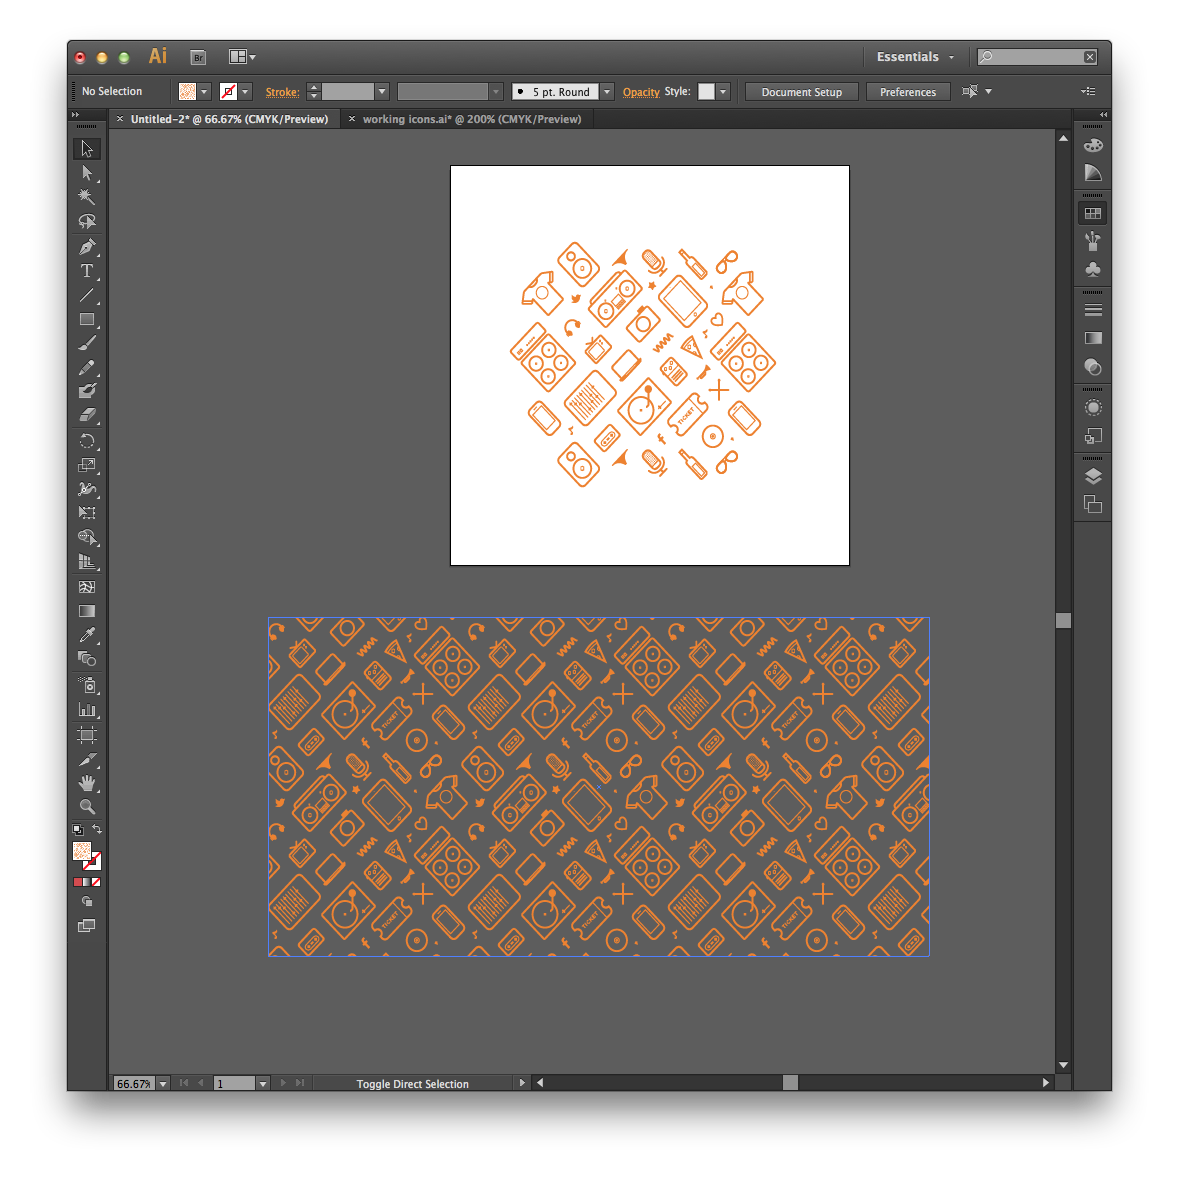
In the end I couldn't find a mechanism to automatically distribute and repeat a pattern, but this article on The Noun Project's blog did give a really good runthrough of how to do it; manually, but reliably and relatively easily.
Summary of article
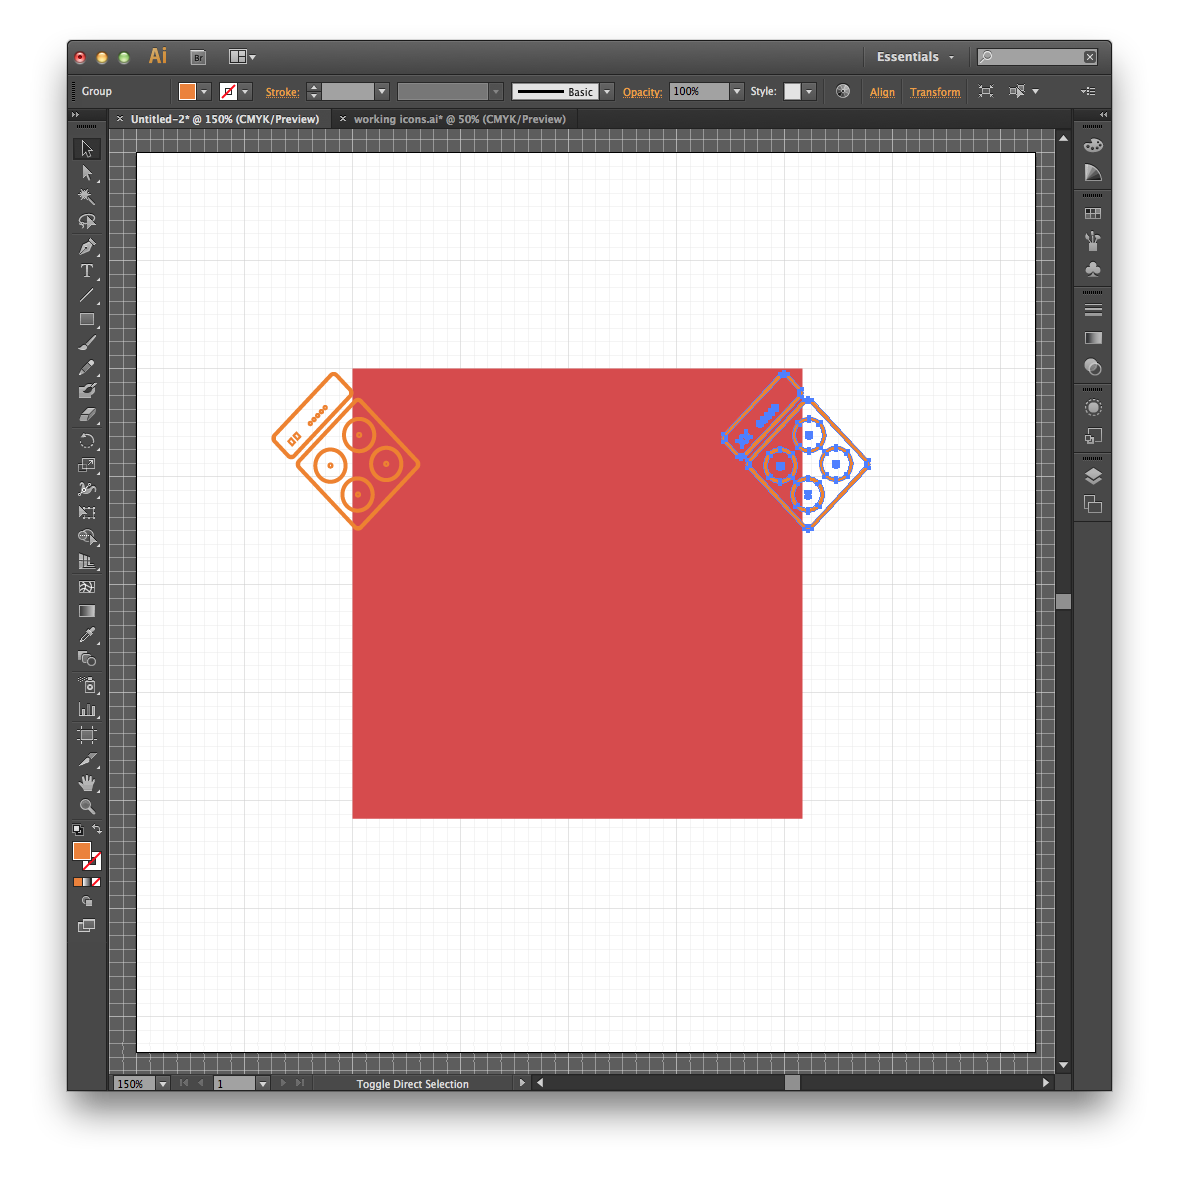
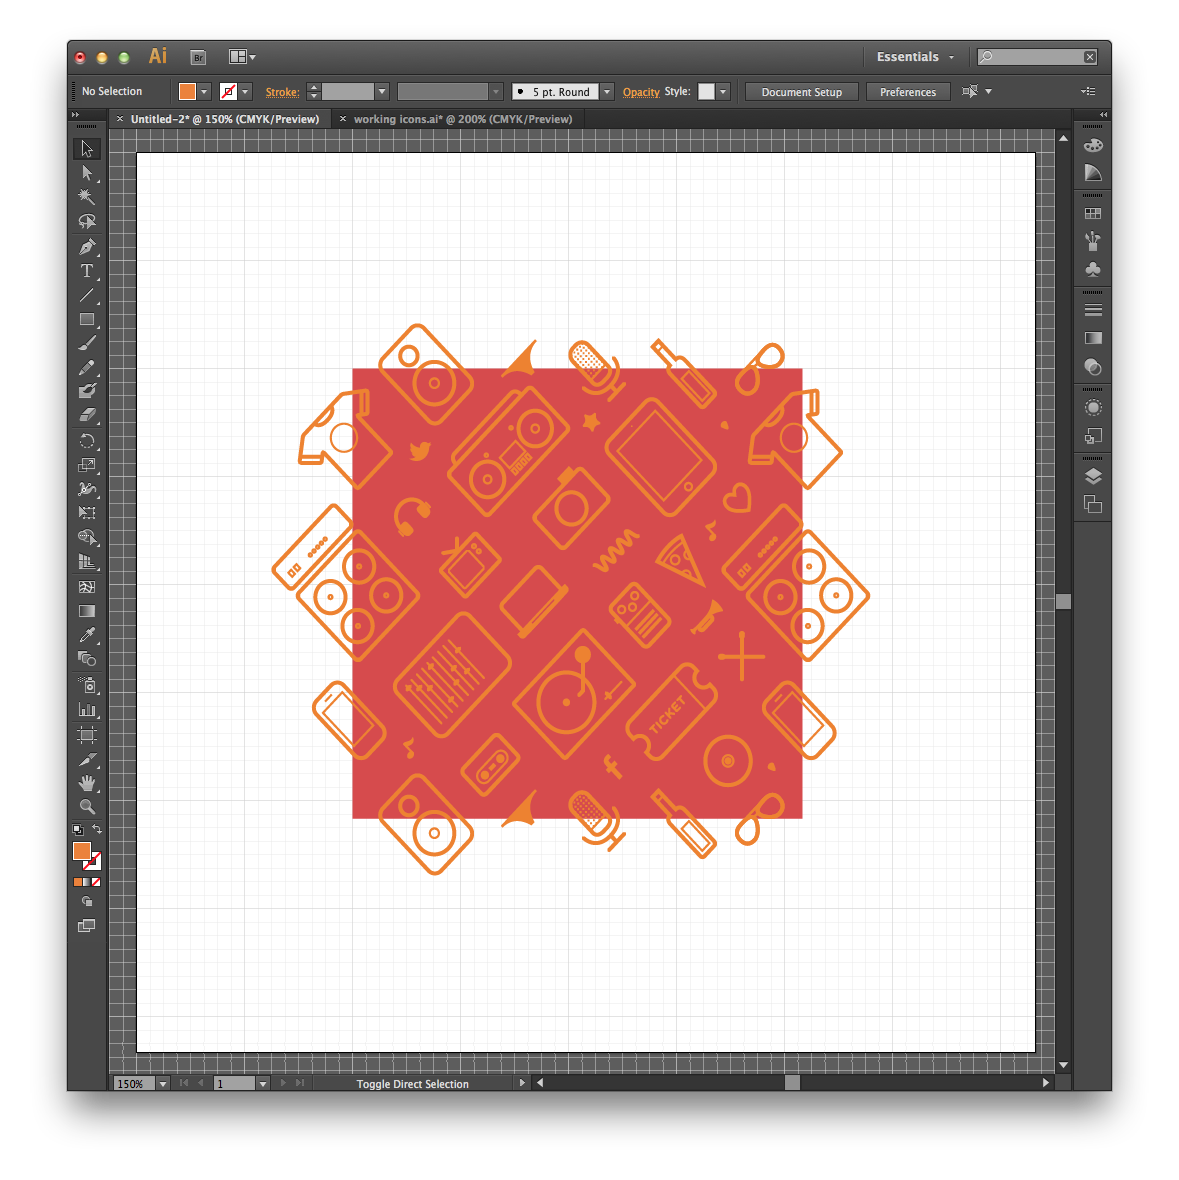
 The most important thing to note, is that each shape on the edge of
our square needs to have a duplicate icon exactly in the same position
on the other side. This is super easy to do since our pattern is
300x300px, as all we need to do is open the transform window (Window >
Transform), and type in +300 after the value in the X field. Adding
300 pixels will move our icon over to the right, while subtracting 300
pixels will move it to the left. The same can be said for the Y axis,
only adding pixels will move the object down, and subtracting pixels
will move it up.
 ...
...

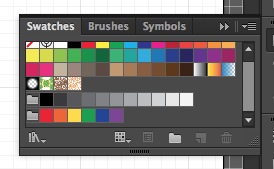
With the selection tool, highlight all the elements of the pattern
(including the square unfilled shape) and drag it into your swatches
panel (Window > Swatches). In the dialogue window that pops up, select
‘Pattern brush”.
