1

I am currently making some web images and am getting very riggid lines. Exhisting images on the website seem to differ (these images are pre me so I do not know how they created them so differently).

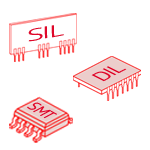
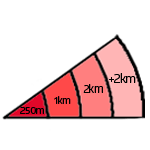
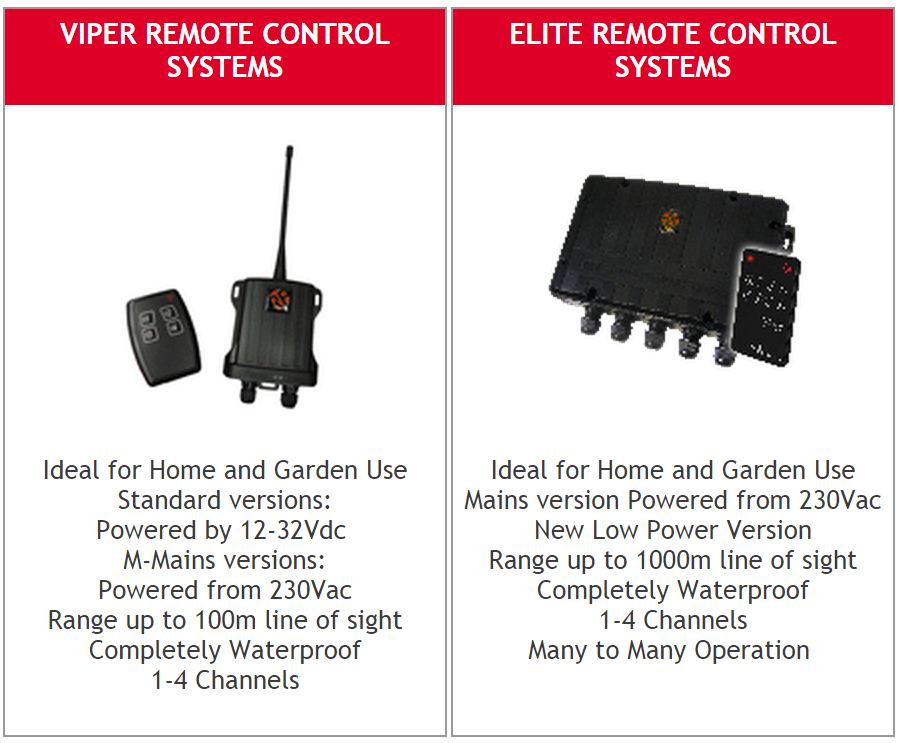
Does anybody know why they are so different? The image on the left has very smooth edges, whilst the other is blurry and jaggedenter image description here!

The image I am working on is also appearing very jagged but from looking at the properties of the 2 images shown, there does not seem to be a difference!

The images I am working on need to be 150x150 pixels which is not helping the matter as the individual pixels are so visible.

enter image description hereenter image description here enter image description here

Any tips on how to create a softer edge of improve the quality of the image on the right would be a huge help!


EDIT

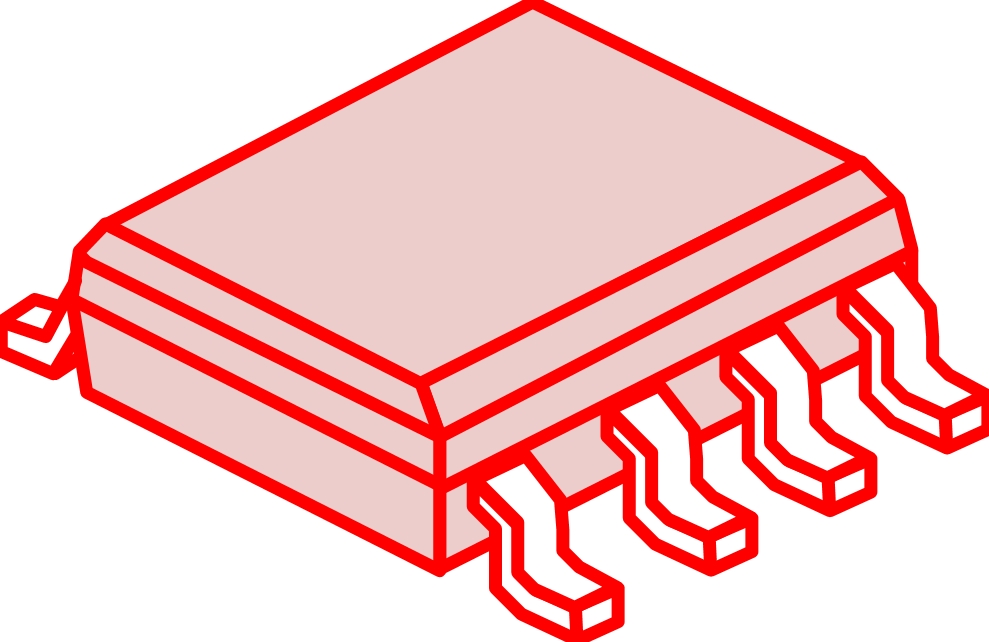
This is one of the images I am using. Originally it is 900 x 650 pixel JPEG. IS this too large to try and rezuse to such a small image? Or is there a better format to use than JPEG? Thank you for your help!!!

enter image description here

2
  • The image on the bottom right is easily recreated in Illustrator. Then you'll have a resolution independent image that you can scale to any size. As for the top right, there's nothing much you can do if you can't get a hold of the original, hi-res images. (Although this seems to be better already.
    – PieBie
    Commented Mar 25, 2015 at 15:40
  • Hi @emilyskipper, welcome to GDSE! It would appear you have accidentally created multiple accounts unfortunately Stack Exchange only allows one account per user on a site. Please go to our Help section and contact SE to have this issue fixed.
    – user9447
    Commented Mar 26, 2015 at 15:16

3 Answers 3

2

The previous person took small images and increased the size, or over-sharpened them. probably both.

The best option for the image is to make a layer mask or clipping path to make the edge clean. For the other pieces, you'll probably have to re-draw them.

0

If you are taking photos and then clipping out the background, then you may have better results using a higher pixel count image and then resizing after clipping.

The thought process here is: when you have fewer pixels to work with, your selections have fewer pixels to choose from to "snap to," and when they do snap to the pixel grid, the error left-to-right and up-to-down is larger with respect to the scale of the image.

So, if you have to provide 150px square images, experiment with an original that is 300px or 450px square. Clean it up, then export at 150px square.

If your finals include the red banner and text, you might want to clip the product, export smaller, and then place that export into the final with text.

Note your text will look better (the white-on-red especially) in a PNG-24 or non JPEG format.

2
  • Hi Yorik, thank you for your tips above. I am currently re-creating the 3 images in 300 pixels square as you have suggested. I am still getting jagged edges on the module images though. Is this because the images I am using are too large and I am resizing them to much? (Original image is posted below - JPEG 900 / 650 pixels!!! Any help you can give would be greatly appreciated!!! Commented Mar 26, 2015 at 14:24
  • My comments are directed more at the original side-byside. The "Elite" item at right is, in my opinion, a result of low-resolution & selection tool interaction. The chip illustrations are "par for the course" resolution problems: you can see the individual pixels on your monitor. For these, there is little you can do aside from a little blurring.
    – Yorik
    Commented Mar 31, 2015 at 17:47
0

The images with the rigid lines were probably resized from a smaller size image to a bigger image.

Unfortunately, you can't really re-save these images again and make them look better if you don't have them in their original size but you can improve the edges by using a layer mask and hide that rigid edge with a brush; a brush with a hardness that isn't at 100% but something like 85%.

It's still not the perfect solution since you will need to also work on that overlapping item with the white outer glow, and a layer mask won't fix this unless you take that item away from the background item, add a layer mask to it as well and then incorporate it again with the other item and adding a glow to it..! It would be way easier if you could simply get the original pictures and do that montage again yourself, in high quality, and then "save for web" them to a smaller size.

Regarding the illustrations, you'll probably need to draw them again or find a better quality image. It will probably take longer to try to improve that wavelength illustration than simply doing it from scratch or buying a stock image with a similar graphic. The best (and easiest) software to use to make that kind of illustration will be Adobe Illustrator.

See how to use a layer mask here.

To save images or graphics with sharp edges or lineart or texts, you don't always need to use a PNG; sometimes the JPG compression is still good enough, and less heavy than a PNG. You'll need to make some tests for yourself and see what's acceptable. PNG usually ofter the best quality for web for rasterized images but they're also heavier for images that have a lot of colors or big sizes images. See what's the best fit for your needs!

When you use the "save for web" in Photoshop, you can resize your image there by changing the size values. You can also see a preview of your image at 100% depending on the compression and the file format you select. On the bottom left, you can see how many kb your image will be once saved. The same can be done with Illustrator "save for web." Additionally, you can use SVG file format with Illustrator.
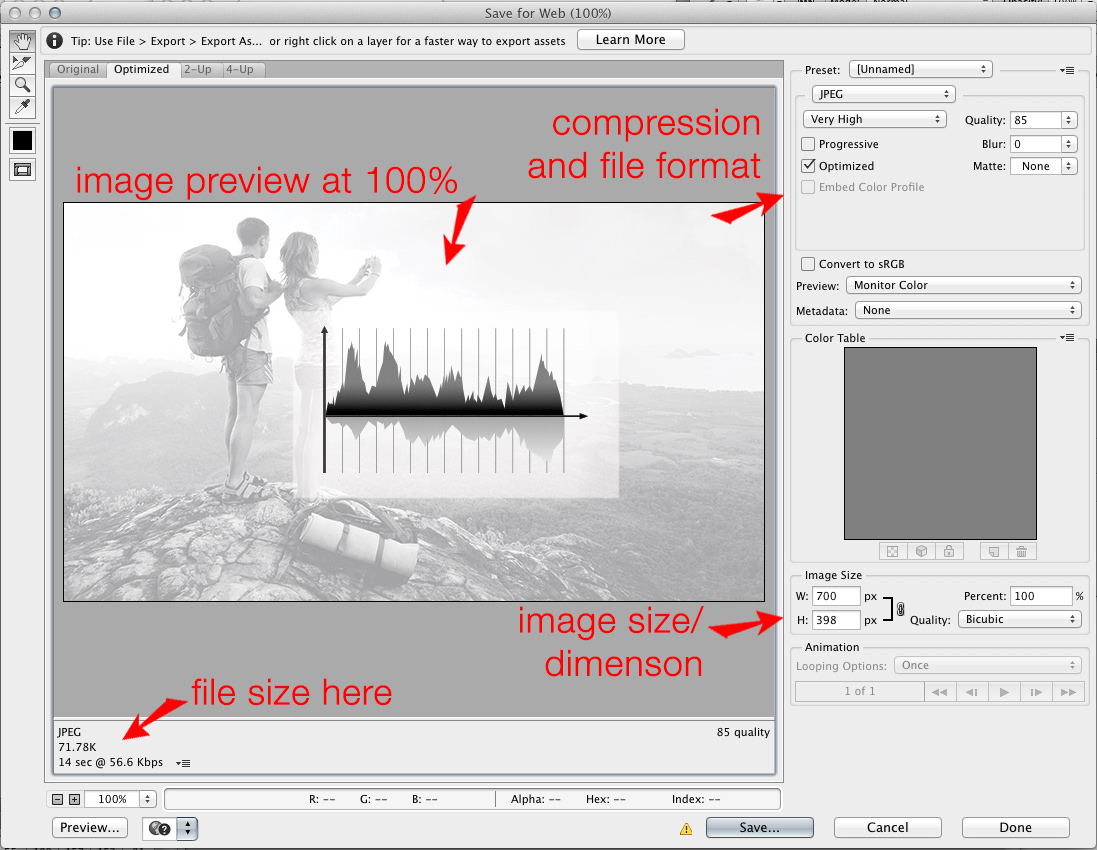
How to use "save for web" in Adobe Photoshop and Illustrator

Your Answer

By clicking “Post Your Answer”, you agree to our terms of service and acknowledge you have read our privacy policy.

Not the answer you're looking for? Browse other questions tagged or ask your own question.