4

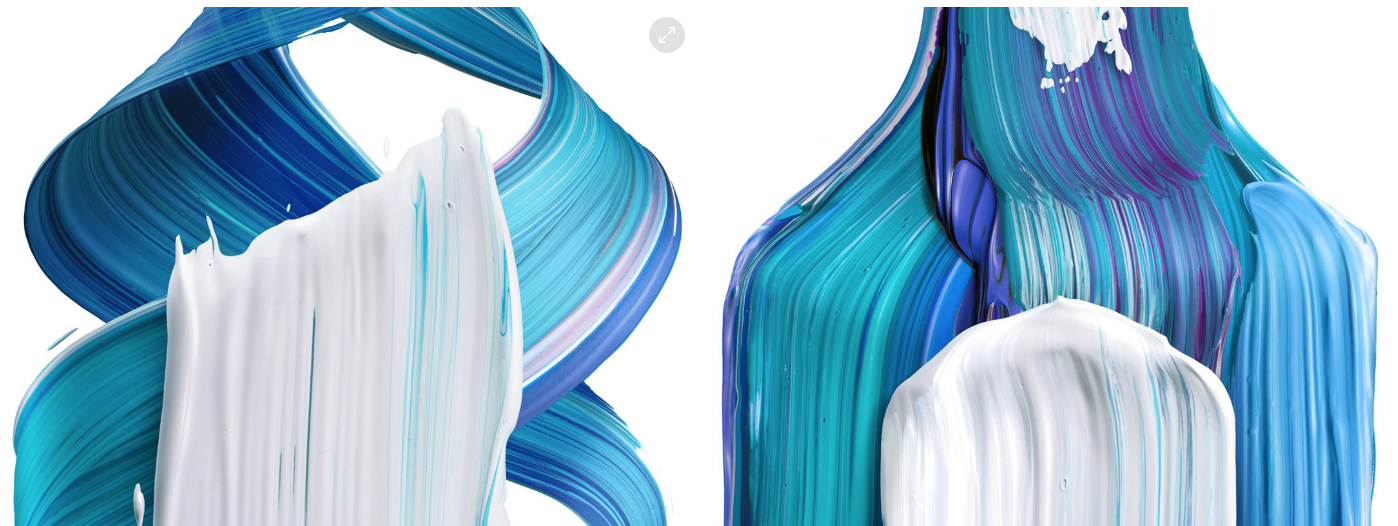
I was Browsing through Behance and saw this amazing work by Pawel Nolbert

enter image description here Can someone tell me what's that Color Paint design called and how to make it? i am quit sure that it's postally 3d Render or else it's made in Illustrator with Blend Tool, Any Suggestion on that please.

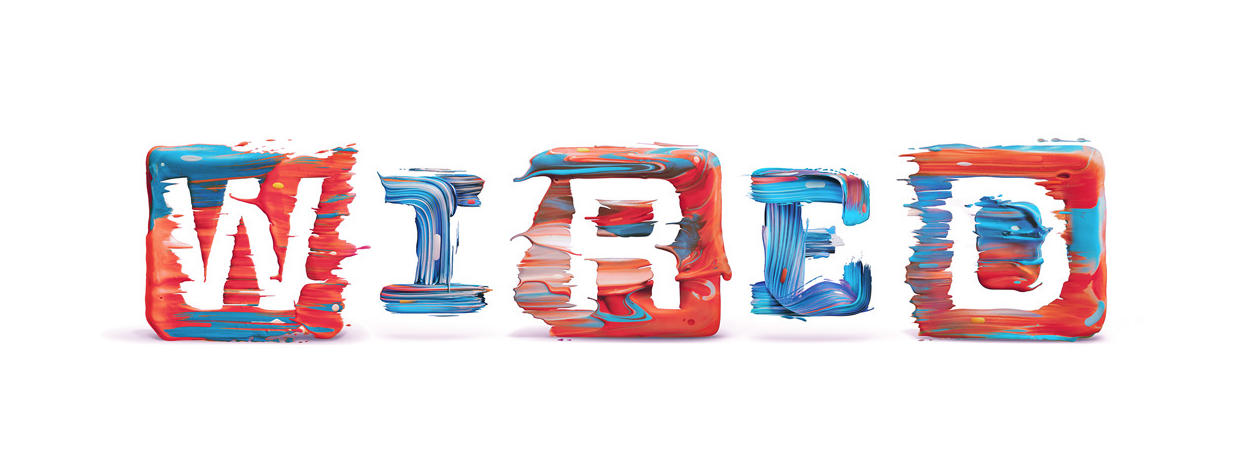
More Examples Example 1 Example 2

4
  • 1
    I'm not sure "that color paint design" has any special name. It just looks like 3D brushed paint or toothpaste.
    – Luciano
    Commented Feb 27, 2019 at 10:39
  • 2
    The design collection is called "Intentional" according to his Behance page. Is that what you are asking? I have no idea why. Since he's on Behance, I guess you could ask him. As for how, these look like 3D renders using 3D modelling software, certainly not vectors made in Illustrator.
    – Billy Kerr
    Commented Feb 27, 2019 at 12:30
  • Possible Duplicate: graphicdesign.stackexchange.com/questions/73715/…
    – Ryan
    Commented Feb 27, 2019 at 15:44
  • 1
    Some photoshop brushes by Kyle Webster give this "like 3D" effect. expecially oil ones. I remember that Paint had this effect in certain brushes and oil. Commented Feb 27, 2019 at 16:08

3 Answers 3

4

The referenced artist in question calls them "paint sculptures", and says this about the approach:

Technique: acrylic paint brush strokes scanned & composed in Photoshop

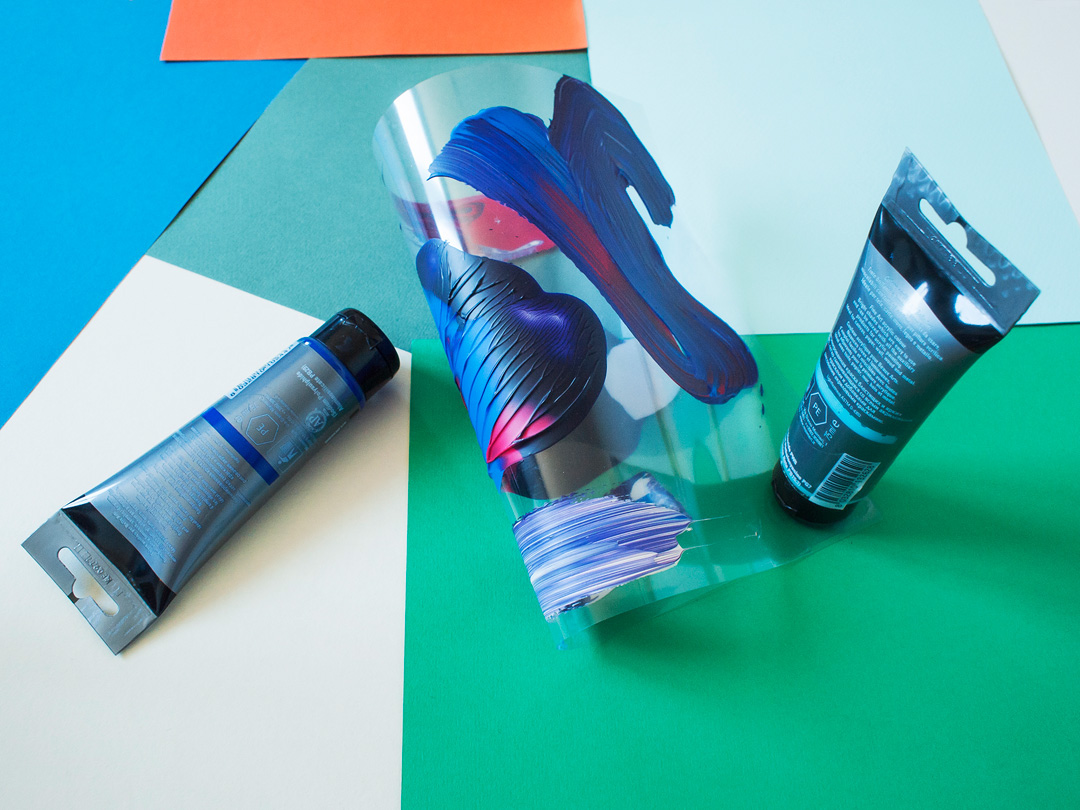
And has an image posted called production assets which looks like this:

enter image description here

So though I love @user287001's proposed method, I can pretty confidently say that it isn't the one used by the artist referred to in the OP's question. It's worth pointing out that the artist in question also has both a number of more traditional oil painting projects up and a fair few 3D modeling projects up, so it could well be that this description is only partial, and that in fact part of the process is conducted in 3D - given what he lists on his resume, I'd say 3DS and vray.

3
  • 2
    More and more people are using now "traditional" real live techniques. It is great.
    – Rafael
    Commented Feb 27, 2019 at 21:14
  • @Rafael Agree on Point, I saw many users Using it for giving "aesthetic" in client's product.
    – Dave Rajan
    Commented Feb 28, 2019 at 7:52
  • By researching a little on youtube after, i found this videos: 1 Acrylic Texture Making and 2 REAL PAINT to Create Brushes , I Think it's helpful.
    – Dave Rajan
    Commented Feb 28, 2019 at 7:59
4

The name? I call it "flat cable". Same looking cables were popular inside electronic devices 15 years ago. Modern high speed in-device networking has made them obsolete.

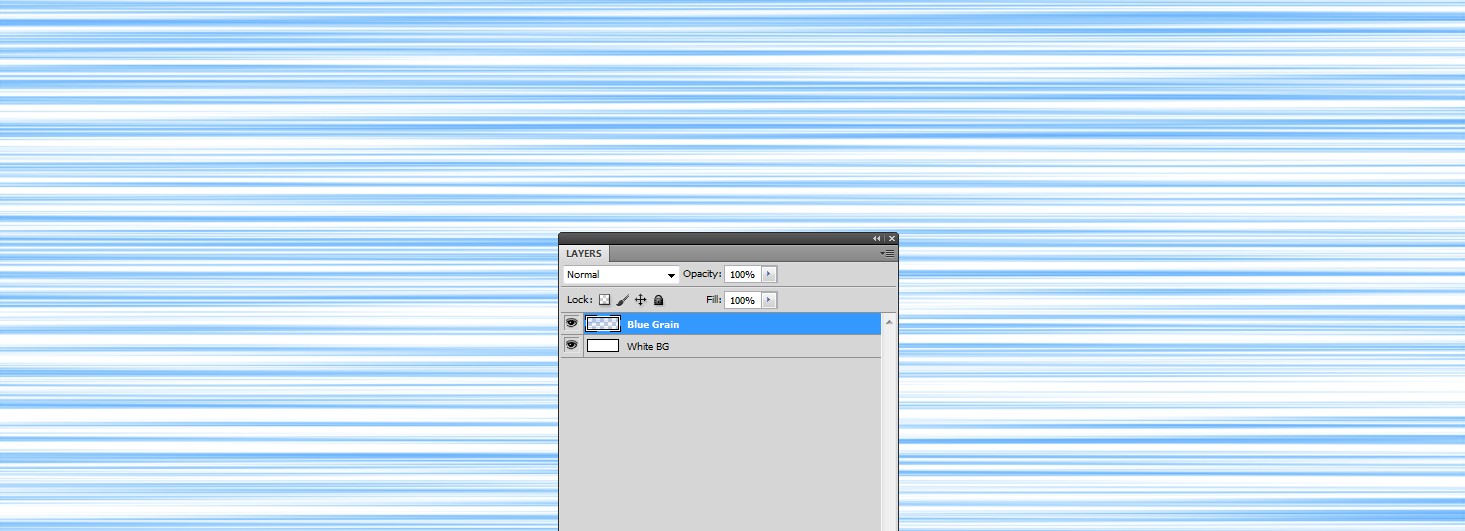
You can make your own flat cable in Photoshop. Start with a white background and draw a grainy colored stroke to a new layer at the edge of the image:
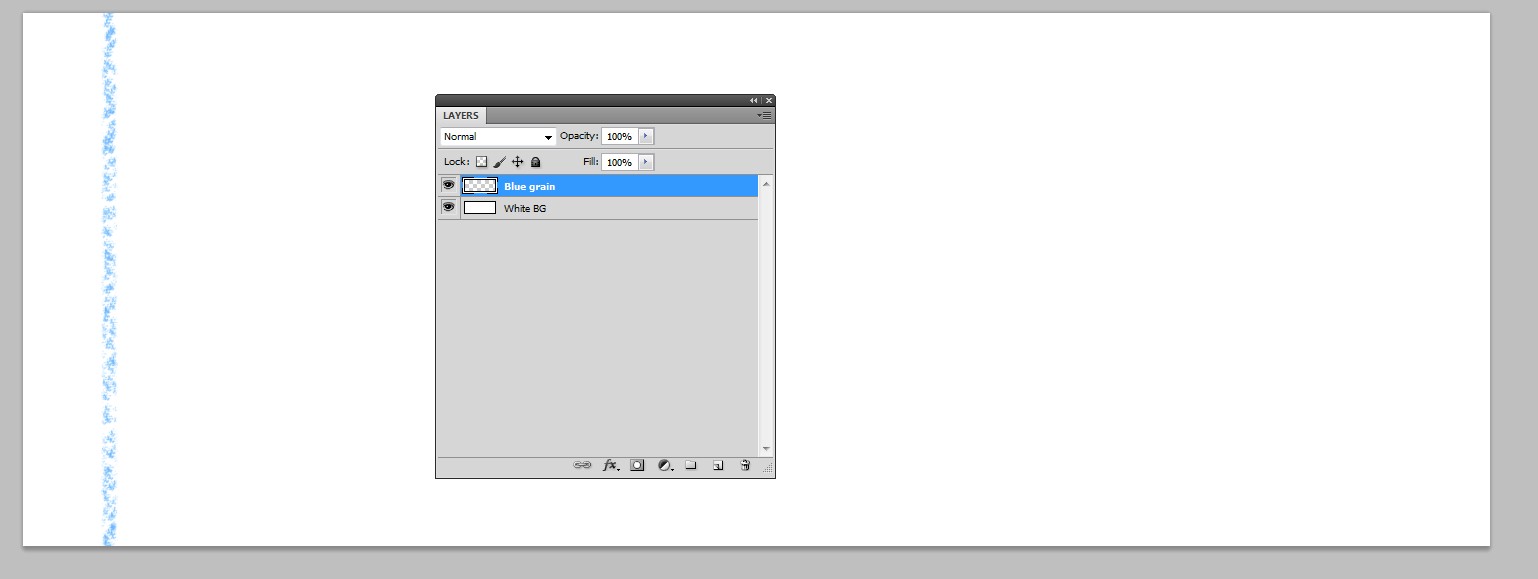
enter image description here

Make a selection and stretch the stroke horizontally . I stretched far over the image edges and cropped the extras off to get straight ends.
enter image description here

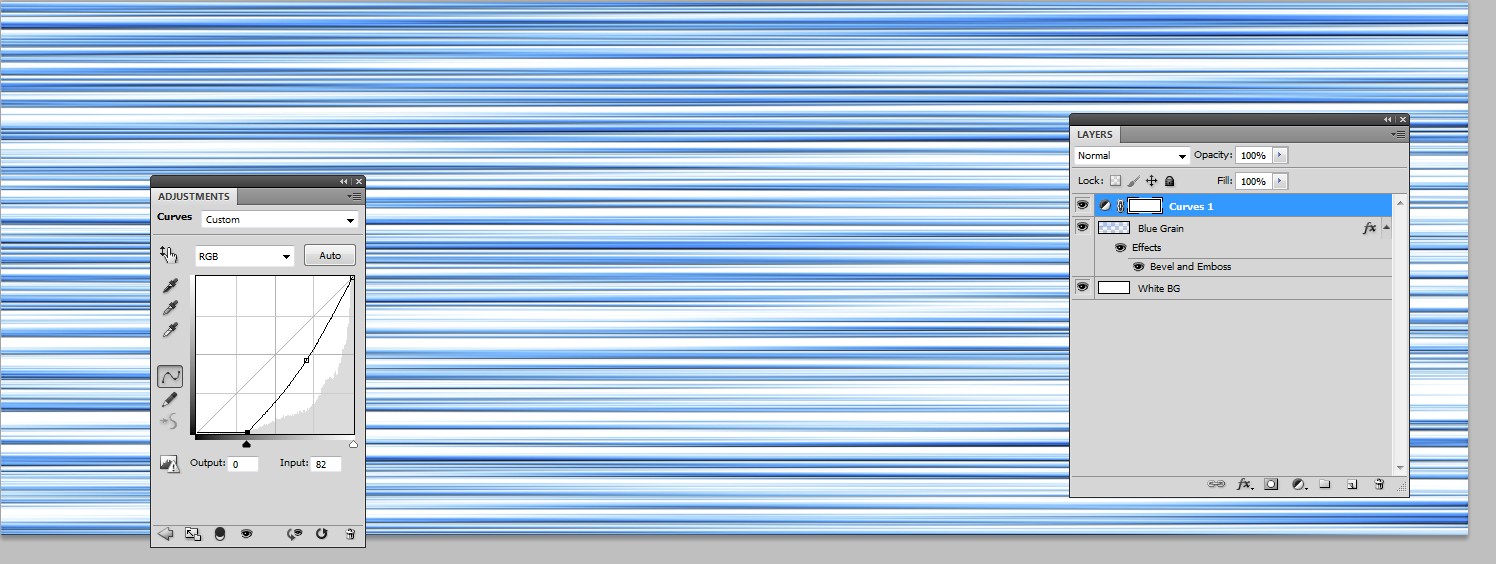
Layer style Bevel & emboss can add some apparent thickness and adjustment layer curves increase the contrast:
enter image description here

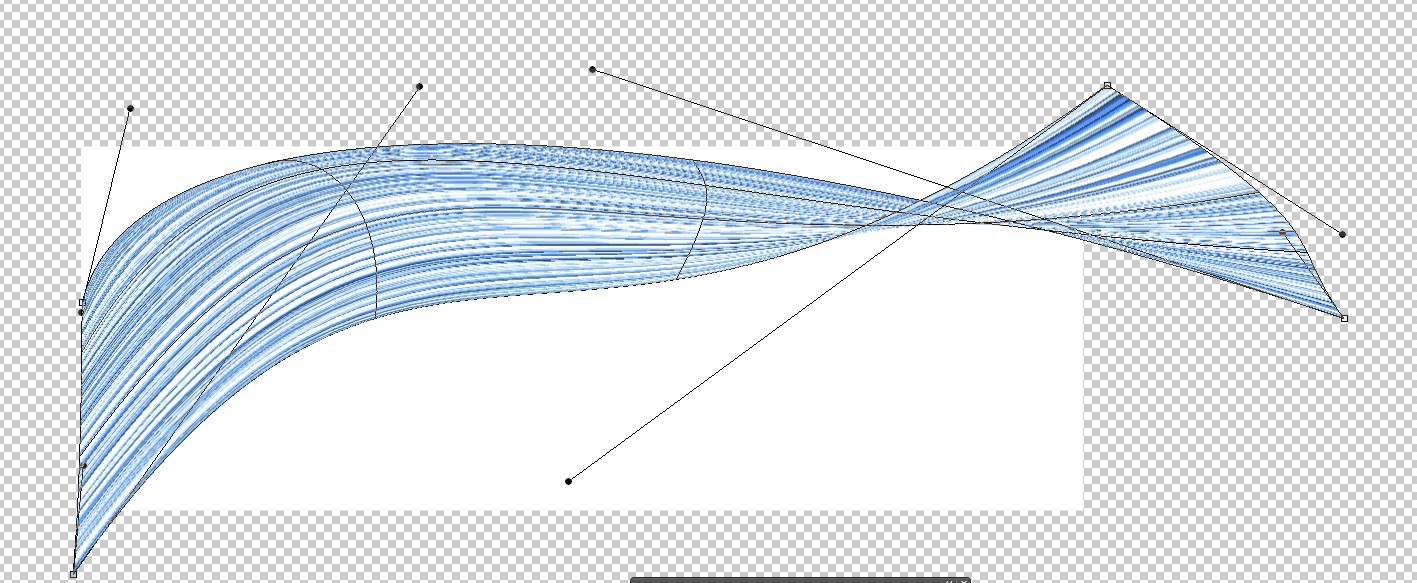
I duplicated the layers and merged the copies to keep things simple. Warping is a way to make apparent surface form in 2D:
enter image description here

To have room the canvas size was increased; the white backround was seemingly forgotten to its original size. Warping generates bad artefacts if some part of the image squeezes more dense than the resolution allows. So, avoid squeezes, stretch. I used only screen resolution, have more to get clean warps.

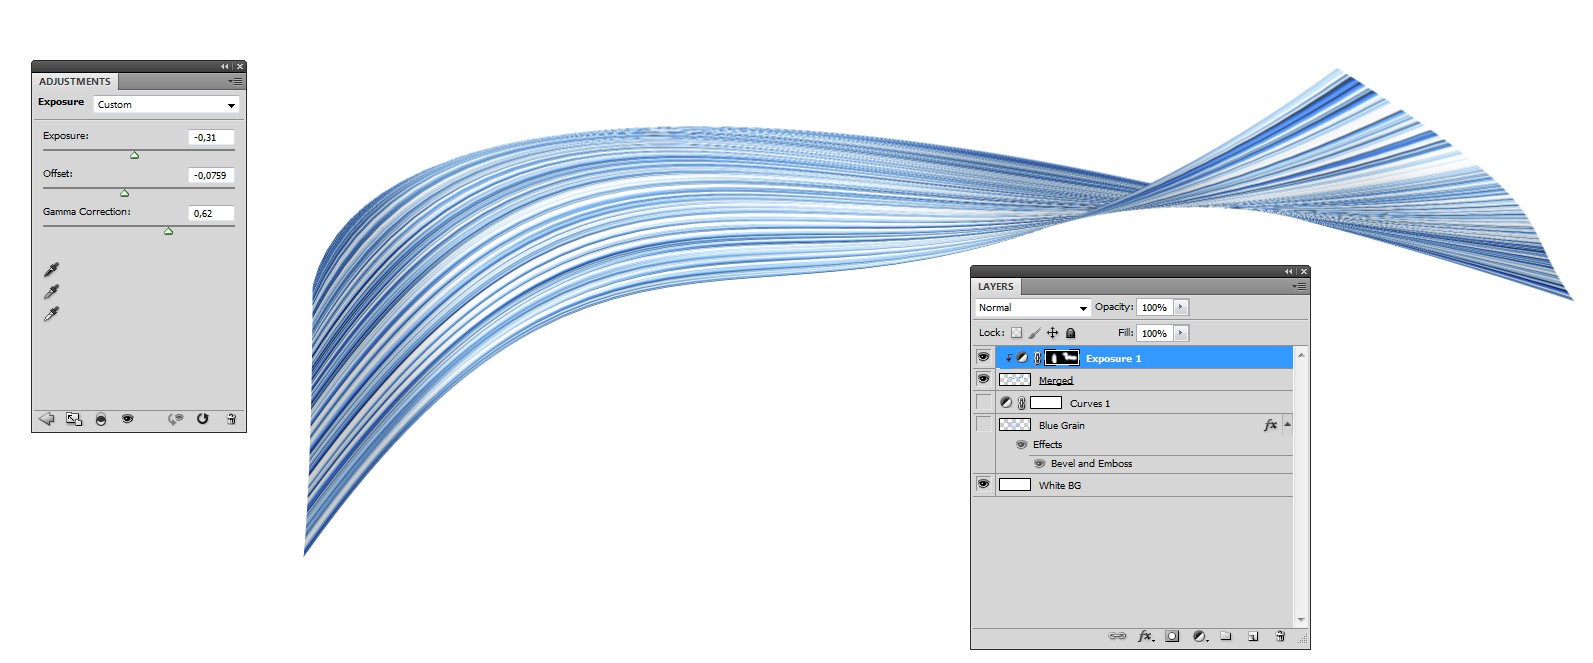
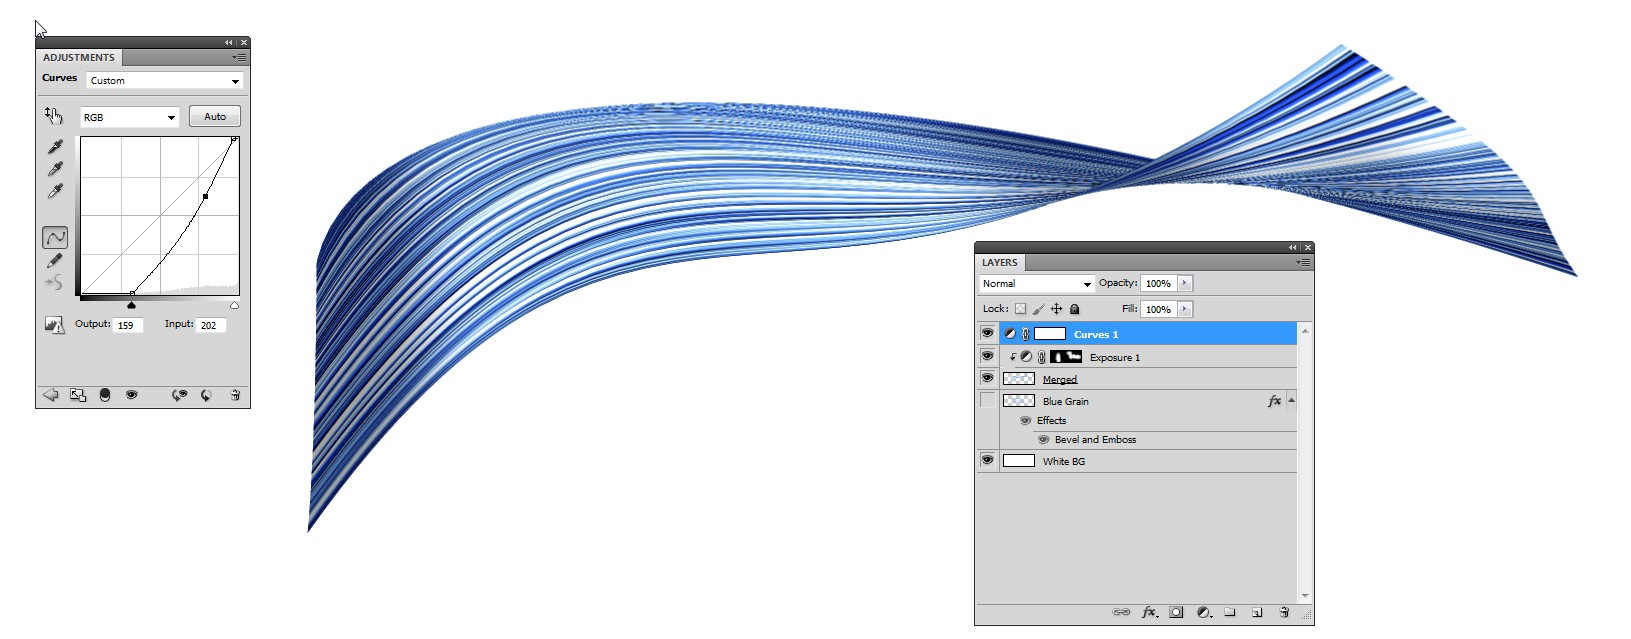
Illusion of 3D needs shading. That needs highlights and shadows. Good results need 2 adjustment layers. A masked exposure layer darkens those areas which are in shadow. Spraying white to originally black layer mask generates the shadow. Set the "next layer only"-switch ON to protect the background.
enter image description here

Darkening increases apparent muddiness. To fight against it you can add a curves layer which lifts contrast:
enter image description here

If you have a possiblity to take high quality photos of real paint, the result would be more plausible than my "flat cable". I have no real paints nor brushes to make tests. Photoshop's mixing brush and proper paint simulator program obviously also make something better than my flat cable.

In Illustrator one can make an image brush to paint long strokes. Envelope distortion can help in 3D forms. One can also map an image onto a 3D surface, but Illustrator and Photoshop have poor 3D geometry tools.

An attempt in 3D

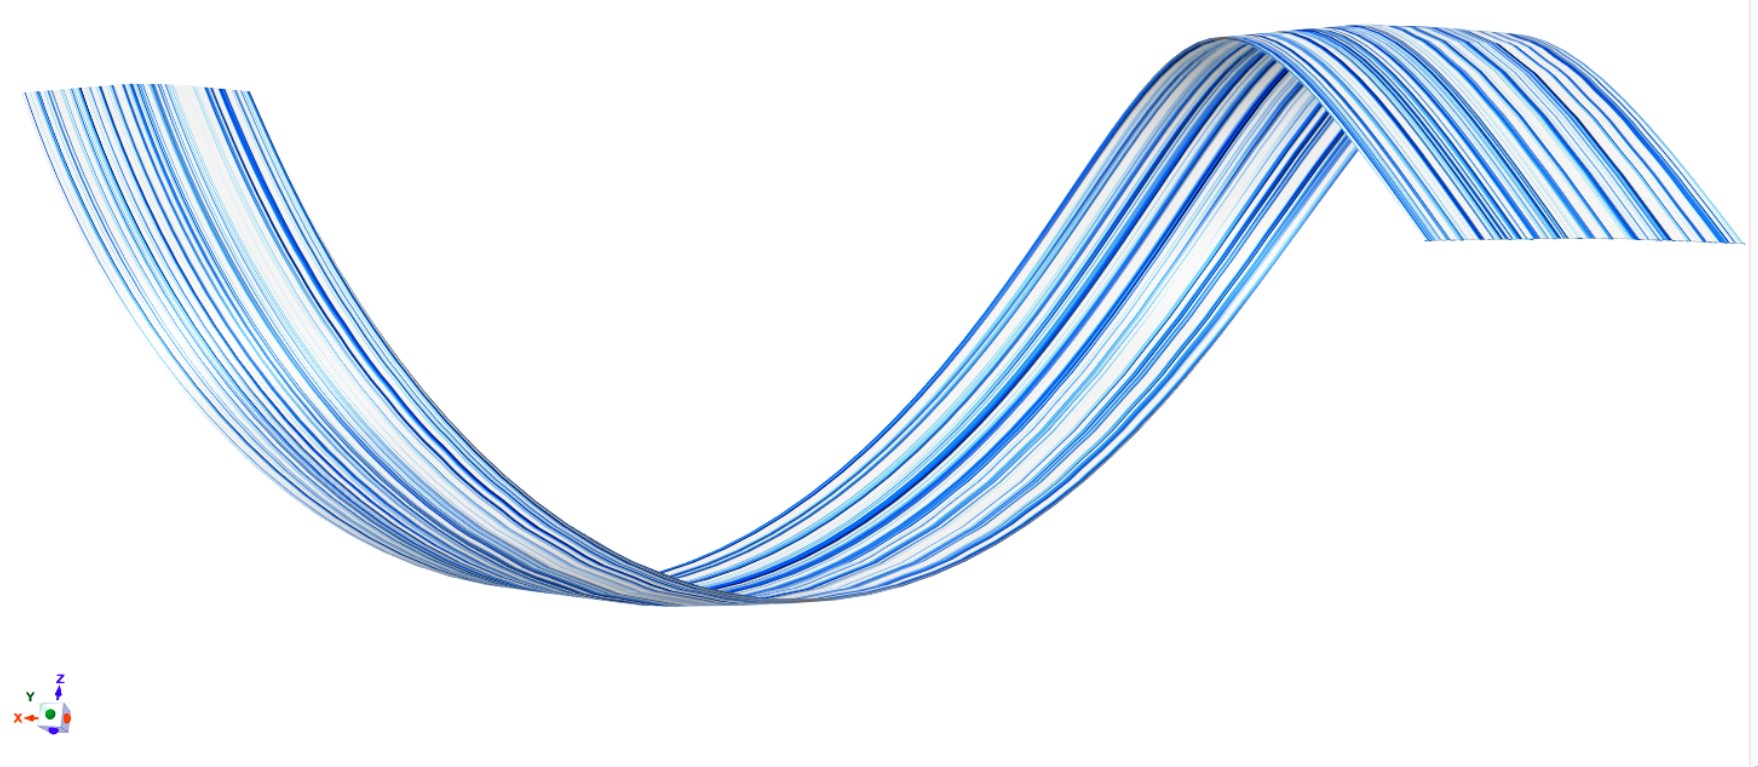
I haven't 3D modelling software which can make pro quality renderings, only some easy to use and definitely entry level CAD programs. One of them accepts raster images as surface textures and gives also a little freedom to try to stretch and place them to fill a surface. I revolved a 3D helix like stripe to test it with the "flat cable":

enter image description here

I copied the flat cable to the clipboard in Photoshop and pasted it onto the surface. After some dragging and stretching it was placed.

Unfortunately the used 3D software (=Design Spark Mechanical, freeware) makes only quite coarse renderings. Colors are flattened, polygon approximation of the surfaces is clearly visible and the resolution is acceptable only for onscreen purposes. Fortunately the colors could be restored in Photoshop. Here's the result.
enter image description here

2
  • Man I love what you did here - and I'm betting your last part with Design Spark is pretty close to the reference artist's workflow, though clearly they're in 3DS... but wow - nicely done mate! Commented Feb 27, 2019 at 20:58
  • That's awesome way to do it, but kind of it's impossible to pull of Paint Bumps, it's shadow etc using just photoshop way, certainly it's helpful when one is trying to "mimic" that pattern but certainly not when it comes to standards.
    – Dave Rajan
    Commented Feb 28, 2019 at 7:55
0

Two approaches.

If you really like photography and want to get messy I would explore making the "paint" in real life.

But I would not explore paint directly from the tube, but using some other material tined as paint, for example, toothpaste. This will have more volume and would stay fixed for more time.

Use some acetate as @GerardFalla's image or even on real glass. Setup your lighting and have fun.


But if you want to go digital, in my opinion, the best paint program is Corel Painter, especially for thick mediums like oily ones. You can configure it to have volume and shadows.


And for the twists and turns, you can take those images, either the real-life photos or the digital paint as textures on a real 3D program. My forever recommendation is Blender.

Your Answer

By clicking “Post Your Answer”, you agree to our terms of service and acknowledge you have read our privacy policy.

Not the answer you're looking for? Browse other questions tagged or ask your own question.