In Photoshop, how do I take an image in shades of gray, and transform it into shades of whatever color I want? I don't know the term for it, if there's one, neither the property of the image I would be changing with this effect, but I think it's easy to understand.
In Photoshop, how do I take a grayscale image and transform it into shades of whatever color I want?
-
It depends on the image and the coloring you want on it. If it's a black and white photo that you want to make into a colored photo, chances are that you need to use something like brush tool rather than just laying color over it semi randomly.– JoonasCommented Dec 1, 2012 at 21:06
-
@Joonas, thanks for your reply. I needed this to ajust grayscale icons to match my application theme. I needed to transform them to a #336699 scale. nine9ths solution worked like a breeze.– andrerpenaCommented Dec 1, 2012 at 21:30
-
As a semi-related note, from offset printing experience: if you are intending to print grayscale images using a spot color you need not do anything to the image. You can place a grayscale image in a layout program like InDesign or QuarkXPress and assign it one of the spot colors you are using at the press. It will be rendered in the chosen spot color on screen, but the image itself remains "grayscale". (Or "single channel".)– JYeltonCommented Dec 2, 2012 at 2:16
2 Answers
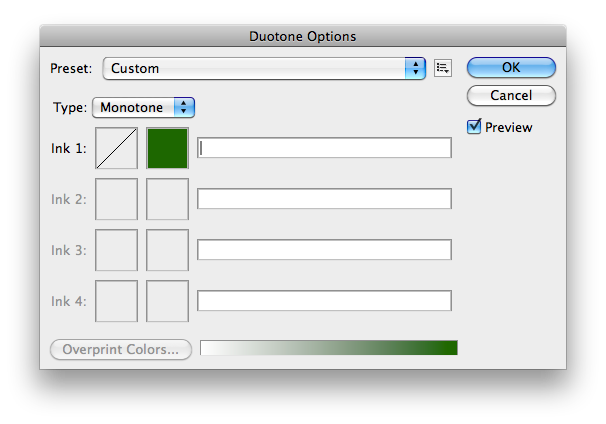
Make sure you're working with a Grayscale image and then go Image > Mode > Duotone, you'll bring up this dialog:

From there choose the colors you want to use by clicking on the color block. Adjust the mapping of gray to color by clicking on the curves (the block with the diagonal in it).
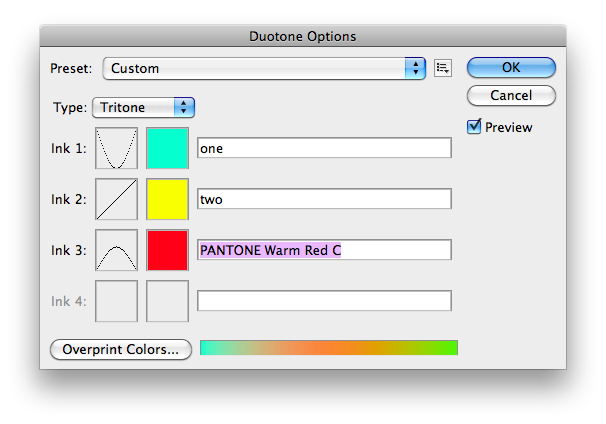
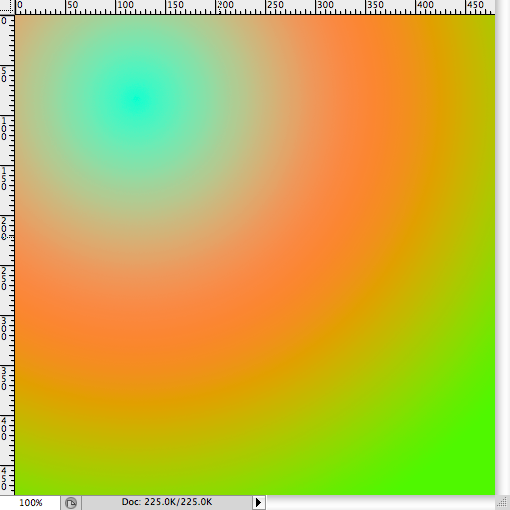
You can achieve different effects by adding multiple colors. For example, this image:

With this tritone:

Produces this image:

-
This is absolutely amazing! worked perfecly. I needed this to ajust grayscale icons I downloaded from iconfinder to my application. I needed them to follow the application theme. Thank you so much! Commented Dec 1, 2012 at 21:22
-
Photoshop will even remember the last Ink color I created to make my job even easier. Awesome. Commented Dec 1, 2012 at 21:47
-
You could also save a preset if you anticipate needing to do this on multiple occasions.– nine9thsCommented Dec 1, 2012 at 21:55
Gradient Map Adjustment Layers are awesome, precise and exactly what you're after.
Gradient Maps map the underlying image's brightness to a point on the gradient. This means you can choose exact colours for highlights, midtones and shadows.
There's a bit more info here: https://graphicdesign.stackexchange.com/a/10789/3901
