1

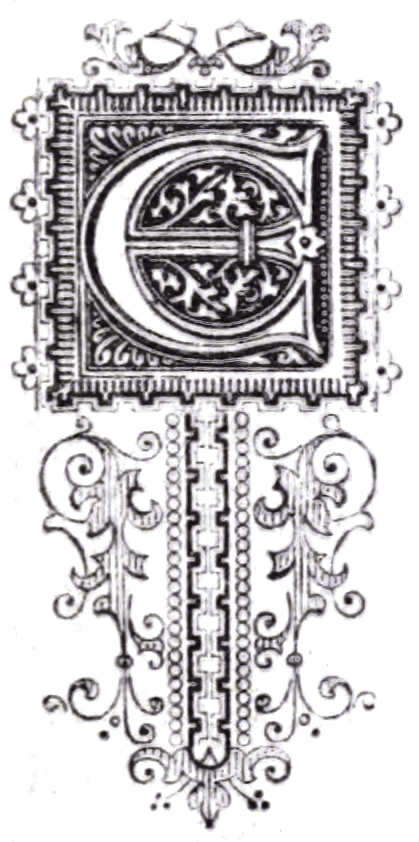
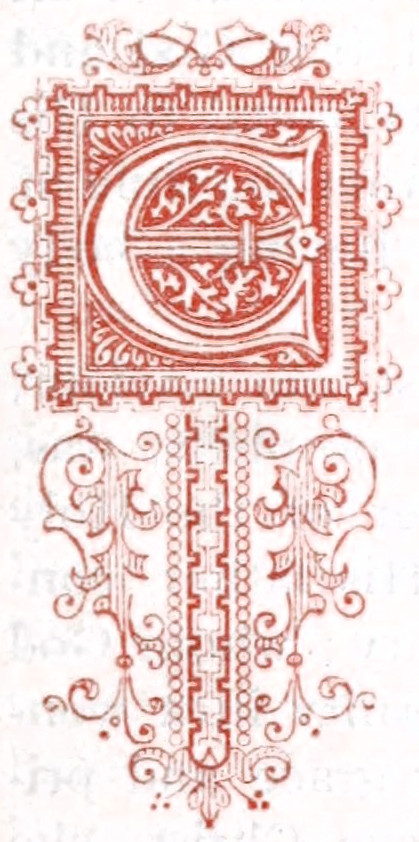
I have the below image that I would like to remove the background from. As well as some text grinning through from the back of the page, there are some vestiges of the paper colour (yellowish) and quite a bit of compression damage.

Monochrome red image on noisy background

Removing the (very light) yellow bits is fairly easy with "colour erase", but the text showing though is giving me some trouble. I'd like to avoid laborious chasing of all of it with the erase tool.

It seems to me that because the wanted image has a very specific property (it's basically all one dull-red hue), it should be possible, somehow, to extract only that hue to a separate layer, or erase everything else from the image - kind of a reverse color-erase.

However, I'm drawing a blank on the way to do this. How to use the knowledge of the mono-hue image nature to good advantage in background erasure (and/or foreground extraction)?

3 Answers 3

3

My process:

  • If you look at the RGB channels, the biggest contrast in on the blue channel (this is the opposite color to the yellowish tint of the paper). So, drag the Blue channel to the canvas to copy it as a layer. Re-activate the Blue channel which got de-activated in the process (otherwise there will be color shifts later) and select the copy layer in the Layers list.
  • Using levels, restore blacks (drag the left handle to the beginning of the histogram), and blow out the white (drag right handle until the background is a clean white)
  • Add an alpha channel, start Color>Color to alpha and remove the white.
  • Layer>Mask>Add layer mask and initialize by transferring the layer's alpha channel. Increase contrast on that alpha channel (you mostly want to set opaque things that are only partially so). Apply the mask when done.
  • Lock the alpha channel and bucket-fill with the original color

enter image description here

1

Here's one method, there may be others. This is all done in GIMP, without the need to use any other applications, or plugins.

  1. Paint out most of the worst marks left around the design using white, this will help clean up the image before you begin. You don't need to go crazy with this, just clean it up a bit.

  2. Sample the darkest red using the eyedropper tool, you'll need this later. The colour I sampled was #c64e40

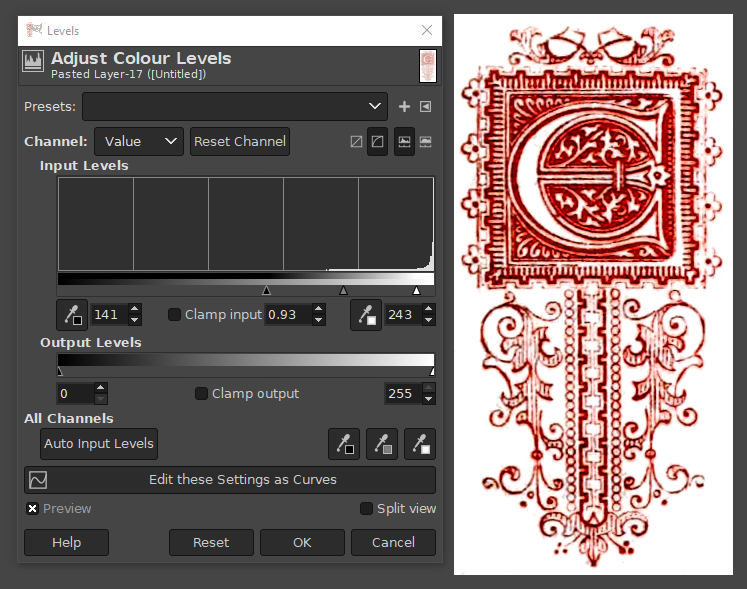
  3. Do a levels adjustment like this, to increase the contrast. Try to replicate the position of the pointers shown under the Input levels histogram. Feel free to adjust this as you prefer, paying attention to the amount of detail visible, but try to keep the white as bright as you dare.

enter image description here

  1. Make sure there is an alpha channel on the layer, then do Colours > Colour to Alpha > OK

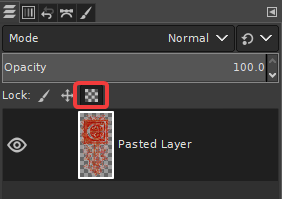
  2. Engage "Lock Alpha Channel" in the layers panel

enter image description here

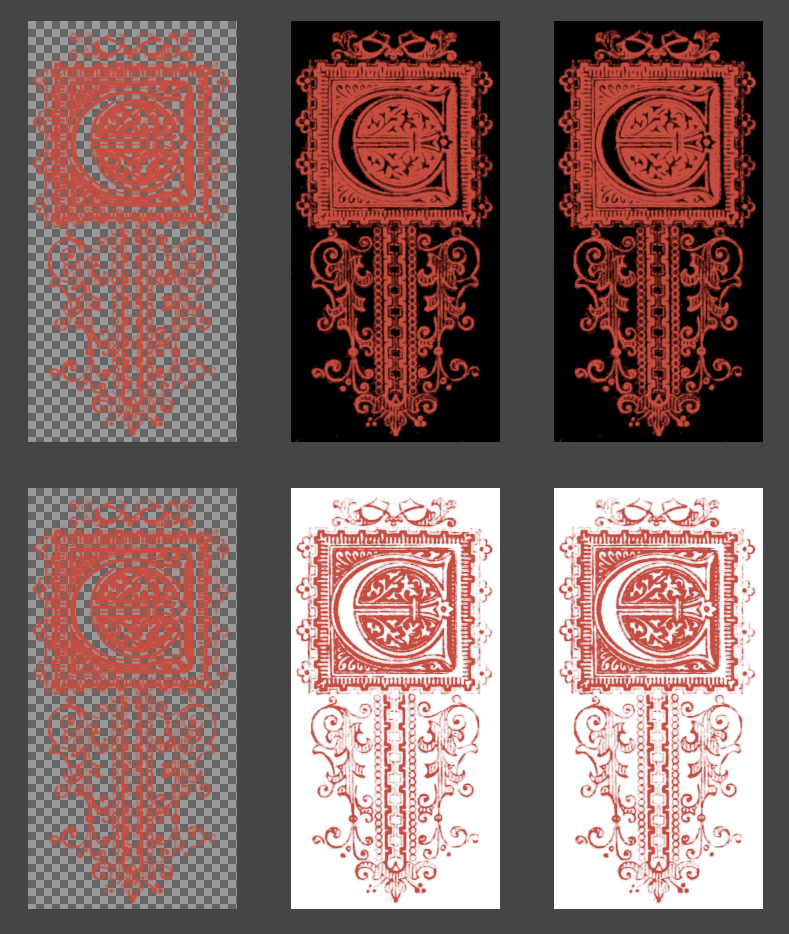
  1. Do Edit > Fill with FG Colour. This will fill the design with the colour you sampled in step 2, or alternatively fill it with any colour you want.

  2. Check the finished image against a black and a white background

enter image description here

0

I use Paint Shop Pro primarily, but I suspect the same process could be used with other image editors. According to this wiki, one requires the Separate or Separate+ plug in for this process if performed using GIMP.

I split the image into CMYK channels and deleted the resulting black and cyan images. The remaining yellow and magenta channels appeared nearly but not completely artifact free.

Gimp method from above link:

Open an image in Gimp. From the Image menu, open the Separate sub-menu and pick Separate (to Colour).

Choose a source (RGB) and destination (target, CMYK) profile and click OK.

This will open another window with the CMYK color version. You can see that there are 5 layers total.

To improve the results, a minor bit of contrast increase was performed, then the two channels were re-combined.

split image recombined

Some detail may have been lost in this process. It's also possible that adjustments beyond my minimal tweaking could improve the results.

1
  • Krita (which is free) also has CMYK capabilities. Also note that Separate+ seems to have been abandoned and apparently no longer works in recent versions of GIMP 2.10.x. See this post on the GIMP forum where it also mentions that there is another CMYK plugin called Cyan which can be used with GIMP.
    – Billy Kerr
    Commented Jan 8, 2020 at 12:31

Your Answer

By clicking “Post Your Answer”, you agree to our terms of service and acknowledge you have read our privacy policy.

Not the answer you're looking for? Browse other questions tagged or ask your own question.