0

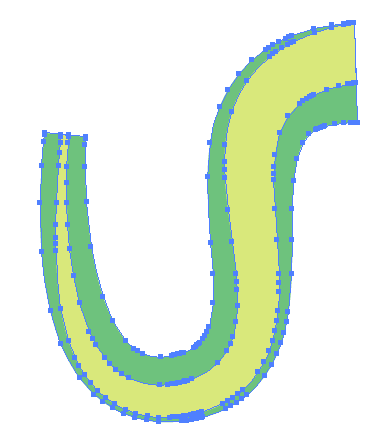
I would like to know how to achieve this sort of wave like effect that you see here in green: image here
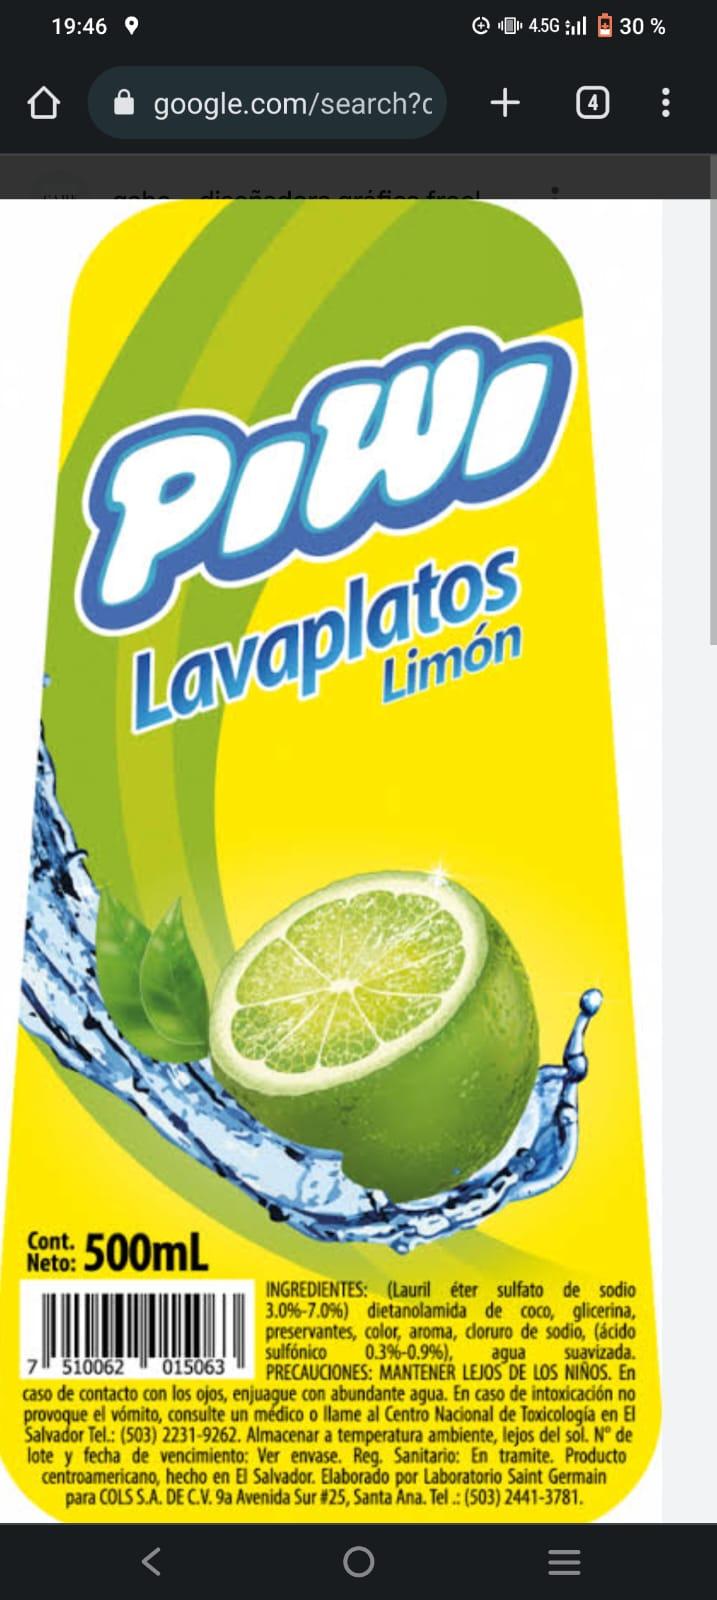
Notice how it seems to be just a set of 3 rectangles and they all go towards the same end and they bend and expand really cool in a very uniform way.

I would like to manipulate it so that it can fit to this though: image 2 here
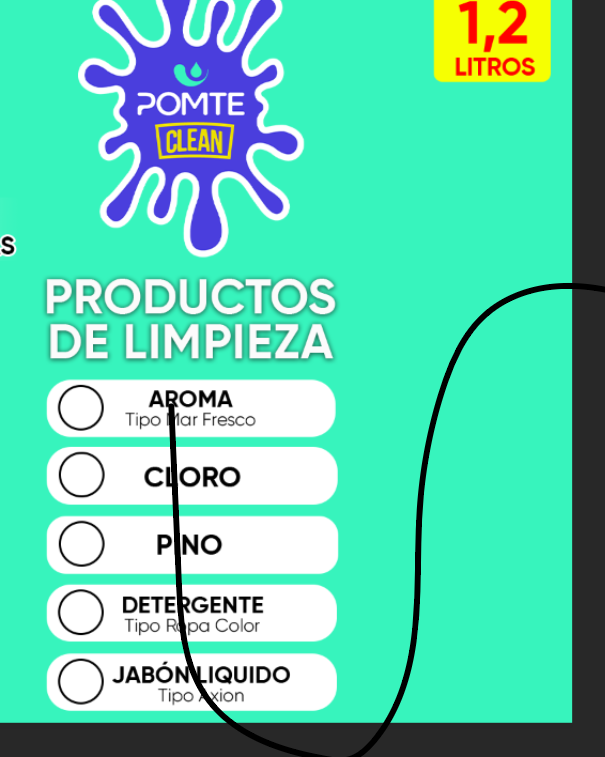
I've tried creating a set of 3 rectangles and then use the object as a mesh in the Envelope distort option but probably there is another more easier way. Another thing that i've tried is to use the Twist effect but it's very limiting for this specific case.

2
  • 1
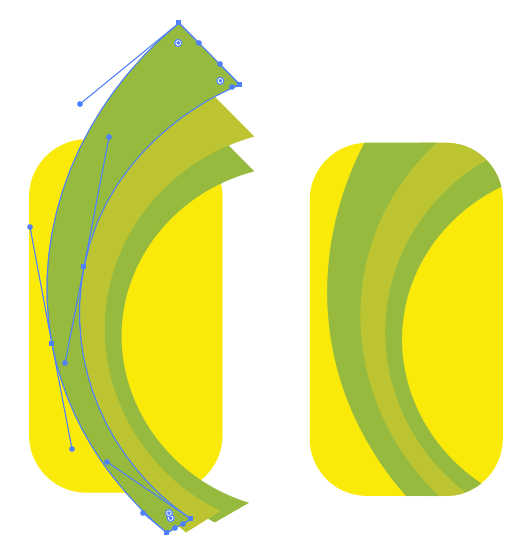
    Is there some reason you can't draw the curved shapes with the Pen tool, or perhaps the Curvature tool? - see example.
    – Billy Kerr
    Commented Apr 8, 2023 at 17:06
  • Curvature tool hmm thanks, im not too good with the pen tool, i was hoping to find something more along the lines of your example... i have found other ways but they are very limited. I will definitely give this a look thanks
    – Eduardo
    Commented Apr 8, 2023 at 17:16

2 Answers 2

2

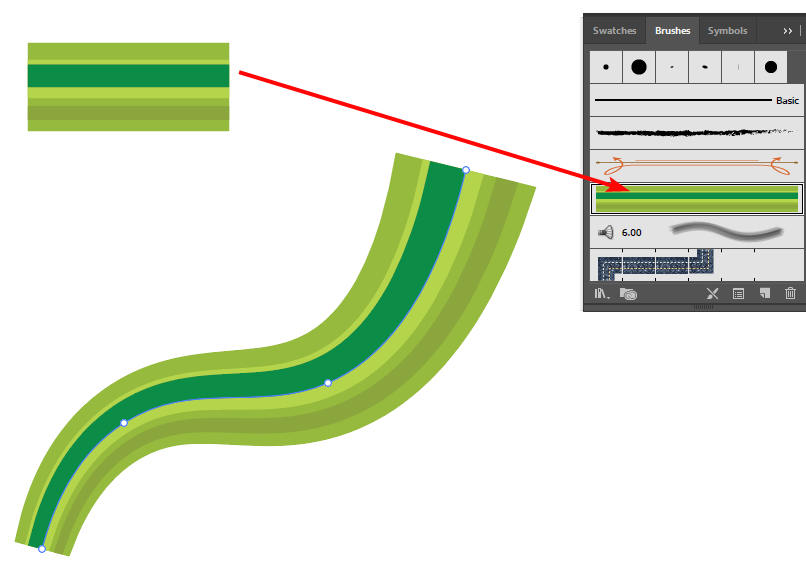
Here's one possible method, similar to Scott's but using an Art Brush

  1. Draw some rectangles all the same width, and fill with different colours,

  2. Select them all and drag and drop into the Brushes panel, and choose the Art Brush option

  3. Draw a simple curved line with the Curvature tool Shift+~, then apply the Brush you made

  4. Use the Width tool Shift+W to alter the Brush profile, thick at one end, narrow at the other.

An example

enter image description here

Another possibility is just to draw some curved filled shapes with the Pen Tool, or Curvature tool. In the example below, I clipped these using a copy of the yellow round cornered rectangle.

An example

enter image description here

1
  • I think using the curvature tool gave me the most freedom, thanks for leading me into this tool I had never used it before!
    – Eduardo
    Commented Apr 8, 2023 at 20:23
1

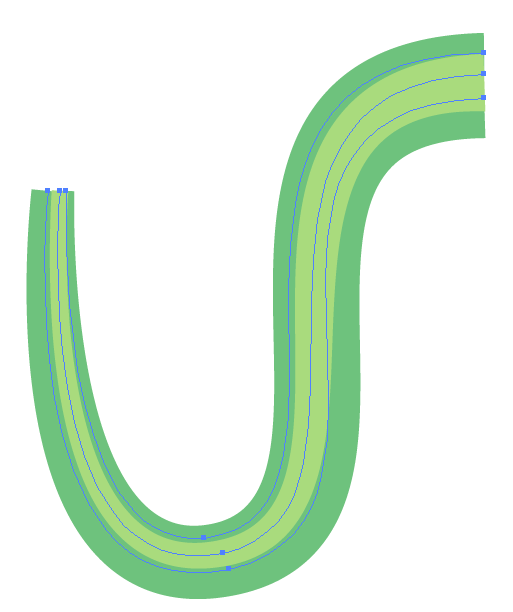
You don't really need rectangles. This can be done with 3 stroked paths in Illustrator....

enter image description here

  • Draw 1 path
  • Apply a thick stroke
  • Apply a stroke profile (On the Stroke Panel) so the stroke narrows at one end.
  • Duplicate the path
  • Change the stroke color
  • Adjust the anchors slightly so they are offset a bit from the original
  • Duplicate the path again for 3rd stroke
  • Tweak 3rd stroke anchors and color

Really you just need to draw 1 path. You could use the black stroked path in your second image as a starting point.


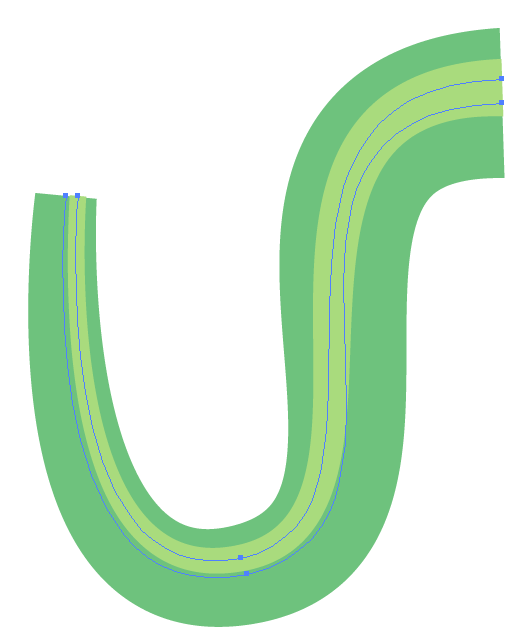
Technically if one makes the base stroke super, super, thick, this could be accomplished with just 2 overlapping strokes....

enter image description here


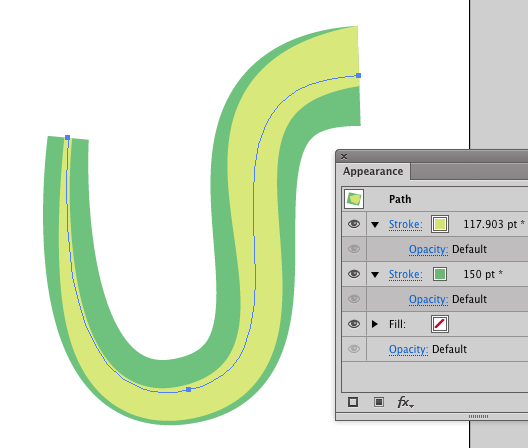
Or .. slightly more advanced.... 1 path with multiple strokes using the Appearance Panel and the Width Tool to add some variation to the thinner stroke.

enter image description here


If you then want filled shapes rather than strokes...

Select all and then choose Object > Expand Appearance from the menu.

enter image description here

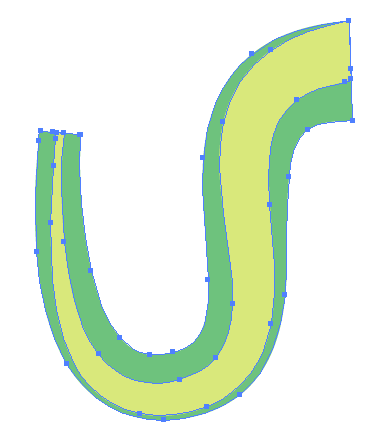
Object > Path > Simplify... can be helpful after expanding, to eliminate a lot of superfluous anchor points.

enter image description here

Your Answer

By clicking “Post Your Answer”, you agree to our terms of service and acknowledge you have read our privacy policy.

Not the answer you're looking for? Browse other questions tagged or ask your own question.