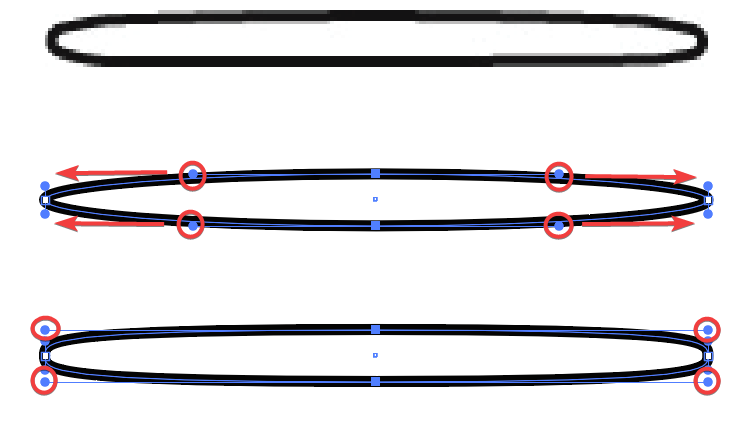
In the left: A rounded rectangle is drawn, The corners are curves, it's not an effect any more!
In the middle: The rectangle is scaled vertically until the corners look good. They are all quarters of an ellipse. Unfortunately the shape is still too high.
In the right: All 4 anchors of the top end corners are selected with the white arrow. The anchors are moved downwards (with the arrow down key in this case) until the shape has a good height. As well one could type the wanted height to the H-field in the info bar. Or drag by holding Shift key all top end nodes at the same time until the top edge meets some reference shape or a guide.
If you already know exactly the wanted corner shape you can as well make 3 flipped copies of it and insert the rest of the rectangle. An example:
This is the wanted top left corner:

Note: The endpoint handles are exactly horizontal and vertical; they are drawn by using the pen and holding shift in this case. There can also be intermediate anchors for more tricky geometric forms. You need them if you want also continuous curvature. Now the new corner curve will meet the sides of the rectangle only tangentially; there's a curvature step in the joint like at the ends of the common circular roundings.
In the next image 3 copies are made and reflected (as copied) to the needed angles. The copies are one by one placed on the corners of the wanted size rectangle. Smart guides and snap to point make them snap exactly:

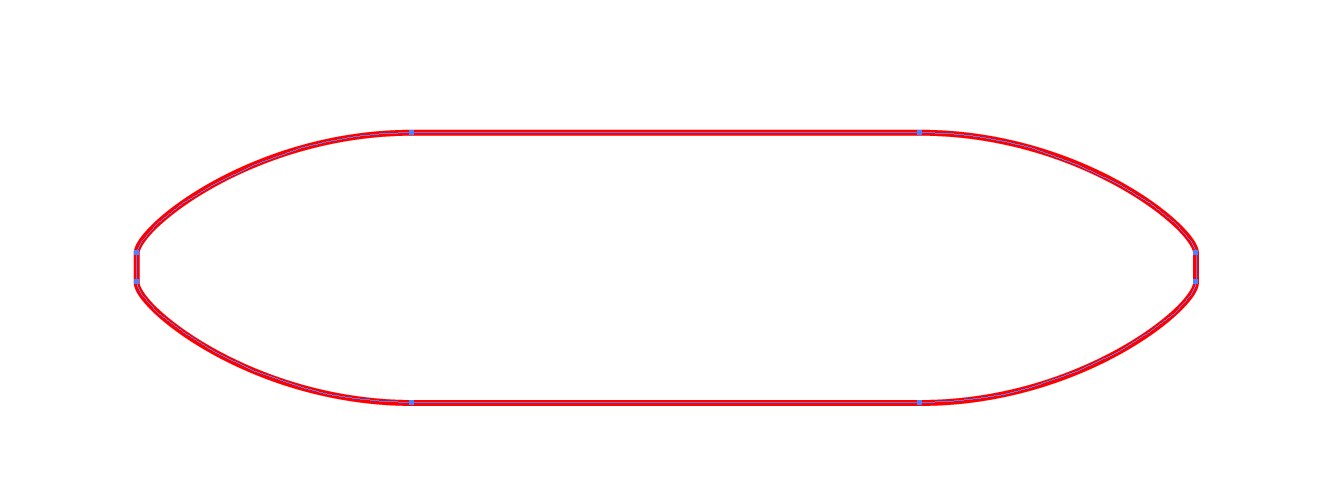
In the next image All items are selected. The new rounded shape is formed and the excessive corner areas are deleted with the Shape Builder.


