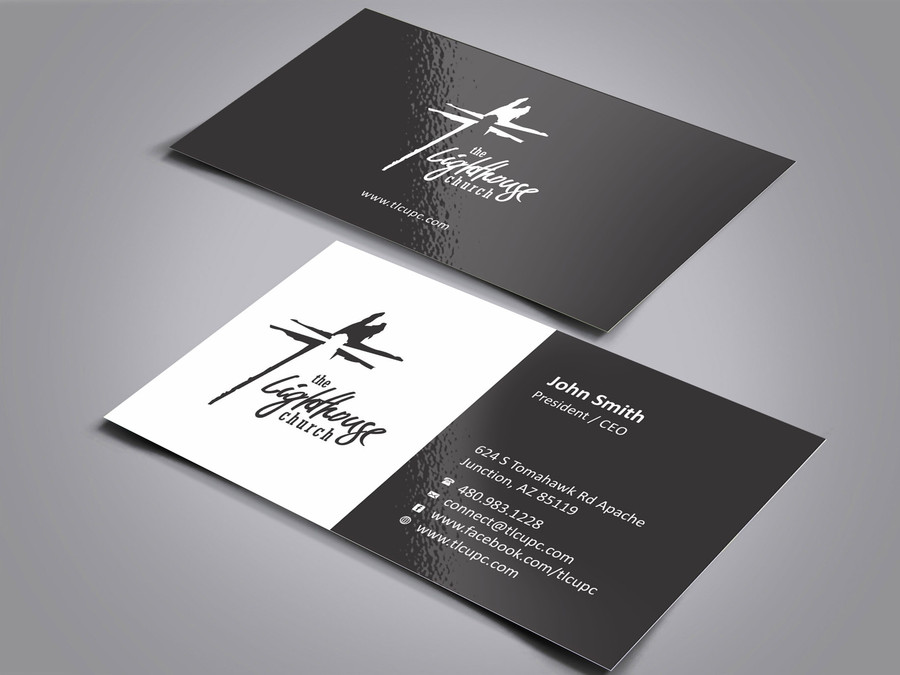
I am trying to create the effect posted in this image. How can this can be created?

I am trying to create the effect posted in this image. How can this can be created?

There are a few questions similar to this one popping up lately. Here's answer that I hope will help!
When trying to recreate this type of image you need to consider positioning, light/shadow and highlights/Texture. So, the steps;
Choose the type of surface that you want the cards to be displayed on, above is quite a simple one however people may want to take a photo of a table surface or similar - it's subjective. I used grey to be consistent with the sample given in the question.
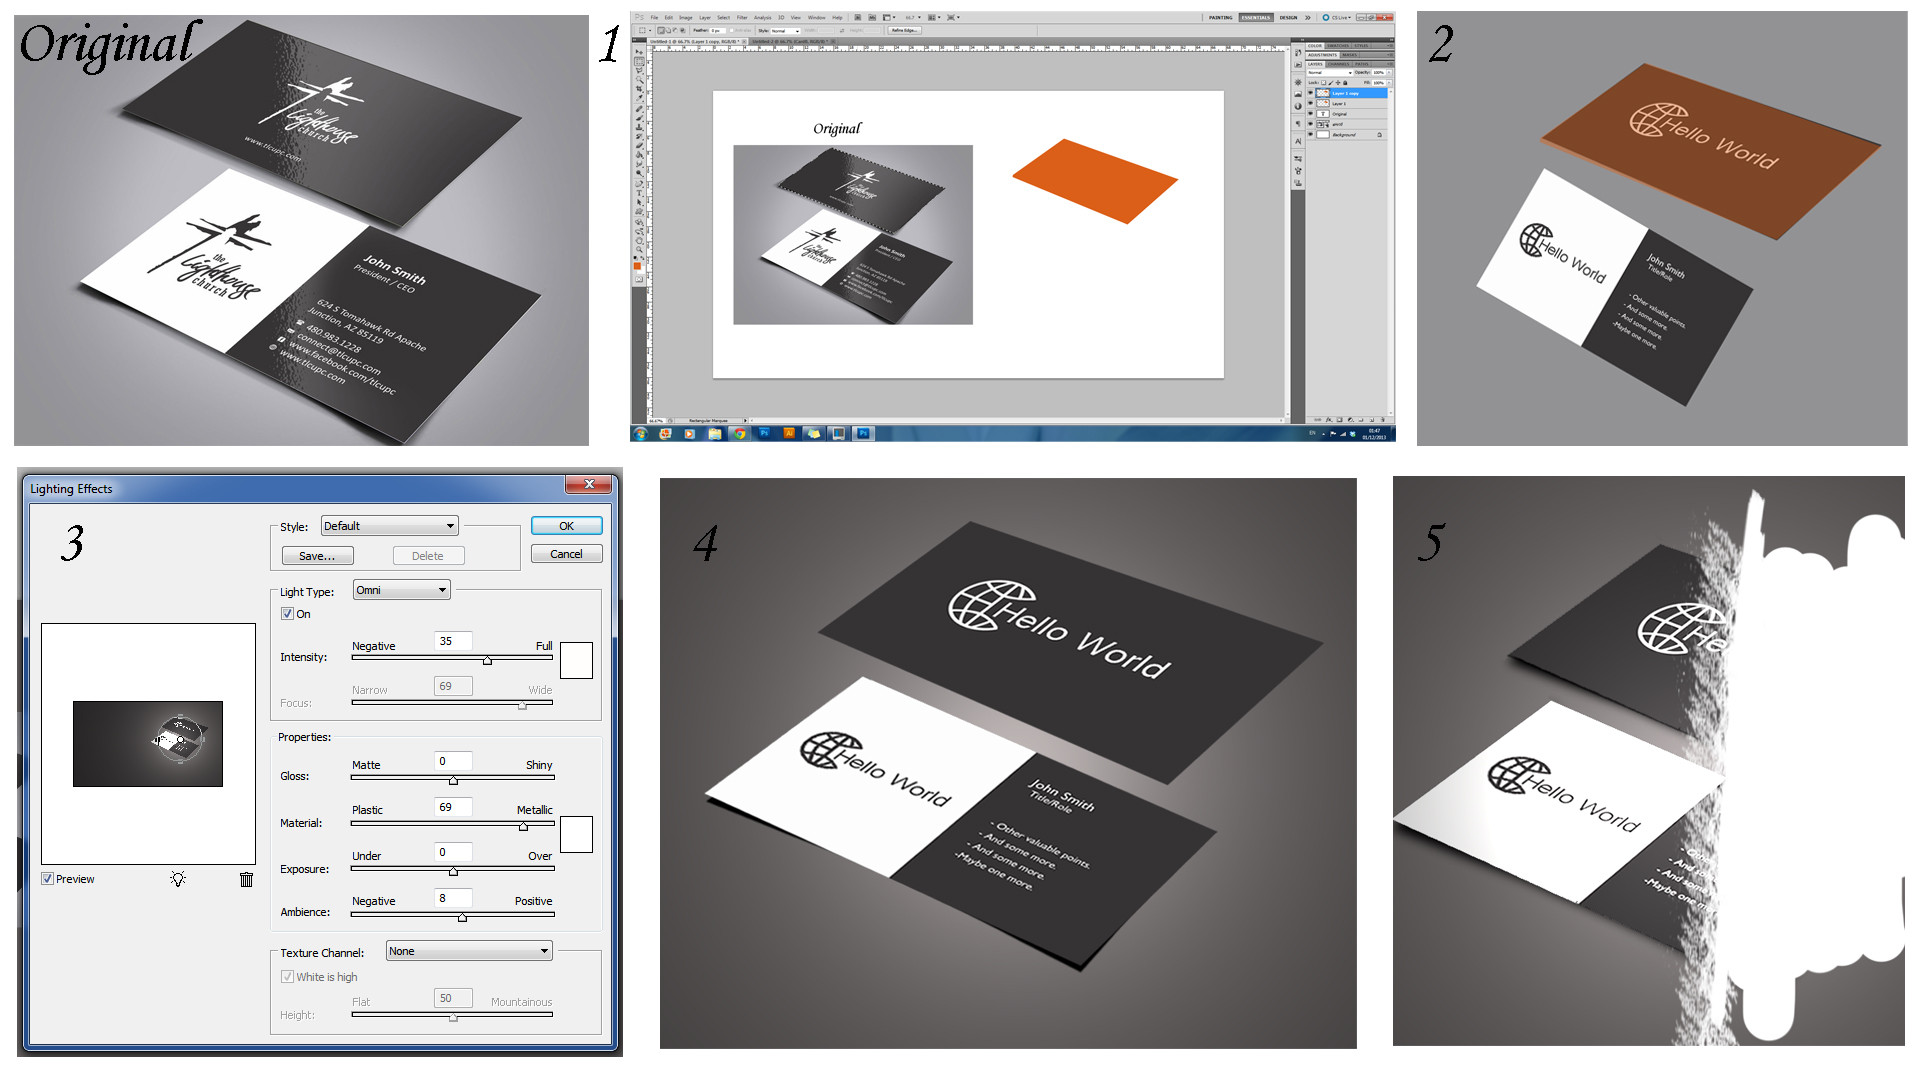
Positioning For speed, you can see below in 1, that I took a reference point from the original image to position the business card so that it would seem as if it were lying on a surface. At 2, I used (ctrl + T, right click) DISTORT to manipulate my business card to sit appropriately. I repeated this for the second card and lay them next to each other.
Lighting Filter > Render > Lighting Effects. An omni-directional light was used for this part to make that tell tale circular change in light. Seen at 3.
Shadow Simply some black boxes warped (ctrl + T, right click) WARP. I then applied a Filter > Blur > GAUSSIAN BLUR. Next, I selected the black area that I did not need and deleted it.See 4 for shadow example.
Highlights/Texture Mark out the area that you want highlighted in white (see 5), using different brushes (B) to imply the texture of the paper be it coarse/glossy etc. Tidy this up with the eraser tool (E). Lower the opacity as you see fit. Tidy some more with the eraser as necessary, using different eraser brushes and sizes to perfect your texture. Select and delete any of the areas that go beyond the business cards.

This should more or less get you the result that you want. My finished result was made for example purposes so you will need to tweak settings, brushes, sizes etc. to achieve the result you want.
Finished example:

Hope this helps.