3

I'm wondering if anyone has any tips, tutorials or templates on how to 'fake' a printed effect. I want to make it look in my portfolio like I have printed business cards and other collateral without doing so.
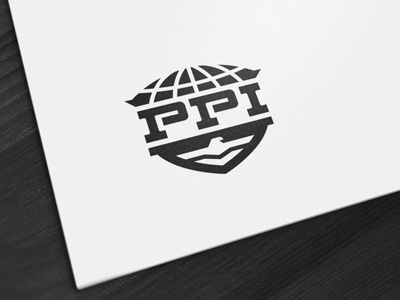
enter image description here

3
  • I added the photoshop tag because you don't mention any particular software, but I'm assuming that's what you work with. Feel free to change it back to your preference!
    – Yisela
    Commented Aug 21, 2012 at 7:07
  • Why assume Photoshop? I would say this is a better job for Illustrator, especially if taking the example image into account.
    – o_O
    Commented Aug 21, 2012 at 7:11
  • 2
    @RKS: Not necessarly. Illustrator would be good but rather ridged in it's effect. Photoshop may be a better way to go, using the standard Layer Effects, or using a combination of Photoshops' (CS6 Extended) 3D tools, material textures, and Layer Mask effects. I've posted an illustration on the 3D method below. Commented Aug 22, 2012 at 4:35

4 Answers 4

5

I don't know about a template. You'd need to

  • select an image or texture for your surface
  • drop your art in at the desired angle
  • overlay the setting with a gradient and add shadows for a lighting angle
  • add soft-focus for effect
  • judiciously apply film grain to temper that overly-smooth cgi look

Get one setting working the way you like, then create a few alts and you have your own template :)

2
  • No point doing a separate answer, so I thought I'd augment this just a bit... sxc.hu has some blank piles of business cards and the like, just watch the permissions for each image.
    – Brendan
    Commented Aug 20, 2012 at 17:46
  • 1
    +1, and definitely use a real photo of real blank materials as your base image - only fake what has to be faked. Depending on the image, you can maybe minimise the amount of fake texture and lighting that needs to be added to the superimposed image by having it, say, 90% opacity and Multiply blend mode so some of the texture and differences in lighting come through. Commented Aug 21, 2012 at 7:38
4

Here is a quick illustration of an example of a Business Card (Back) with a logo, embossed, with foil stamp, and letter press, on a textured paper using Photoshop CS6s' 3D tools. Info after the image: Example of Embossment/Letterpress/Foil with Photoshop CS 6 3D Tools
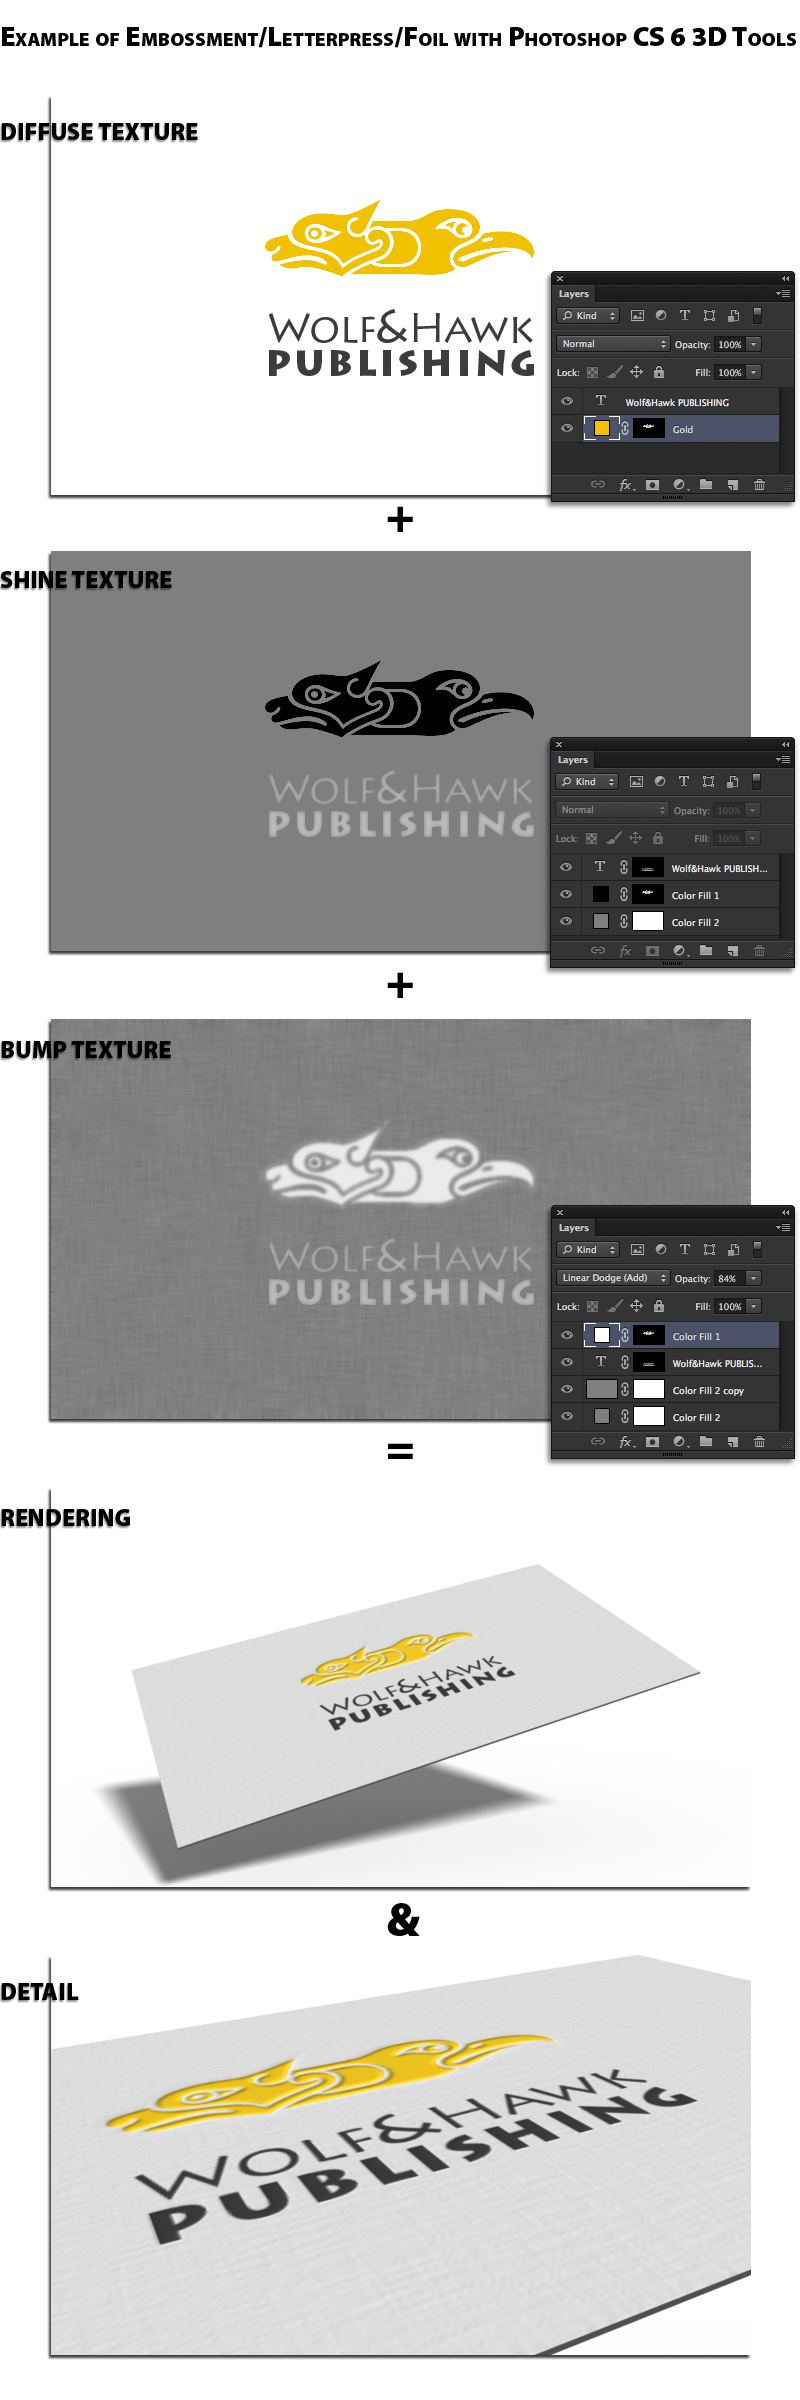
I made a document at a 3.5:2 ratio (standard US business card size) with a white background. Next I selected 3D Extrusion from the 3D panel, then made the 3D object Extrusion Depth 10. Next I selected all the materials (3D panel) and set them all to the No Texture preset. Then I clicked on the Diffuse Texture and made a new texture, same as my original image dimensions (you could increase the resolution factor for better results if necessary).

I opened the Diffuse texture (which is where your "color" goes) and laid out the card. I then repeated the process for Shine and Bump, (shift-)dragging the layers from one document to the other to retain position, etc. Then I created a layer mask and adjust the masks' Edge properties in the Properties panel (Layer Mask selected) until I had the desired results.

Last, I rendered out a comp, then a detail comp for you... and then screenshot the textures and associated Layer panels, assembled the comp, group the assets, added a Drop Shadow (Layer Effect) to the group/folder saved and here we are... (^_^)

I hope this helps. You can find out more about Photoshops' 3D features at Photoshop.com. Cheers!

Disclaimer: I am the editor-in-chief of Photoshop Dimensions.

5
  • ...Also, I'd like to agree with the sentiment, that nothing beats the real thing, and that if you can take a photo of your background/subject image and then impose on that, then great as 3D isn't always the best/right choice... it's just an variation on a workflow. In addition, you could order an embossing stamp from a stationary store for less than $100.00 and actually do it for real. Cheers! Commented Aug 22, 2012 at 4:43
  • +1 for a great post. Which parts are CS6-only? I did get the free Beta trial but never got around to exploring it in the time I had it and haven't bought it yet.
    – o_O
    Commented Aug 22, 2012 at 4:46
  • I'm afraid the end result just doesn't look very good. For one, the original logo had too low resolution, as you can see the interpolation between individual pixels in the finished product. The perspective and angle just look cheesy and overdone, not to mention the shadow. The texture is of a course canvas but the edge of the card is CGI-crisp. The mid-grey of the card makes it look underexposed and the embossing is too much. Commented Aug 22, 2012 at 4:53
  • @RKS: You can do most of this in Photoshop CS 3-5 Extended, but it is much more daunting as it is not very easy to produce some of the effects that one would want. Photoshop CS 6 Extended makes the entire process much easier. ——— @ thomasrutter: Thanks for your valuable feedback (ahem). However, this was not designed as a final piece but as an example of how one can accomplish a task. Creating a larger starting file will resolve most of the resolution issues, as for the other issues/opinions, those are just that, opinions, but thank you for your critique. Cheers! Commented Sep 10, 2012 at 5:47
  • One more thing, most elements in the document are non-destructive, and the 3D scene, including all materials/textures, lights, shadows and shapes are completely non-destructive, so if you were unhappy with elements, such as the shadow, etc, you can tinker with them until you're happy and then render out the final results. Cheers! Commented Sep 10, 2012 at 5:55
3

Most of it can be done with photoshop as plainclothes suggests.

And sometimes it works well.

But if your portfolio is primarily print work, nothing beats actual samples of the printed work.

Alternatively, I find nothing wrong with not going the photo-realistic route. If you designed business cards, just show them as your standard rectangle. That let's the viewer focus on the design of the card itself without being distracted by the 'set dressing'.

But neither approach is better than the other. It's really personal preference.

2
  • 2
    +1 for nothing beats the real thing. Obvious, yet undervalued by many.
    – o_O
    Commented Aug 21, 2012 at 3:37
  • 1
    There is no reason why someone can't buy some Avery stuff at a large DepotOfOfficeStaples, print out one of each type, stack blanks underneath and then take a photo using a tripod.
    – horatio
    Commented Aug 21, 2012 at 20:15
0

You want to search for things like "die cast," "embossed," etc.

Like:

this search for Illustrator die cut

this search for Illustrator embossed effect

These types of effects can mimic the appearance of printed material. But I can second DA01's statement that nothing beats the real thing. Look at some really high end designers' portfolios and you will see what that means. Not only do they have premium designs from professional print jobs, but they've also used really great photography techniques to add some flair to their designs (i.e. lighting, angles, etc.

Your Answer

By clicking “Post Your Answer”, you agree to our terms of service and acknowledge you have read our privacy policy.

Not the answer you're looking for? Browse other questions tagged or ask your own question.