1

I'm trying to learn more about layers and fills in Illustrator.

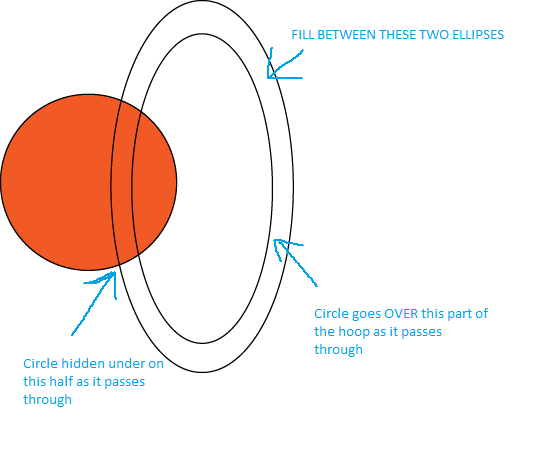
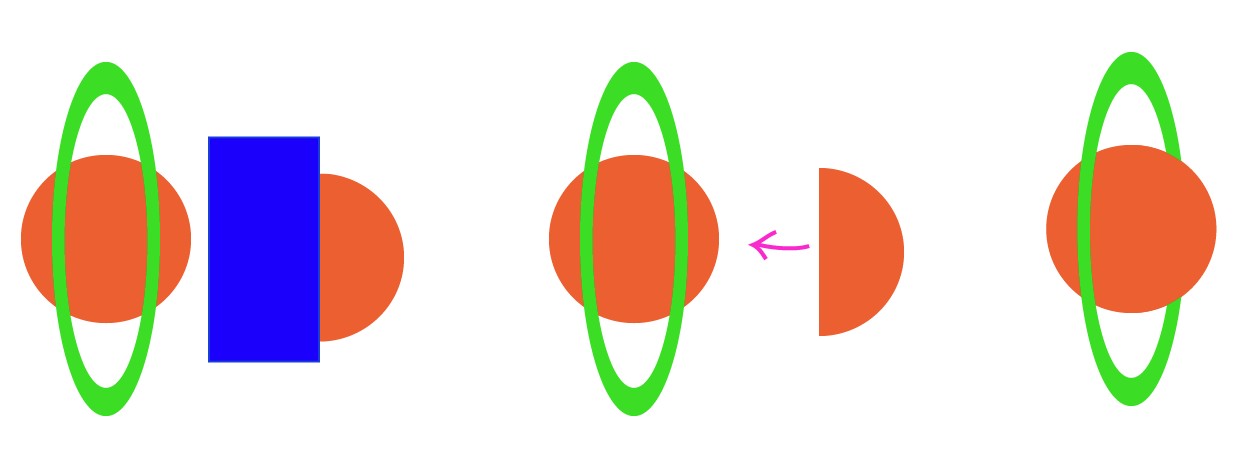
I have a ball and two ellipses in the shape of a hoop.

Problem 1: How can I get a fill into the space between the two ellipses?

Problem 2: How can I get this circle to pass through the hoop. So the circle will go UNDER the first half of the hoop and OVER the second half of the hoop.

Here is an image describing what I am trying to do:

Circle pass through hoop

What I tried: I tried drawing a circle, removing the anchor points on one side. Then I copied the circle half to another layer, used the reflect tool to flip it on its Y axis. After that I used the pathfinder MERGE option to join the paths. However, the paths just revert to the same layer upon merge, which defeats the purpose of this exercise.

Ultimately I am trying to animate an SVG with HTML/CSS, so the circle won't be stationary. It will be a moving animation.

Here is a link to the ai file: https://cl.ly/0q2t0P2M1V2O

1
  • I made a live SVG (mostly by hand) that does this for you to study. You can find it in the codepen. Please make use of notches to avoid seeing the seam on many of the browsers. Tip you can comment out
    – joojaa
    Commented Jun 27, 2017 at 7:13

4 Answers 4

4

Rather than splitting the ball – you could split the hoop. Like so:

Ball and hoop

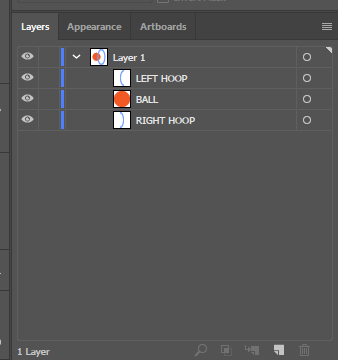
Then Put the left half of the hoop at the top of the layer stack, the ball in the middle and the right half of the hoop on the bottom:

Layer stacking order

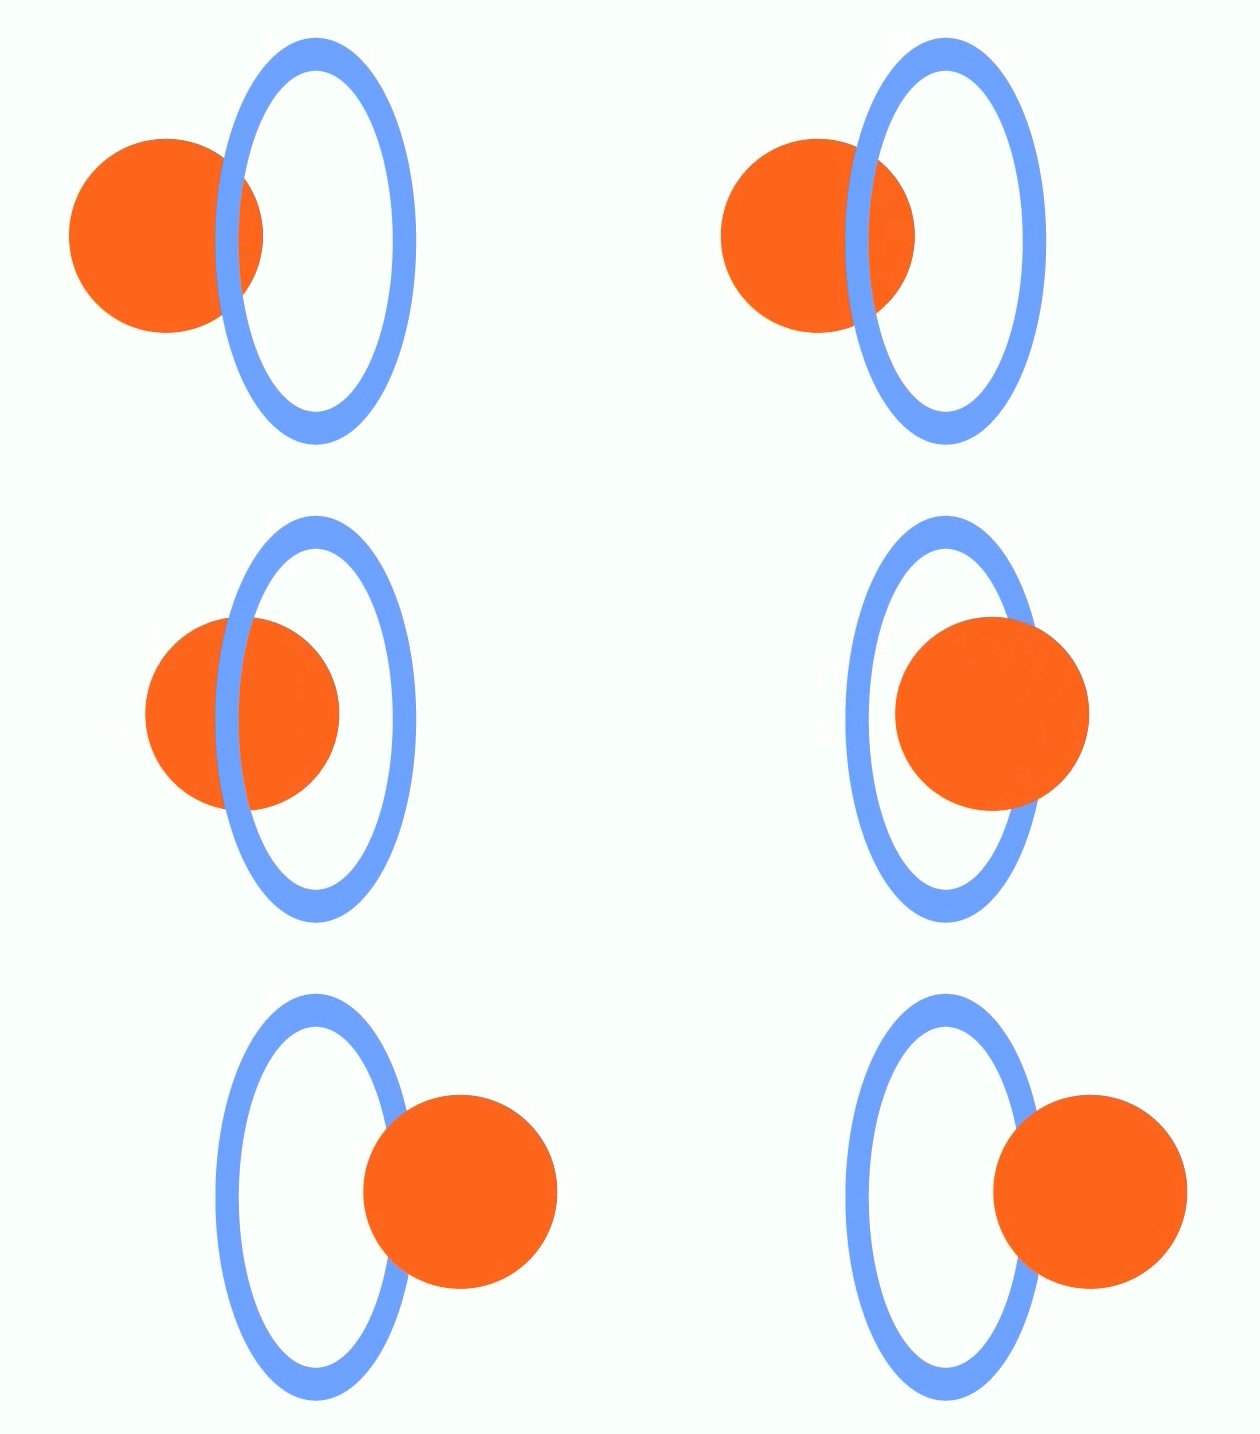
Now your animation is simple:

Animated GIF Ball through hoop

~~~~~~~~ ~~~~~~~~ ~~~~~~~~

EDIT:

I didn't notice your comments until after I posted this.

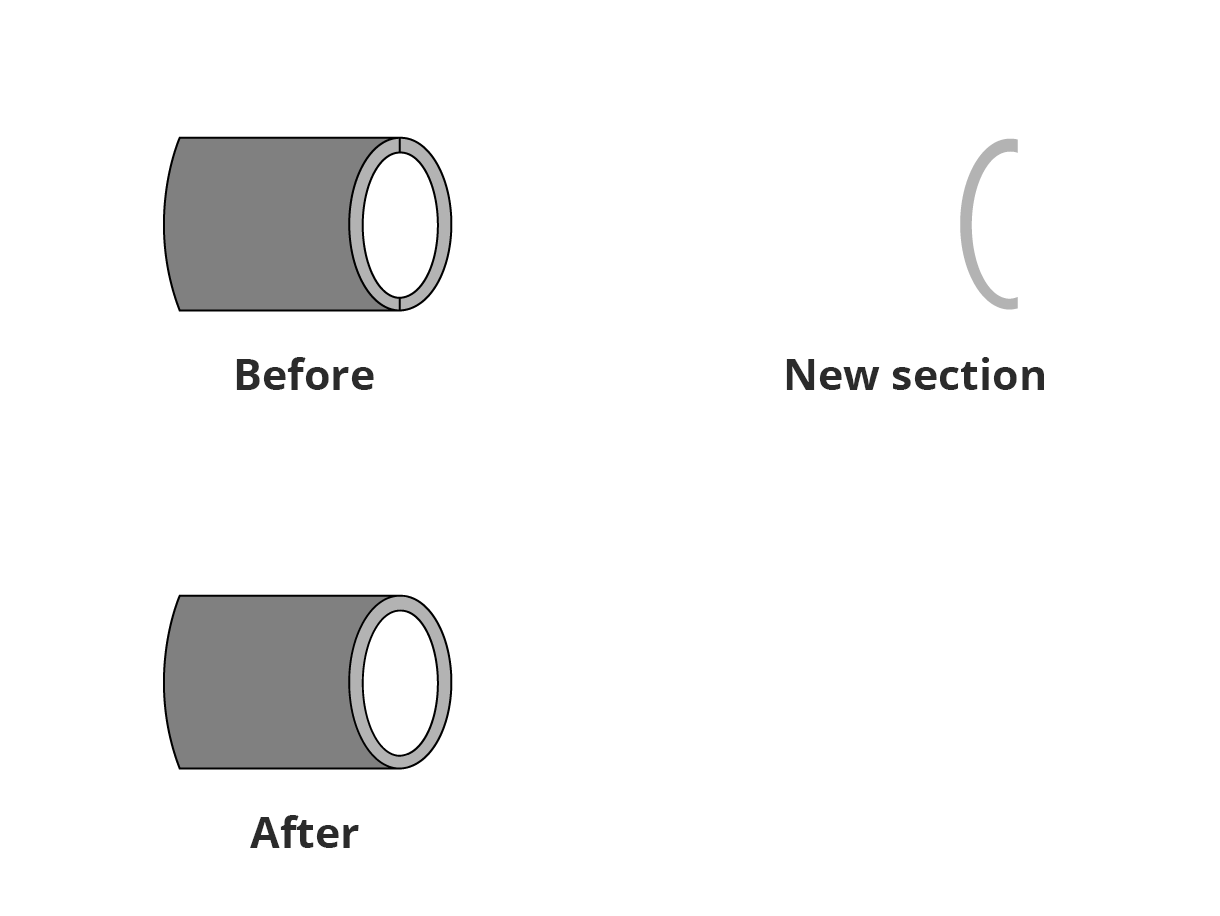
So you're on the right track. Looking at your file all you need is another object on top to cover your strokes where the split is. So just create another piece of an elipse with no stroke like this:

Spitball fix

And place it at the top of your layer stack...

9
  • or just 4 open paths
    – joojaa
    Commented Jun 25, 2017 at 9:29
  • Thanks @BANG, I increased the complexity by trying to put a stroke around the hoop. Would have been easier to omit the stroke. Didn't even think of covering up those two lines, I can probably just do it will a small grey line on both top and bottom. Cheers Commented Jun 25, 2017 at 14:27
  • @JoelB No problem. The stroke makes perfect sense. It wouldn't look the same without it. But the split does kind of ruin the illusion IMO... Anyway have a good one
    – BANG
    Commented Jun 25, 2017 at 16:51
  • @joojaa Your way is no doubt easier for someone who knows what they're doing... I thought perhaps this way would be simpler for someone with an unknown skill level. I knew for certain that Joel B could make a simple shape like this because he's already demonstrated that here. Again, many ways to do things in Illustrator
    – BANG
    Commented Jun 25, 2017 at 16:57
  • @joojaa Are you stalking me? LOL
    – BANG
    Commented Jun 25, 2017 at 16:59
1

Fill between ellipses: Give a fill to the bigger ellipse. Select the smaller ellipse. Goto Object > Arrange > Bring to front. Select both ellipses. Go to Pathfinder panel and click "Minus" to make hole to the bigger ellipse. The smaller vanishes.You have a ring.

In the same way you can make a half of the orange ball (=duplicate, draw a rectangle and minus it from the copy. Now you can pile the stuff to wanted order.

enter image description here

Another way is to use clipping masks. See this:

Clipping mask question

1
  • I'm copying my response to the kind individual who posted the first answer: This was close to what I am trying to achieve. One important thing that I should have mentioned: my end goal is to animate an SVG with HTML/CSS. In other words, the ball will be passing through the hoop from left to right. So the solution works but only if the position of the ball remains static. This is something that I was able to create close to my goal: cl.ly/311D2x1o0i40 You can see my "hacky" strategy of splitting the ellipse into two halves and putting each half on a separate layer Commented Jun 25, 2017 at 4:14
1

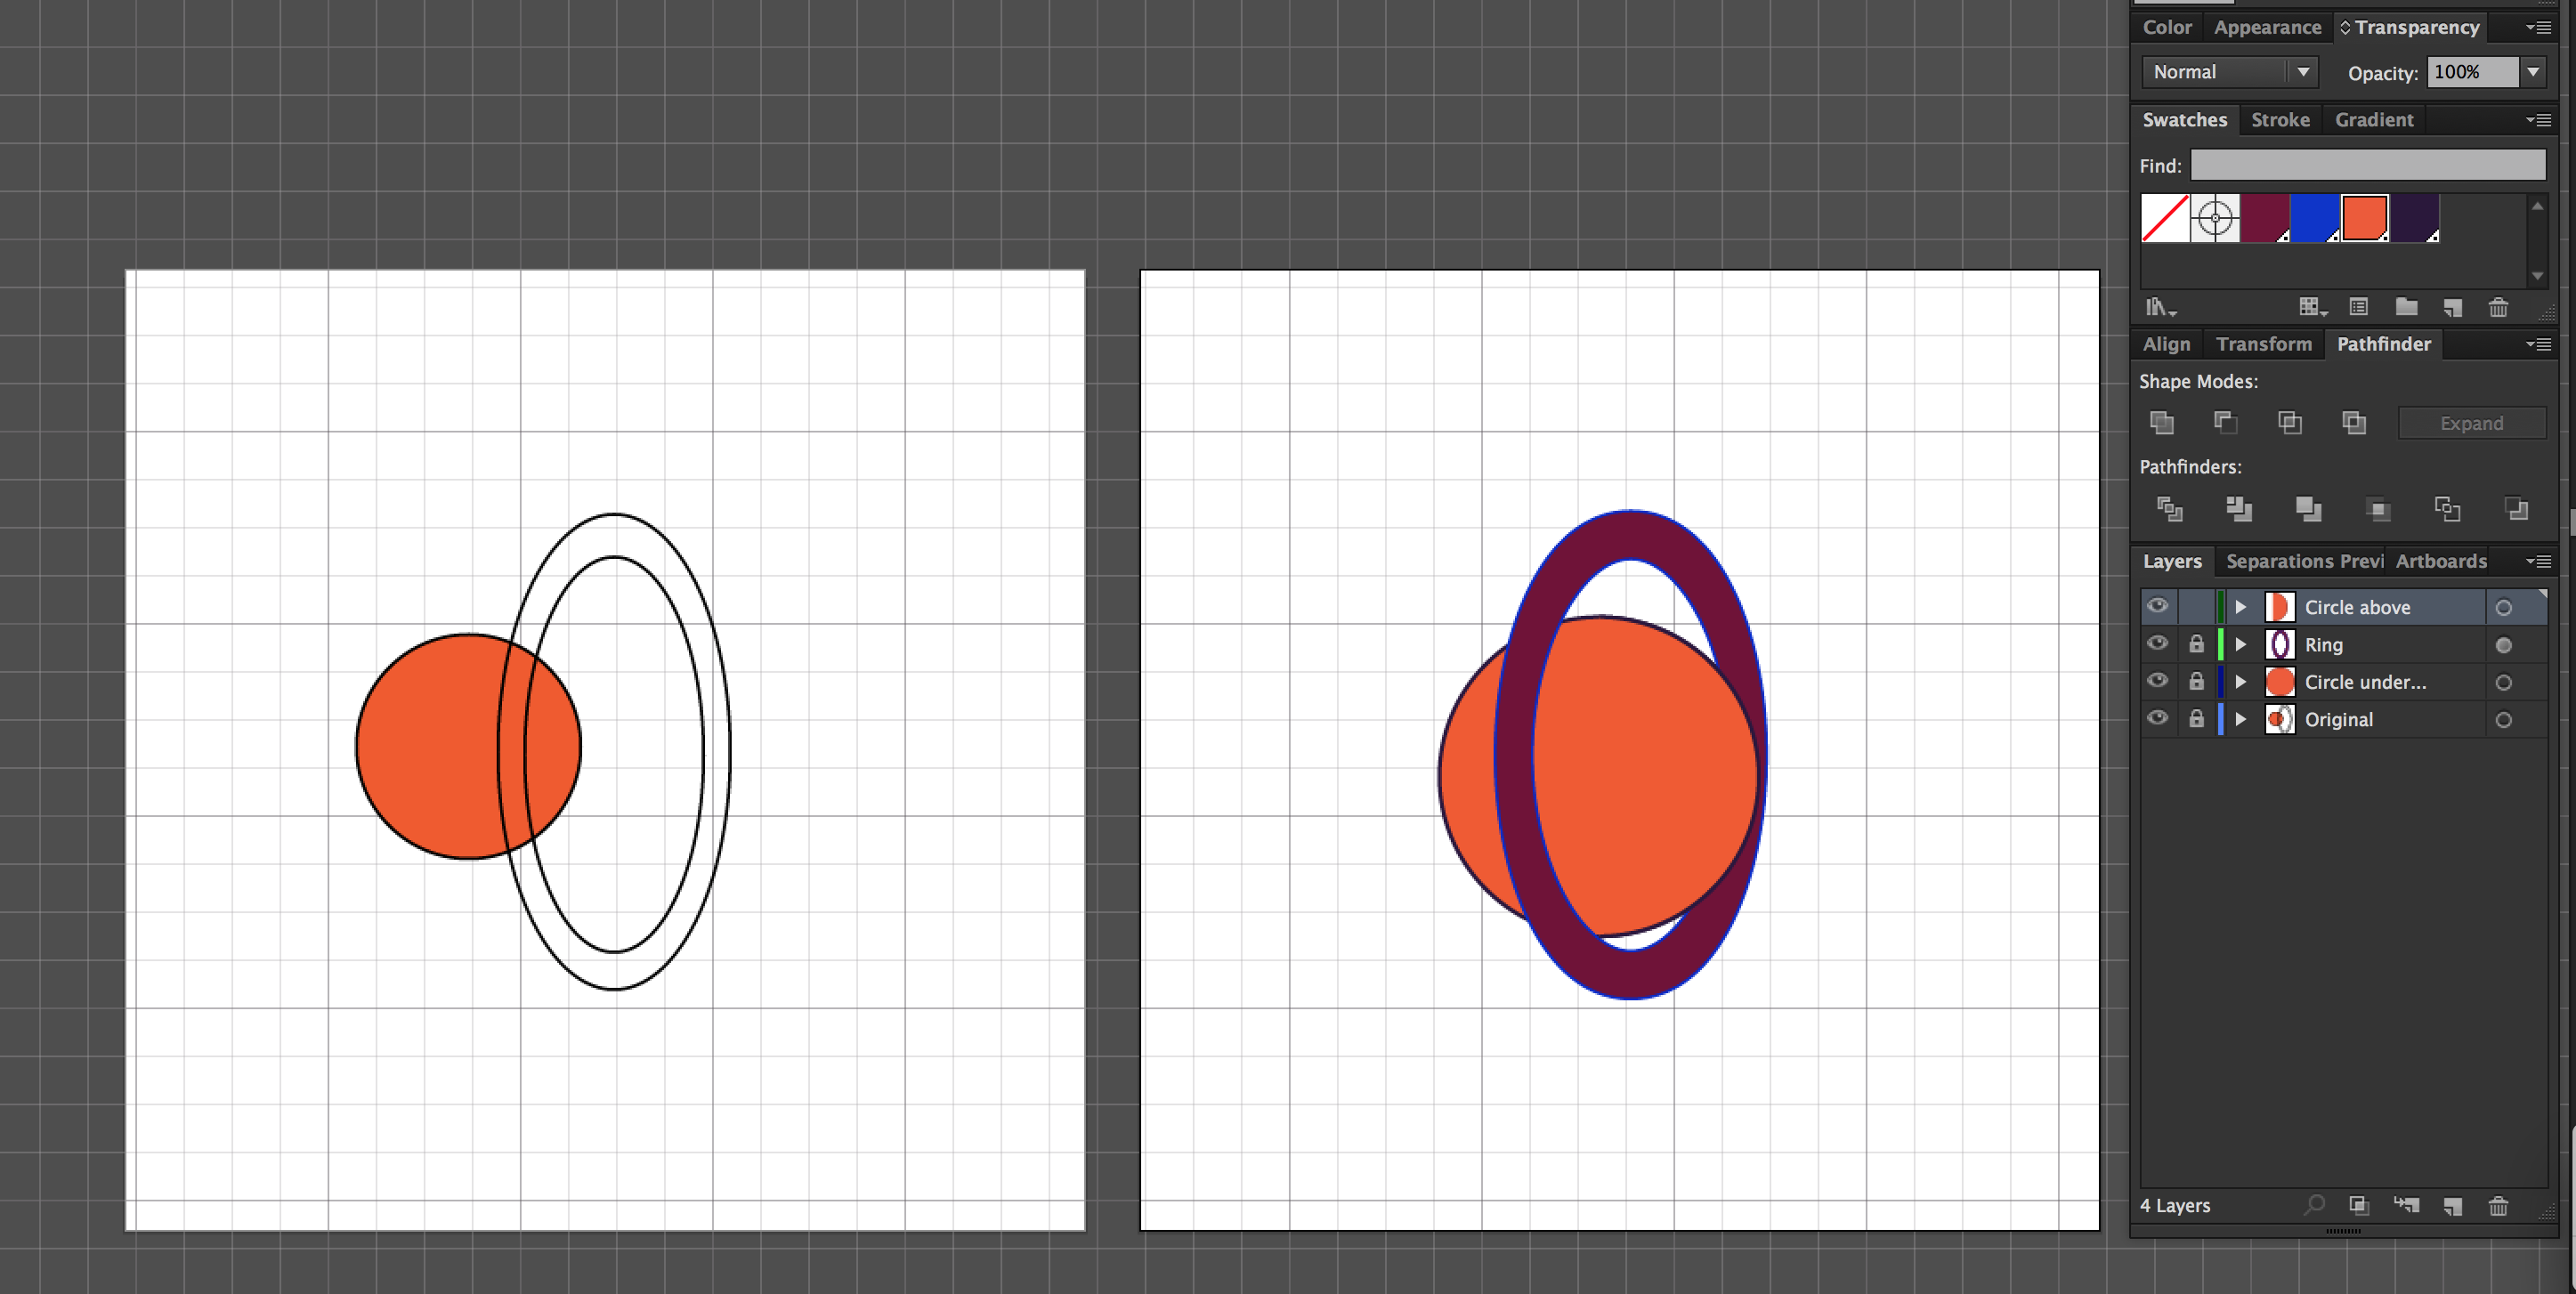
It's all a learning process. I made a second art board with my version of the artwork. I always opt to show grid on my art board which helps me distinguish between white artwork and the background. You can find that option in the view menu in illustrator.

I always choose to use spot colors in my swatches panel rather than process colors. This way all I need to do is double-click on a swatch add change its color value and the artwork will automatically recolor itself to the new color.

First I created my inner oval with my circle tool. Then with that oval selected I went to menu item OBJECT/PATH/OFFSET. This created the outer oval. Play around with the offset a little bit to get a feel for it.

Now I have 2 ovals which I selected and in my pathfinder panel, I selected minus front. Then I selected combine. Doing that makes the two ovals one object. Now you can fill the inside of the oval with whatever color you want. I created a new layer underneath the oval layer. This is where I put my circle which you wanted underneath the oval. Then I duplicated that layer and put it above the oval to use when you want to show the circle covering the oval instead of underneath. Using my scissors tool I just trimmed the upper layer.. The path of the circle artwork, And cut away the left half of that circle. If you prefer to be less destructive with that upper circle layer and not use the scissor tool, you could always hide part of the top circle using masks.

![enter image description here

Here is my version of the illustrator file for you to view

1
  • This was close to what I am trying to achieve. One important thing that I should have mentioned: my end goal is to animate an SVG with HTML/CSS. In other words, the ball will be passing through the hoop from left to right. So the solution works but only if the position of the ball remains static. This is something that I was able to create close to my goal: cl.ly/311D2x1o0i40 You can see my "hacky" strategy of splitting the ellipse into two halves and putting each half on a separate layer Commented Jun 25, 2017 at 4:13
1

I'll add another answer detailing joojaa's method, since my answer has already been accepted and since joojaa does not have access to Illustrator at this time...

If this is 'bad form' or whatever mods can just let me know and I'll do whatever they wish.

Anyhow, I've had more time to look at your file. You have a couple of issues which ought to be addressed before we get started.

This isn't really that big of a deal. Just for good practices sake we'll address it though. You have four 'stray points' in these locations:
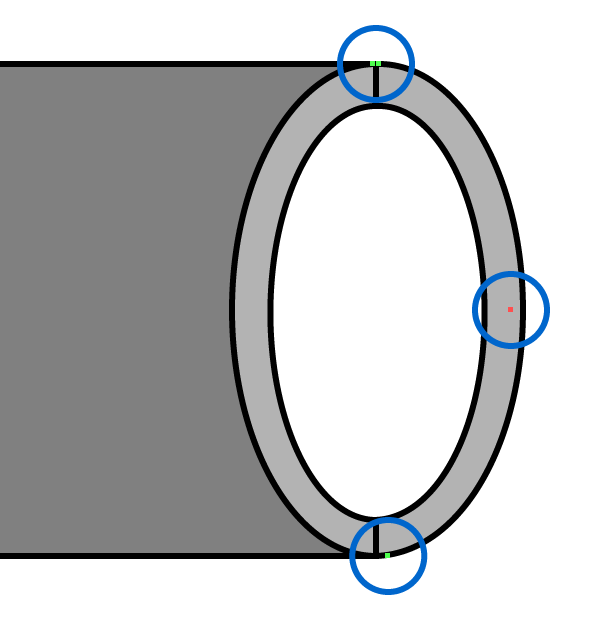
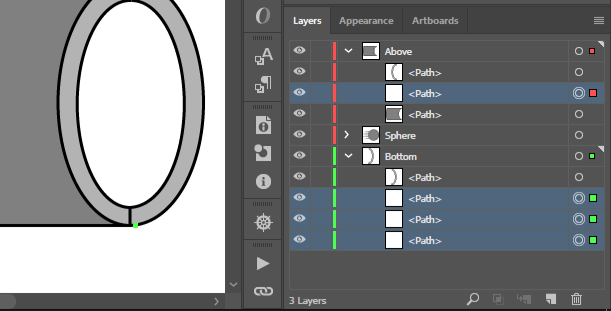
Stray points

Stray points layers

Just delete them.

If we toggle the visibility of your strokes, we see you have some alignment issues:
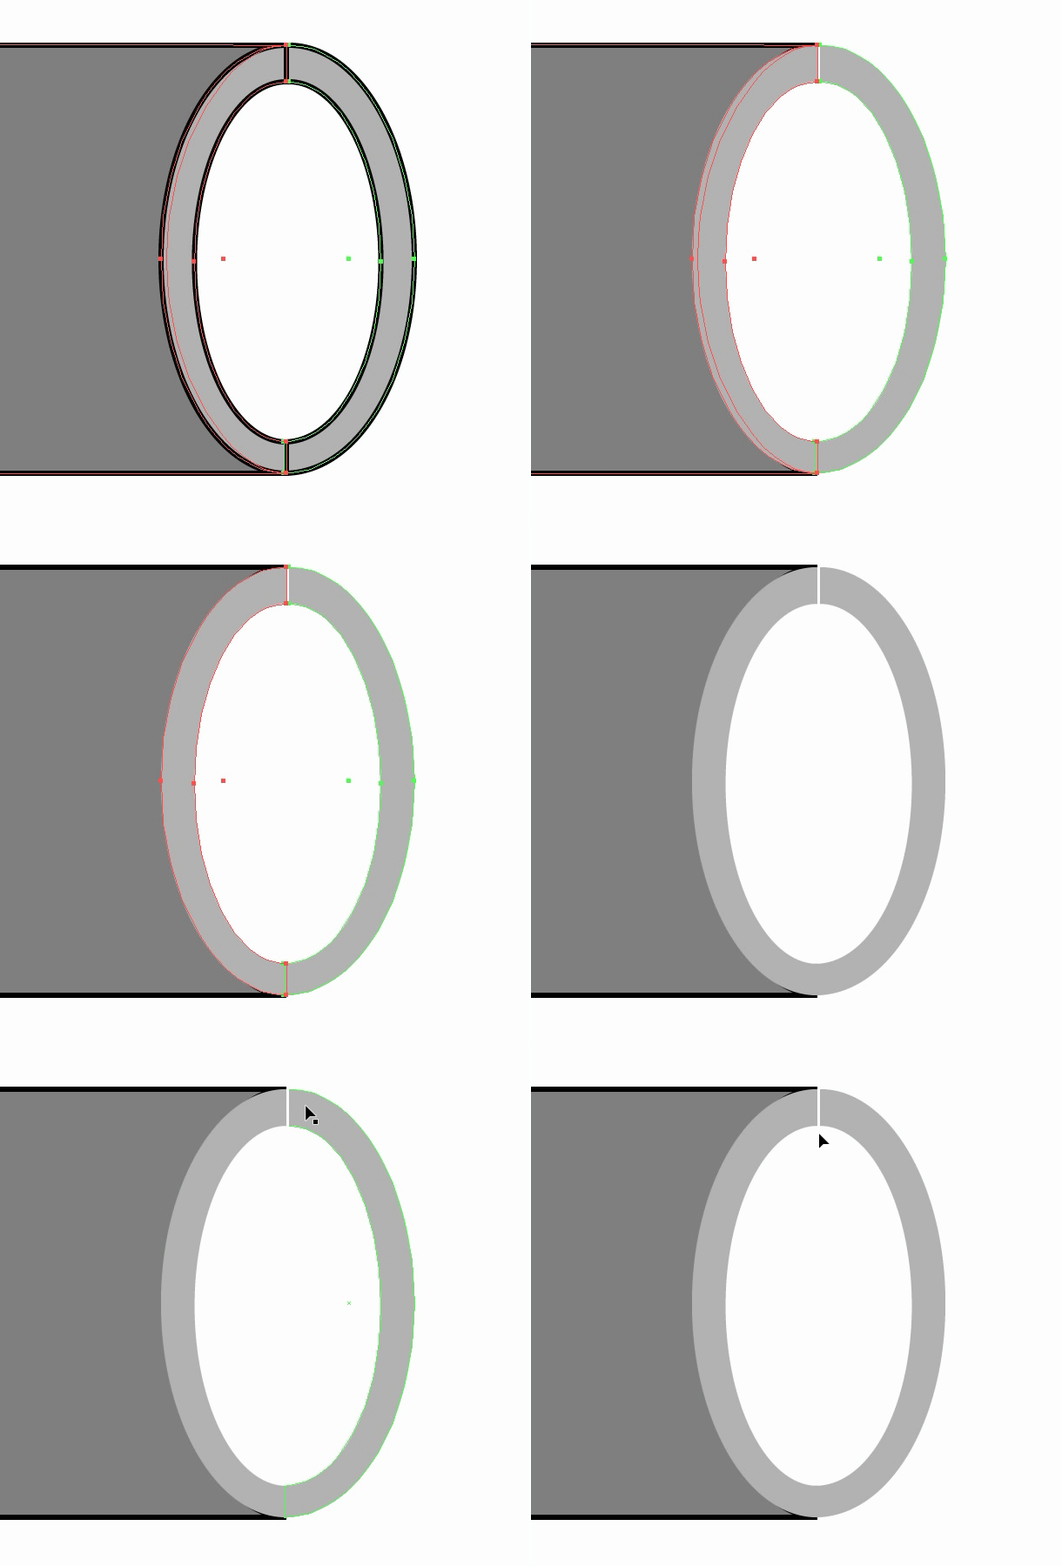
Unwanted gap

We want to close this gap. To do so press Ctrl+Shift+A to deselect all... Zoom in and use the Direct Selection Tool to align the points like so:
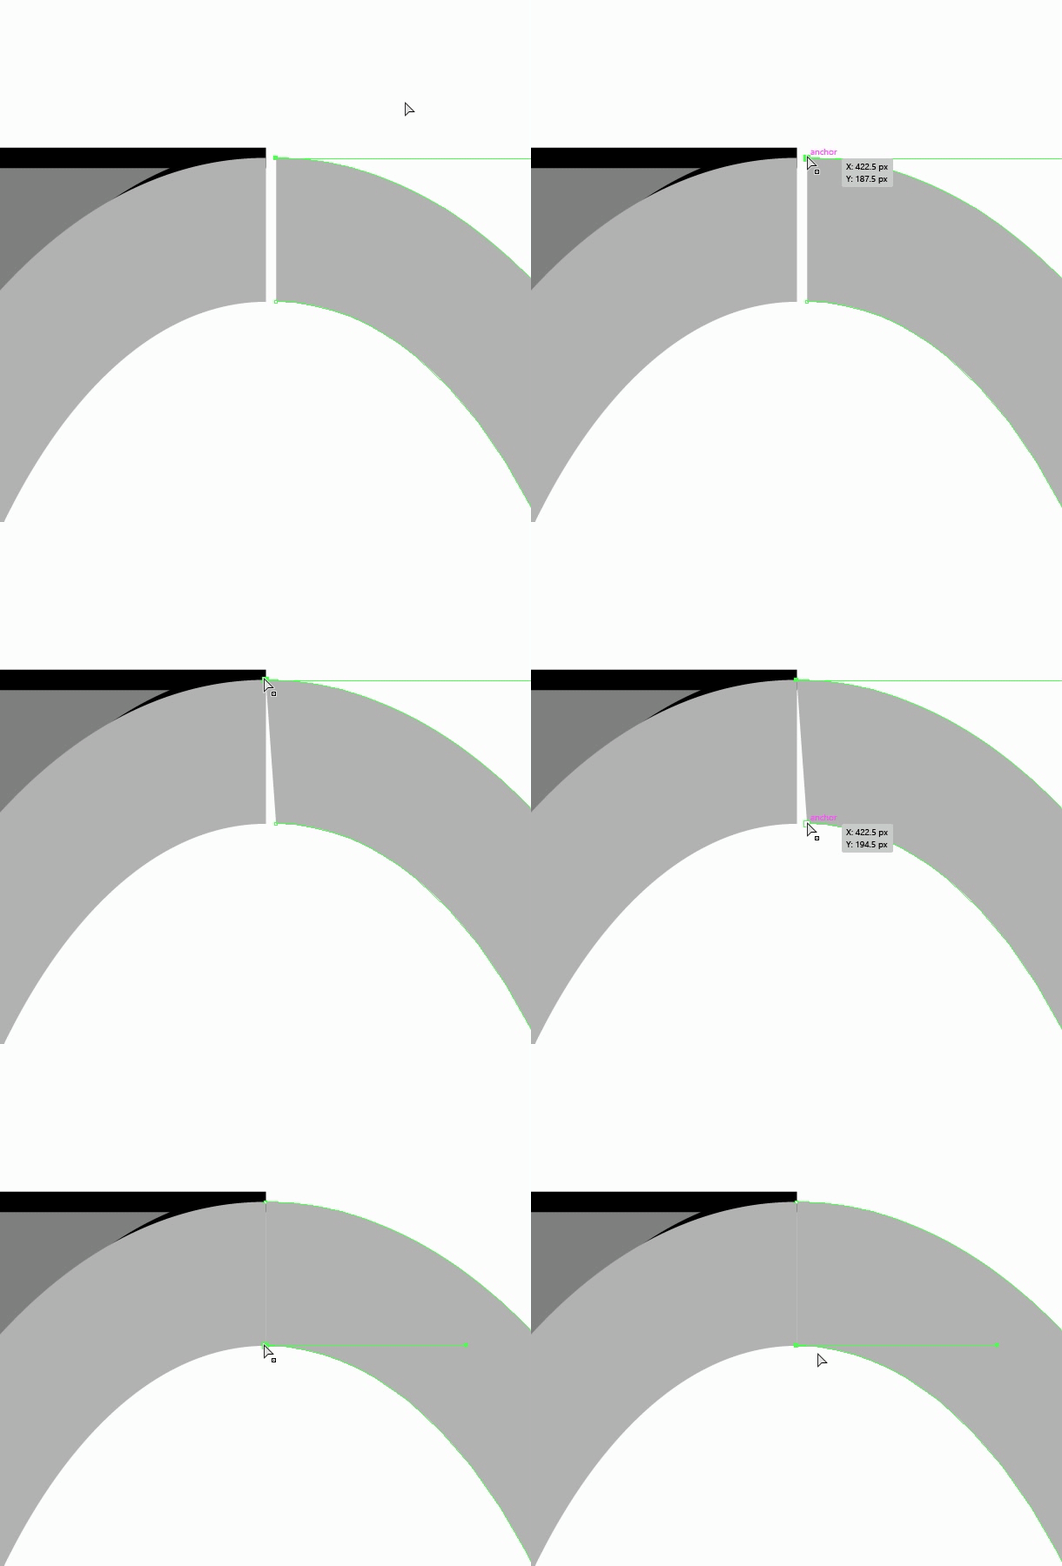
Closing the gap

Now what joojaa is talking about is also accomplished using the Direct Selection Tool. Toggle visibilty on your 'Bottom' layer and click directly on this part of the 'Above' path:
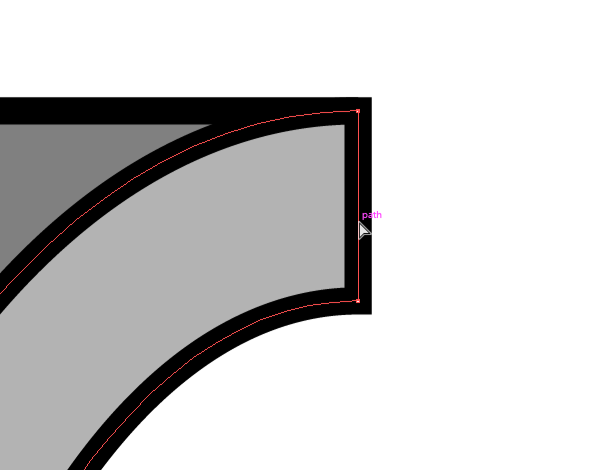
Click here

Then press delete. That will give you this result:
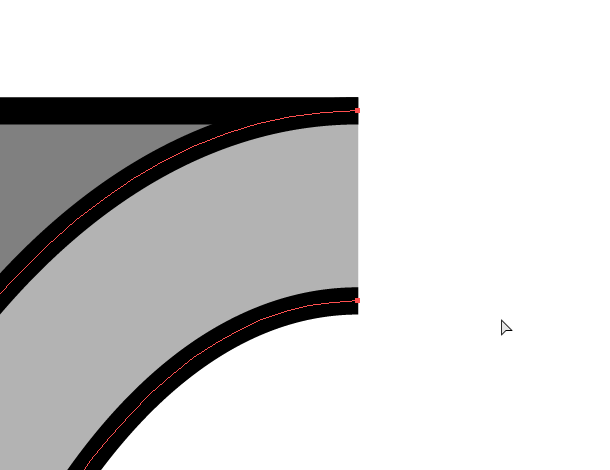
Poof it's gone

So you have to do that a couple more times to finish removing all of your visible 'ends'... and you're done. This is the same result visually.

(BTW as for this method being "lighter" – it's only one extra layer using the previous method I showed you & the difference in file size was only 2kb so...)

~~~~~~~~ ~~~~~~~~ ~~~~~~~~

UPDATE:

Upon reviewing joojaa's comments and suggestions I'll now detail some fixes for the 'Conflation' issues (little gaps, etc which I was blissfully unaware of) faced when exporting to SVG, as seen here:
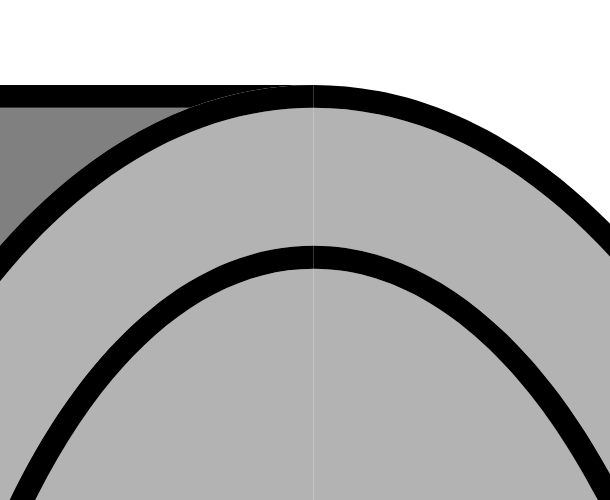
GAPPY

Take your half ellipse shapes (as shown below) – two in the 'Above' group and two in the 'Bottom' group – and in the Strokes Panel, set the Strokes to 'Round Cap'.
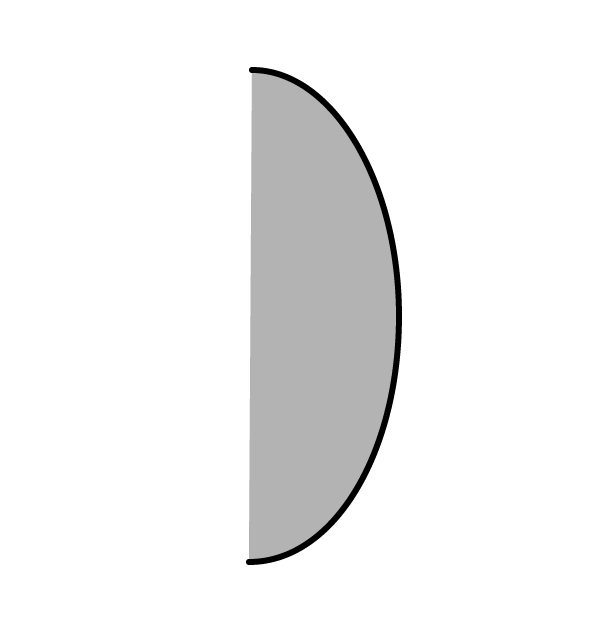
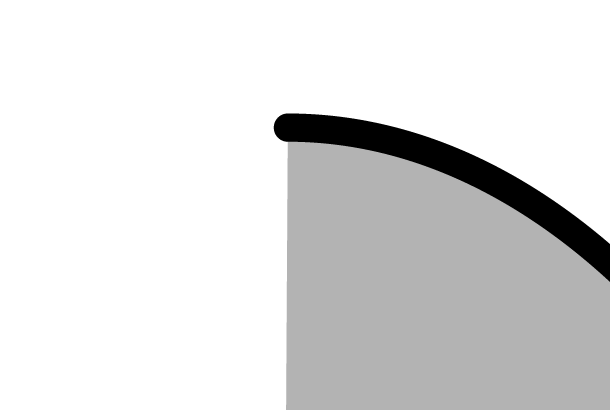
Round Caps

Round Caps Close

Next, in the 'Bottom' group duplicate the larger half ellipse, set its stroke to none, and place it at the bottom of the stack. And you get this:
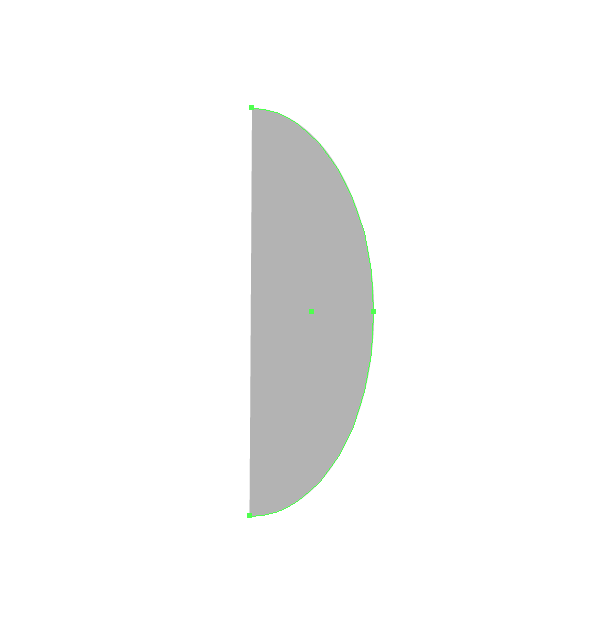
No stroke

You have an open path so just grab the Pen Tool and click on the topmost point, then add a triangle to the side of the shape:
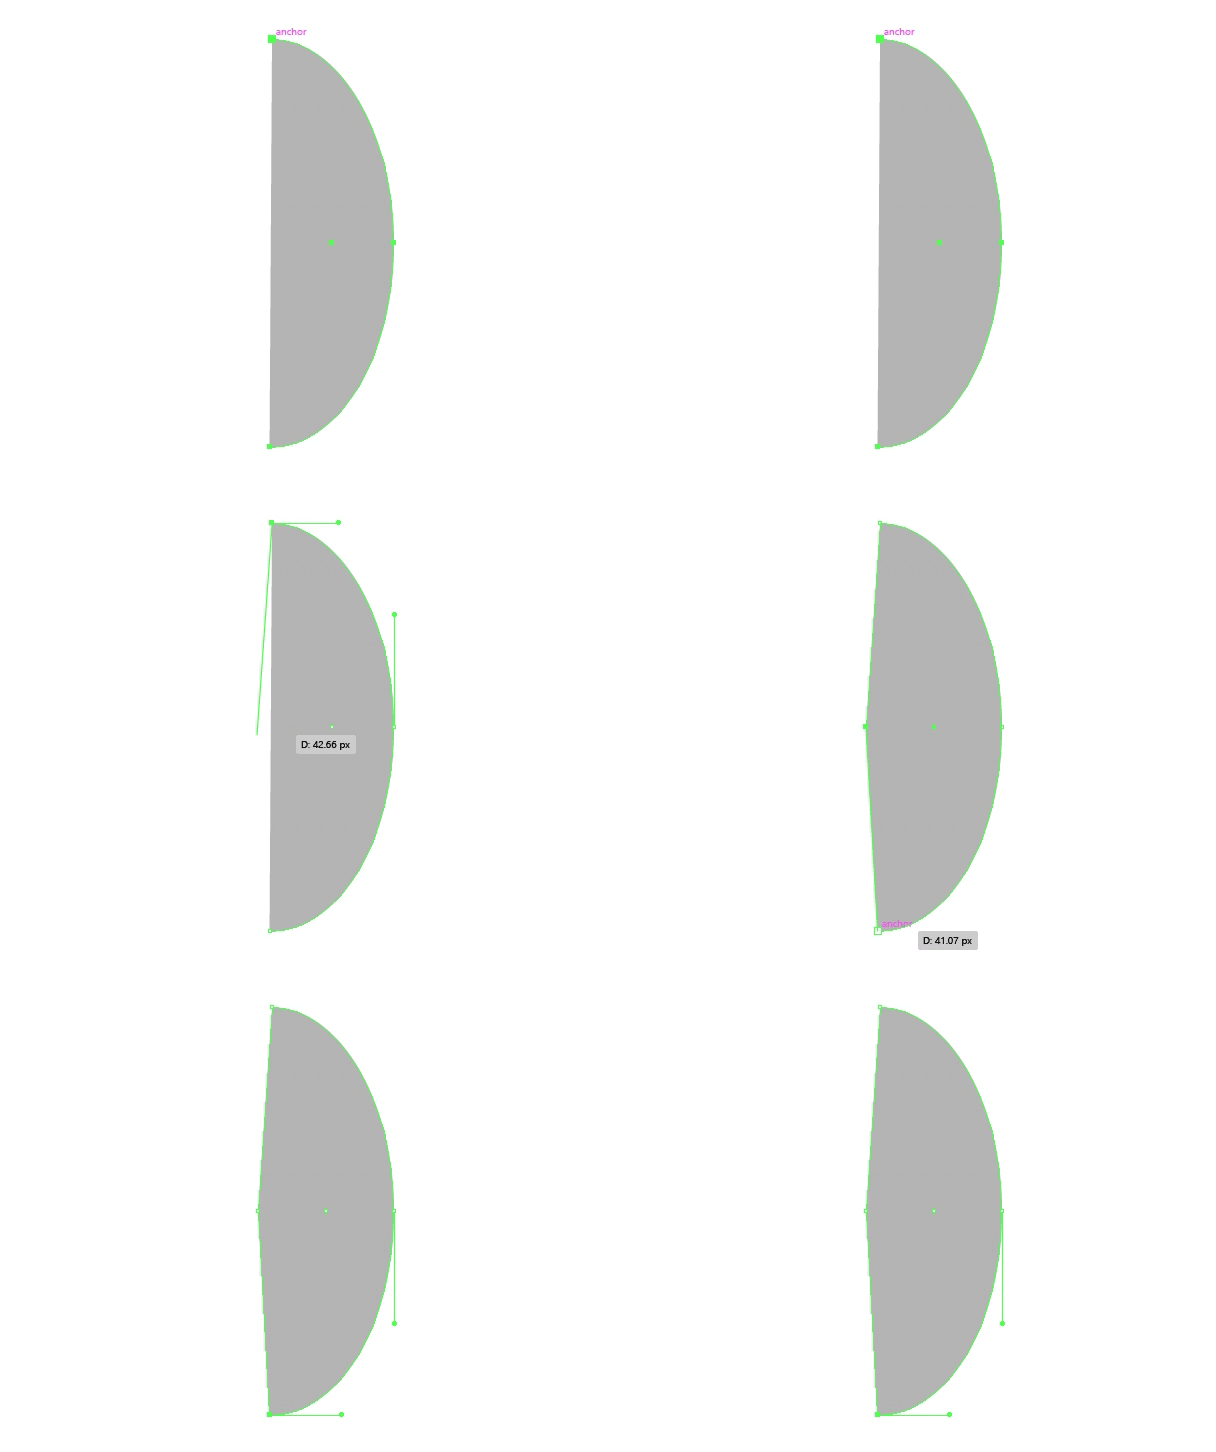
Add points to prevent Conflation

And done. Exporting to SVG will now leave no unsightly gaps where your split is. Here is the final result zoomed in, blown up and exported as SVG:
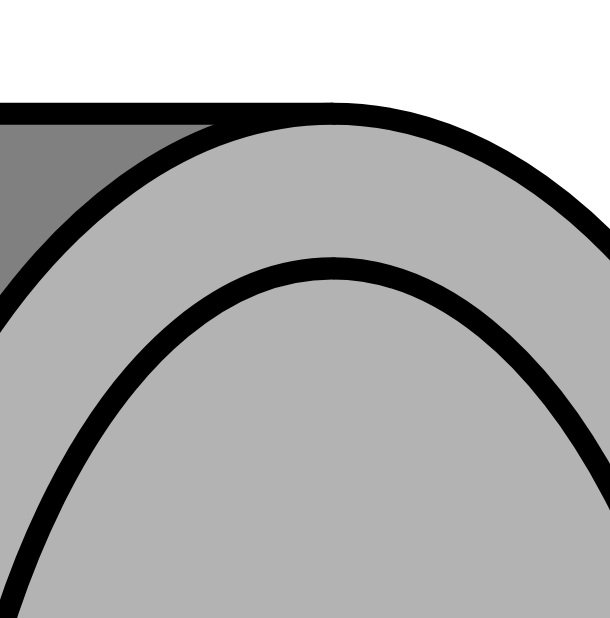
GAPLESS SVG

7
  • 1
    Normally you would also make a dovetail/triangle end on the surface below to avoid the conflation issue. Like the inverse of this post
    – joojaa
    Commented Jun 26, 2017 at 10:32
  • 1
    @joojaa Don't think I've ever seen this 'conflation issue' before... Are you talking about overlapping the two fills? Anyway I've zoomed in & blown it up to over 2000px² and I see no issues: No Conflation Here Perhaps this is a non issue in this case
    – BANG
    Commented Jun 26, 2017 at 18:05
  • You can see a conflation gap in image number 4 after snapping together. Anyway conflation is especially bad on google chrome's svg rendering engine.
    – joojaa
    Commented Jun 26, 2017 at 18:24
  • 1
    What you see in image #4 is not at all visible when exporting to PNG from Illustrator but yes, you're right... When I saved out as SVG there were indeed visible gaps: Gappy This is clearly a problem (looks terrible!)... As we've seen – the exact same artwork looks fine when exported to PNG... but this is a question regarding SVGs so I suppose I should edit my answer yet again to cover these bases. Cheers
    – BANG
    Commented Jun 26, 2017 at 20:23
  • 1
    @JoelB No problem... Glad I could help you out. You can vote it up if you've found it useful or If you'd like you could switch this to the accepted answer since it focuses more solely on working with SVGs.
    – BANG
    Commented Jun 30, 2017 at 1:39

Your Answer

By clicking “Post Your Answer”, you agree to our terms of service and acknowledge you have read our privacy policy.

Not the answer you're looking for? Browse other questions tagged or ask your own question.