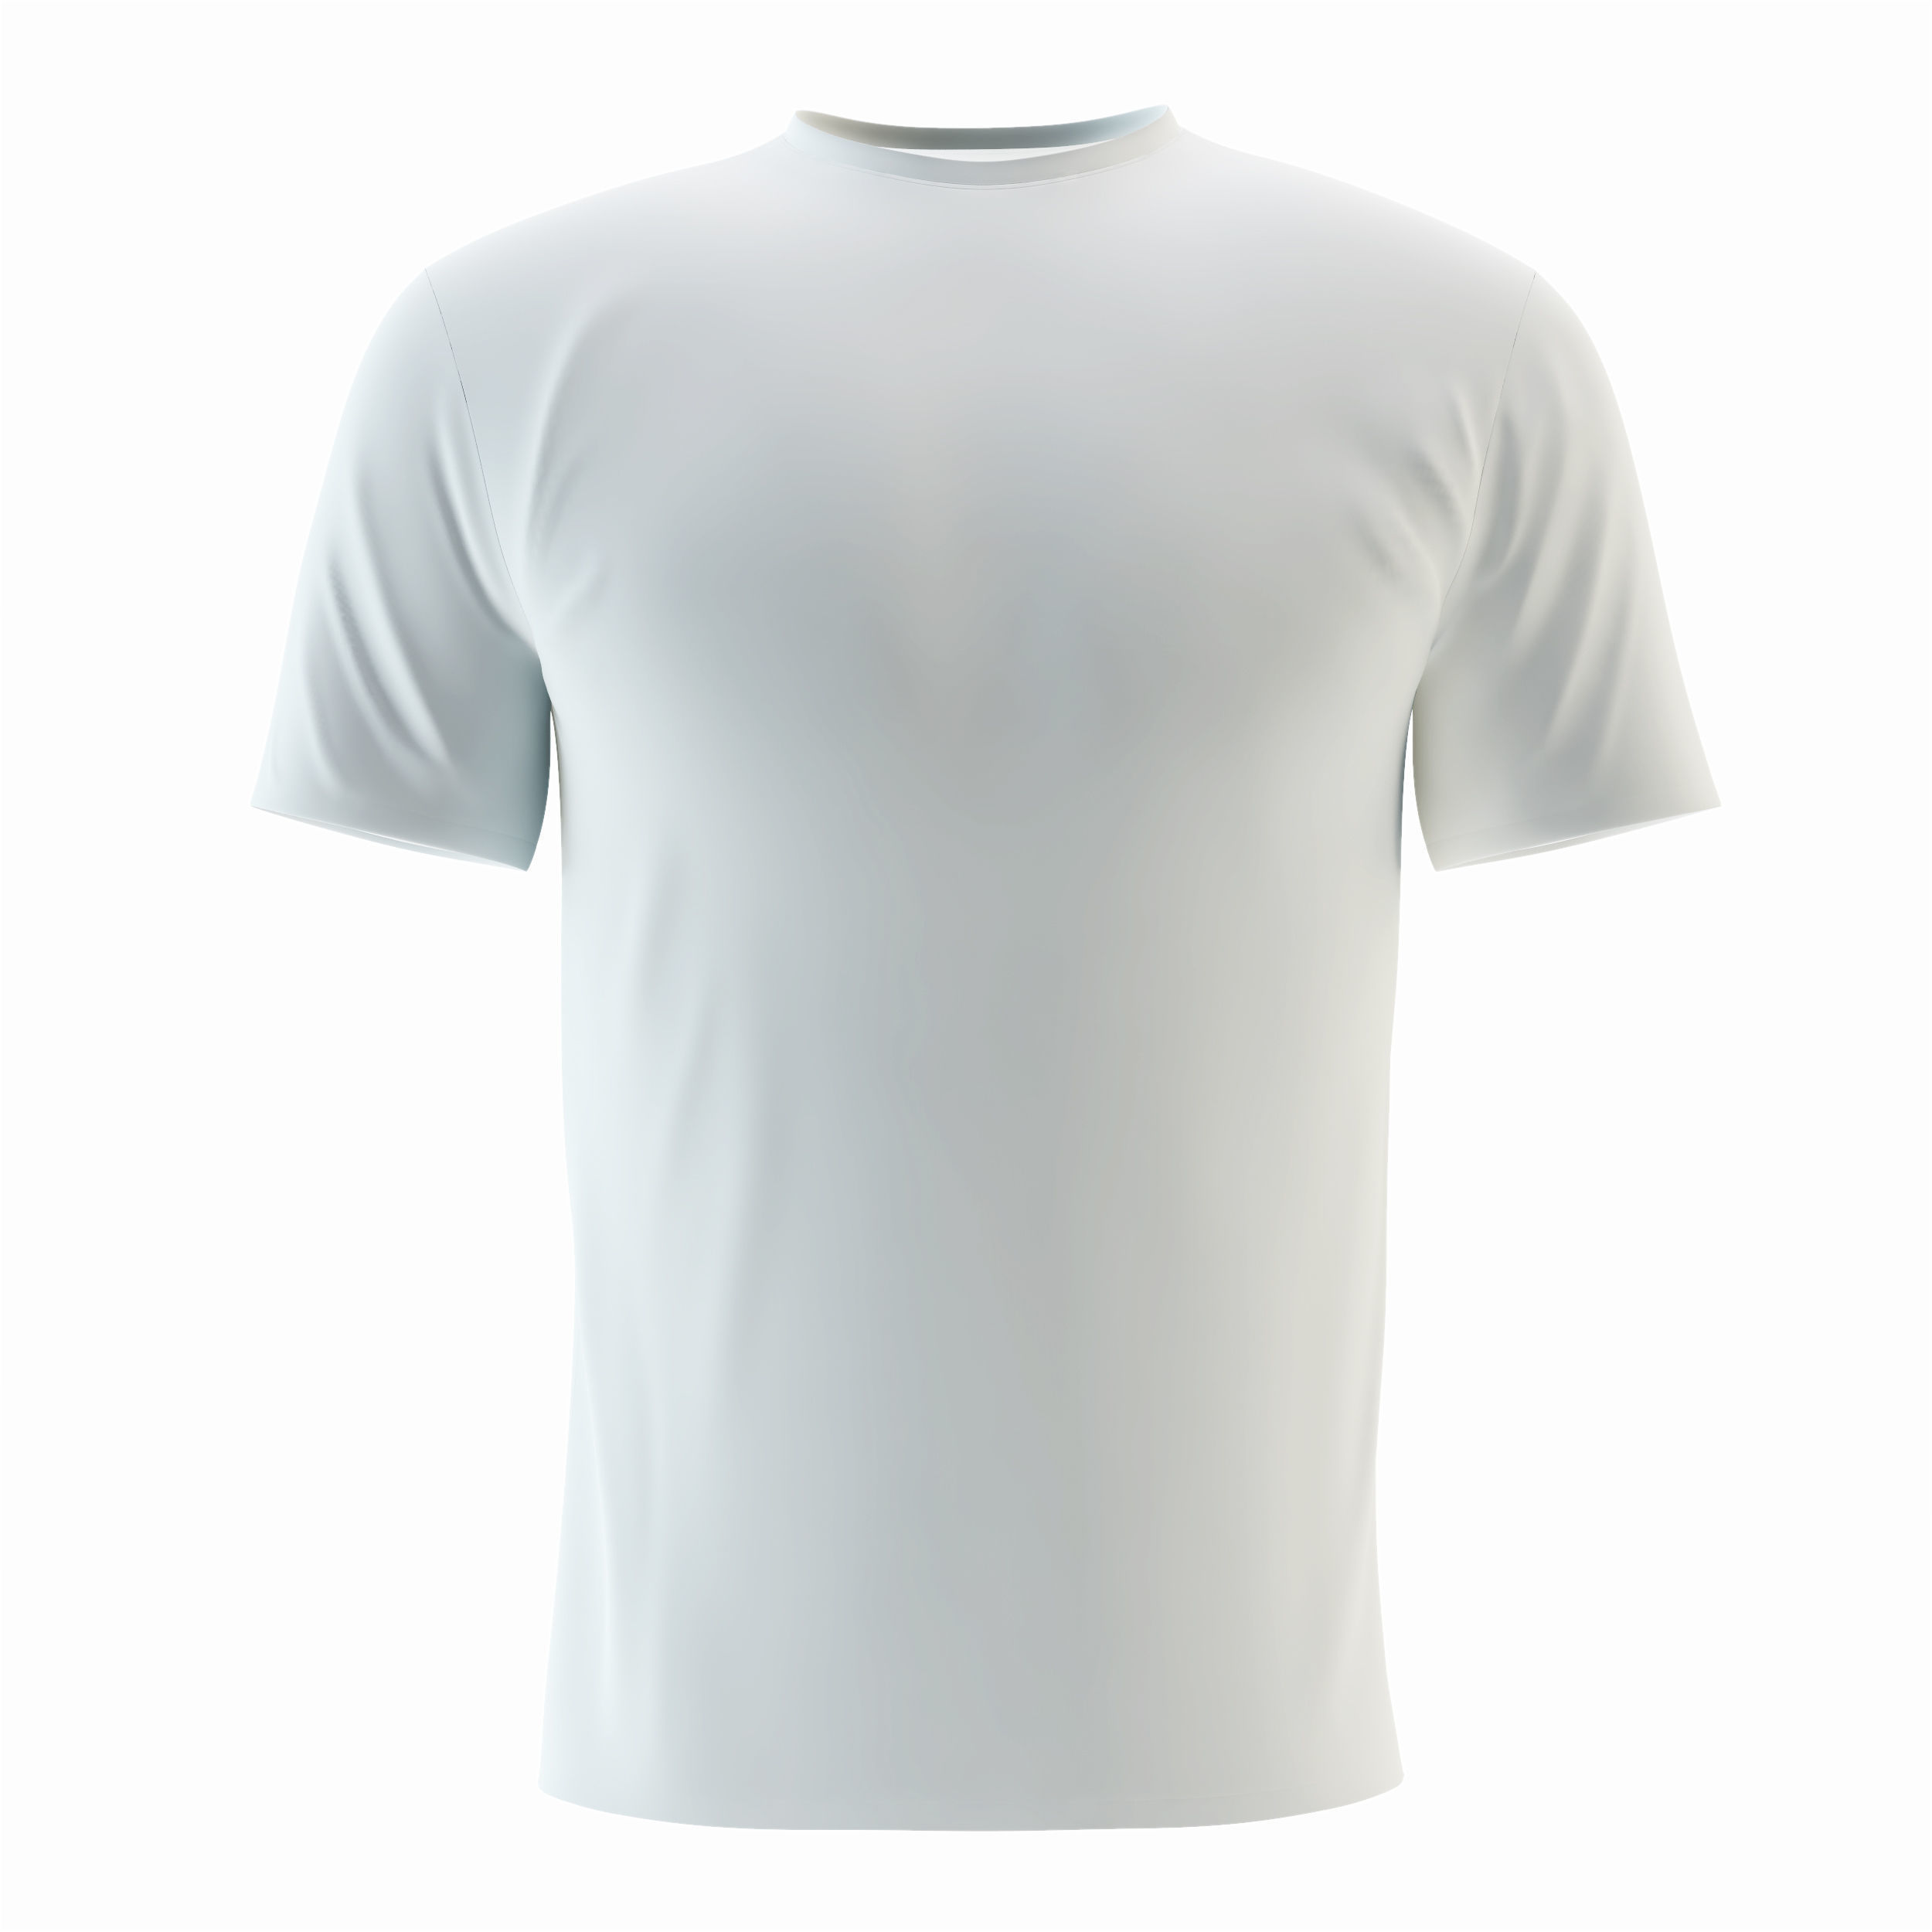
General Initial Considerations:
UV mapping typically works best with a square texture, though rectangular can be made to work too; you'd end up sampling from the most undisturbed portion of your existing image, (chest area) and tiling and blending that result enough to make a fully tileable image (one which can repeat edge to edge on all sides and not show visible seams or highly disturbing repeating patterns) having carefully removed any hint of the fabric ripples seen in this example image.
You'll want at least a 1K texture (1024 x 1024) to get a decent quality final render.
UVs
In most 3D DCC (Digital Content Creation) programs, there are dedicated UVing tools, which will help you unwrap your mesh to generate UVs. There are dozens of approaches, UV projections and strategies, some of which are specific to the given 3D tool of choice. Most purchased 3D assets will come already UVed, so the likelihood is that you don't need to generate UVs for this mesh.
Applying Texture without a dedicated 3D tool
If my initial assumption that the mesh you have is a purchased item which came with UVs (probably purchased as an .obj, or a .3ds or a .fbx file) then @Luciano is correct that you could apply this texture with Photoshop's 3D tools, or if you're running the Adobe Creative Suite with "all apps" you can use Cinema 4D Lite and the C4D Illustrator plugin to do this inside Illustrator.
Applying Texture with a dedicated 3D tool
Using a 3D DCC tool (Blender, modo, Maya, 3DS, Cinema4D) you set the material or shader to use the tileable texture you've now created as the diffuse colour (or in a Unity shader, the albedo) and set its projection to use the UV map: typically in that process there are overarching scale controls to allow you easy manipulation of the texture's scale relative to UV. In the application's UV tool area you can tweak UV details if there are distortions or pinch points, and though in most cases UV editing spaces are a 2D plane, most 3D DCC apps will have a live preview window available for you to see results as you work on the UVs.
Applying Texture with a dedicated 3D texturing tool
Using a 3D texturing tool (Substance Painter, Mari, Marmoset Toolbag) you start with your mesh (assuming good UVs) and your texture, and you develop the material / shader in 3D directly, painting details on top of that in multiple channels simultaneously (bump, displacement, normals, occlusion [for dirt] and diffuse colour [albedo] in an interactive preview 3D space: these types of applications are highly optimised to their one main task, having no serious 3D modeling or animation tools) and can therefore be far faster if you are doing complex texture building for gaming or animation assets. For your task, I think these would be overkill, but I gave a quick overview just in case you do have access.
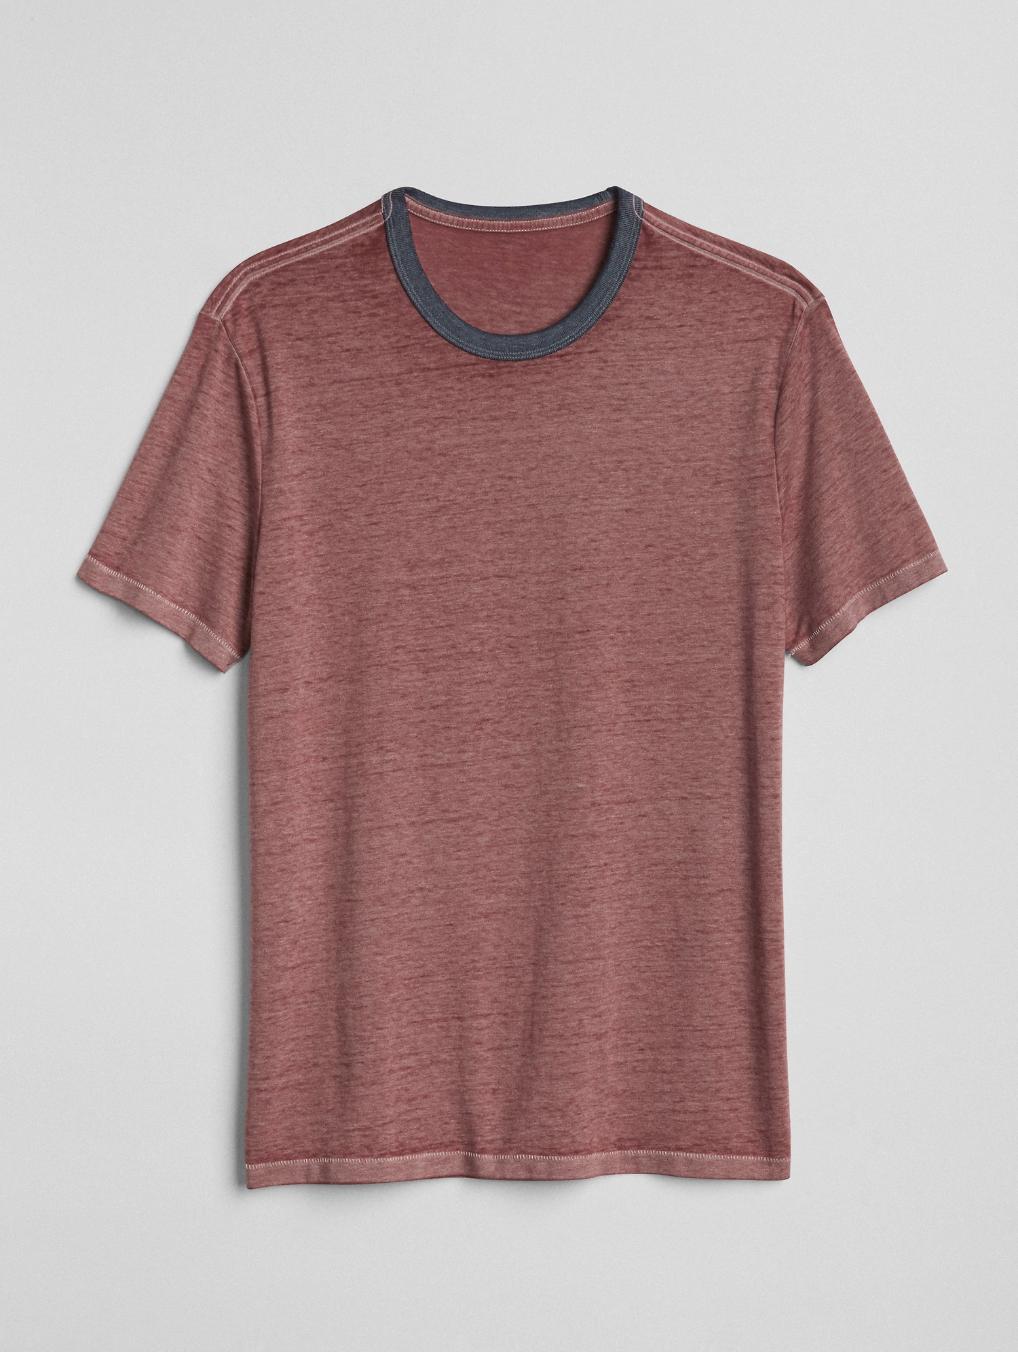
 , as well as a 2D image of the front of the T-shirt showing its texture like this
 . How can I UV map the 2D texture onto the 3D model, with a tool like Blender or Unity?