0

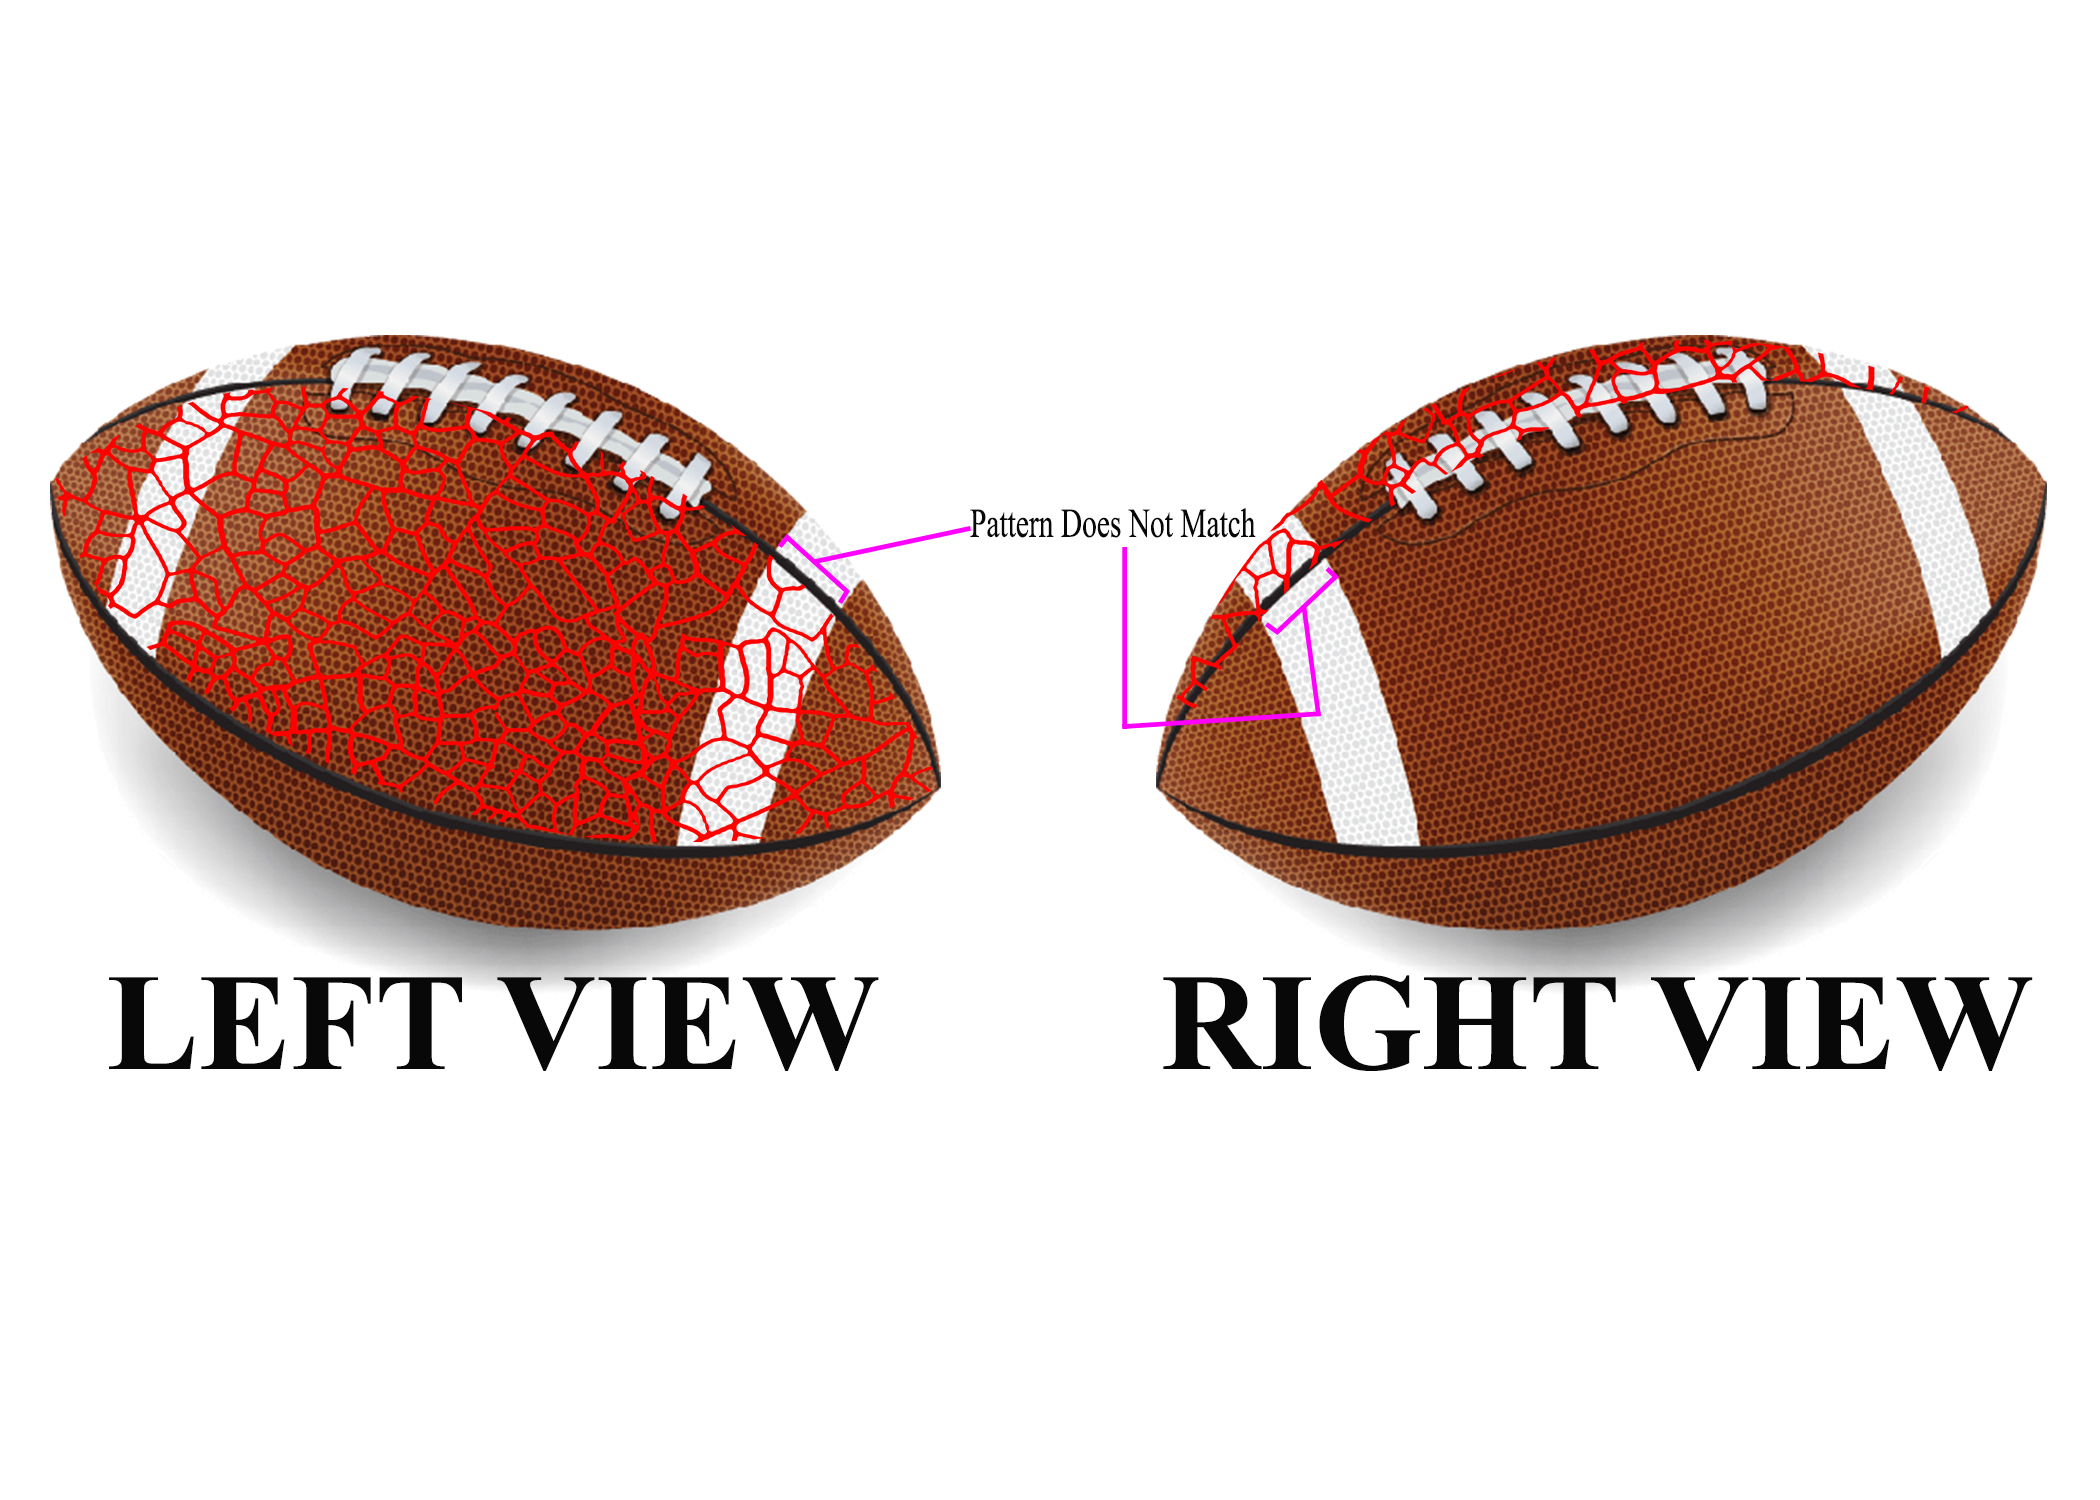
I have several photos of a certain household item (a football, for example) that I would like to customize its design for a presentation. Each photo is a picture of the same item showing different angles. I wanted to customize the ball by adding different texture vectors, and making sure they're all properly in perspective for each different angle of the ball. Please see the image I made that will maybe help to visualize my problem:

Football Example

The left view was the first photo I customized by adding a random texture vector. For the right view, the ball is turned around and the texture is now on the back side of the ball. Here's where my issue is.. If you zoom in on the pink/purple lines on the image, you can see that the pattern does not match (the right view has additional red lines).

My attempts to fix these textures/patterns to be properly and precisely in perspective for all different angles have been very ineffective and time-consuming for me. The football image may be simple to fix, but when you are trying to do this professionally on much higher quality photos and textures, it is difficult. I have tried all kinds of transforming: warp, perspective, skew, distort, puppet warp, custom scripts, etc., and while I have achieved nearly desired results, it still appears unprofessional and it's very time-consuming.

Simply creating a clipping mask does not work as that does not put objects in perspective. Does anyone know a much more effective way to do what I am attempting to do? I hope my problem makes sense..

2
  • Is partial or full 3D approach impossible? Partial=You have new surface parts as 3D and you insert them to the needed 2D view. You must experiment the proper rotation and perspective settings for the new parts, but there's no need to warp them. Full=you have all in 3D and rotate the object for the needed 2D images.
    – user82991
    Commented Sep 1, 2018 at 4:07
  • 1
    I dont think you can solve this in 2D. @user287001 or mirror rather!
    – joojaa
    Commented Sep 1, 2018 at 8:45

1 Answer 1

2

Most of us sometimes have to place something into an image of a 3D object and the result must have right color, light and perspective. Often it's simply skew, scale and rotate, sometimes warping is needed, a color adjustment layer and a displacement map and embossing for the surface texture - all tricks you seemingly already know.

Making mockups is a little more difficult because you must define transformations non-destructively, the inserted objects must be possible to be changed. Photoshop's advanced layer and object functionality becomes valuable.

But several watching directions, even free rotatability is practical only if one has a 3D model of the object and he inserts surface objects as mapped raster images and rasterized vector textures. That's not much more difficult than creating geometrically acceptable 3D models. A beginner can learn the tricks in a couple of days when the objects are simple. Here's a simple example, made in freeware 3D CAD:

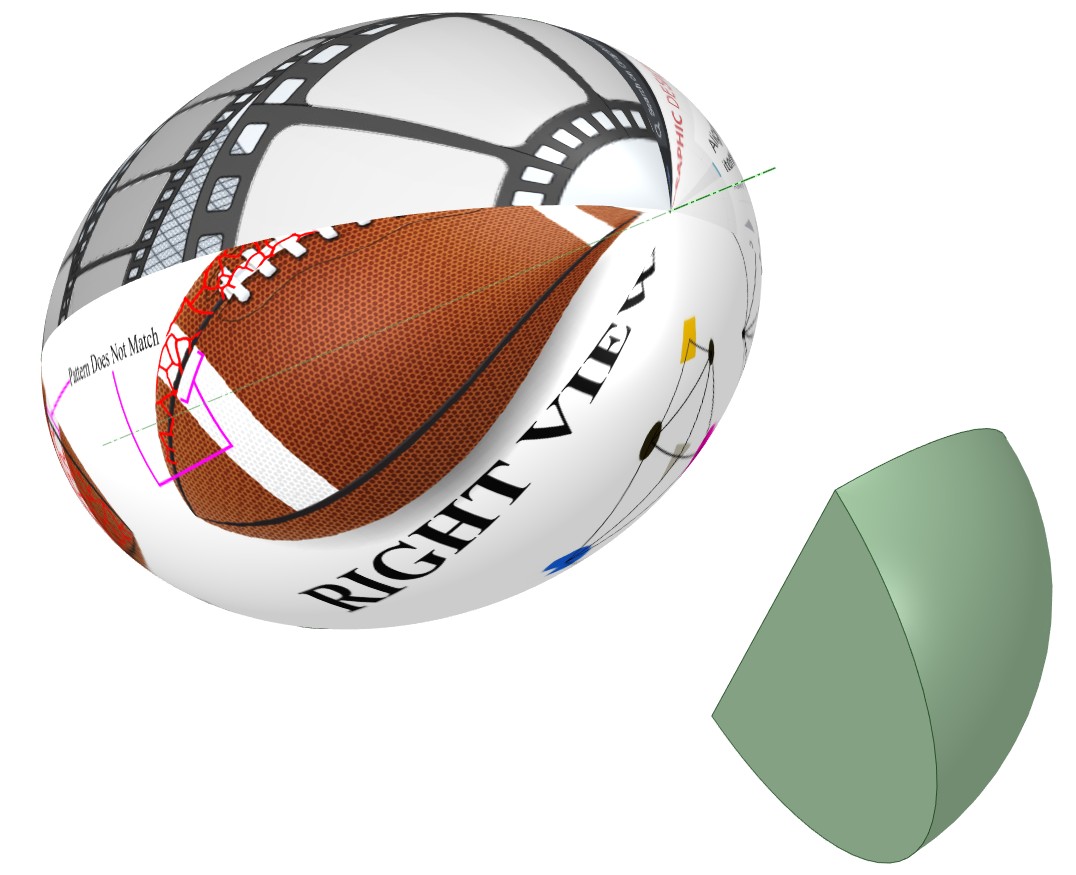
enter image description here

It's a simple imitation of a ball, splitted to four equal pieces (one slice copy is shown separately as green), every curved surface has got a different screenshot of GSDE.

Rectangular screenshots do not fit perfectly on the surfaces, they are squeezed at the ends. The used simple freeware gives very little control on texture image mapping. One can only scale and move, the rest is decided by the program.

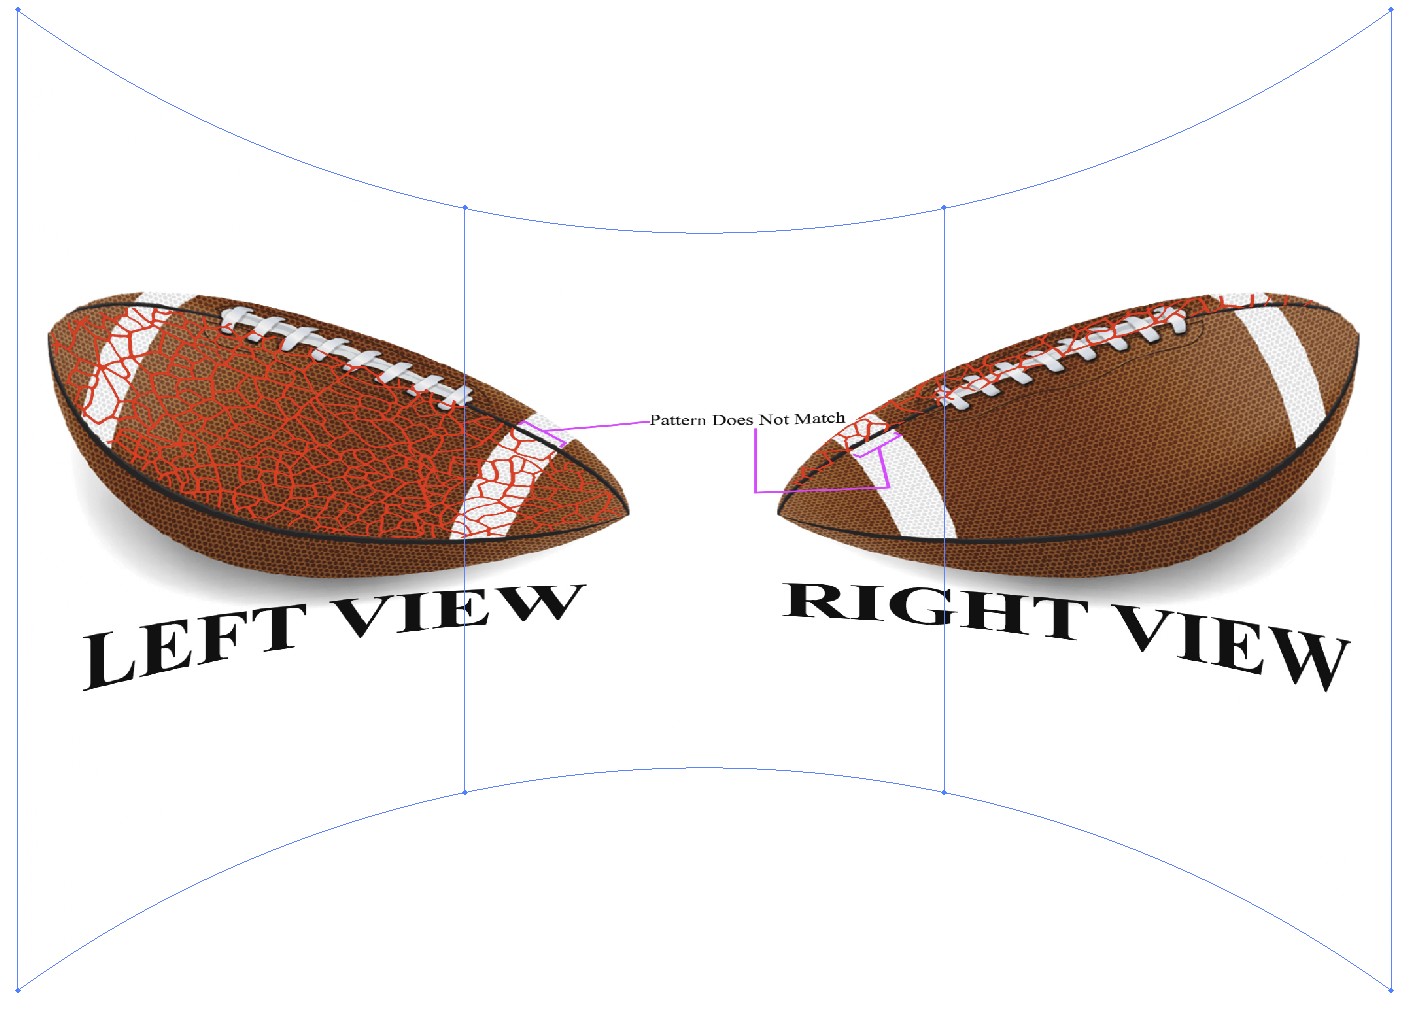
The squeezing can be partially compensated by pre-stretching the image. The best formula needs a mathematician. I tried pure luck and stretched one screenshot in Illustrator.

enter image description here

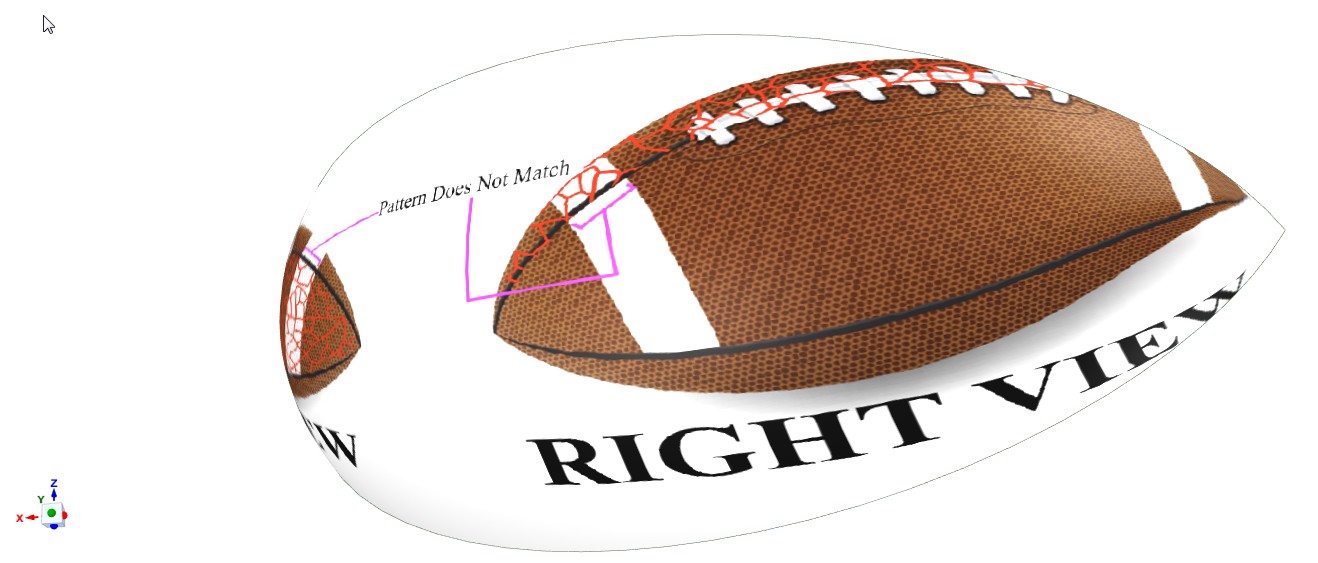
It cannot be exact, because at the right and left ends the upscaling should be infinite like in making equirectangular planar earth maps. This is the result placed on a quarter of the meloon:

enter image description here

Of course there's no need to slice the ball, one could as well place an image as one piece.

Practical objects are often complex. Think for example a shoe. Its much more complex than a simple revolution or extrusion object. A beginner can make a perfect wine glass or bottle in the same day as he started. But making a plausible model of a given shoe with proper colors and textures is possible only after intensive studies and practicing.

There are studios which create 3D models of things semiautomatically by using photogrammetry or 3D scanners.

Photogrammetry: 3D model is calculated from a bunch of photos with special mathematical software.

The surface textures come as extras and they can be replaced in 3D modelling software.

Do not expect high quality results if you use a hobby 3D scanner or apply photogrammetry to photos which are taken without special studio equipment. For example shadows, glosses and changes in the light make the photos useless.

I think that using 3D is the only way to handle a mass of things. Be sure that building the process workable will not be easy.

Your Answer

By clicking “Post Your Answer”, you agree to our terms of service and acknowledge you have read our privacy policy.

Not the answer you're looking for? Browse other questions tagged or ask your own question.