1

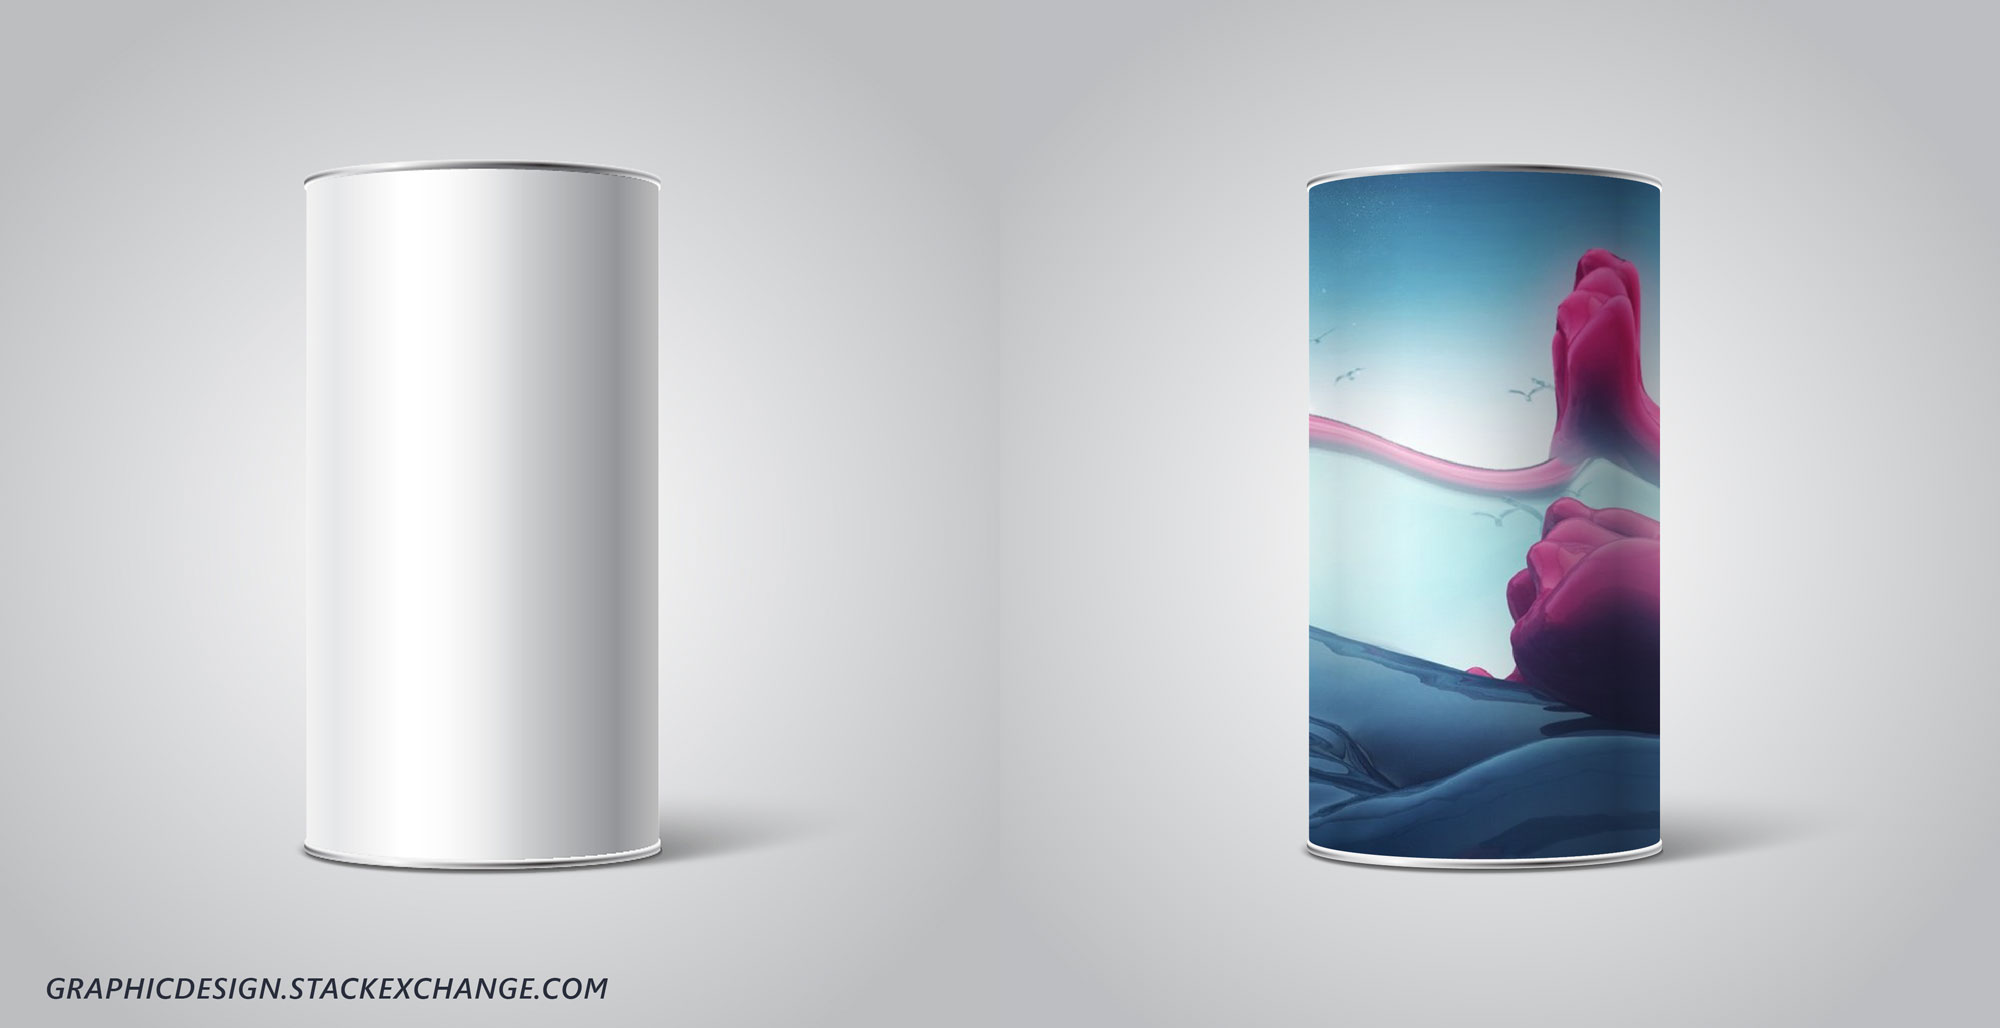
I don't know how to explain what do I want, so I put some images to explain that.

Vector Mockup

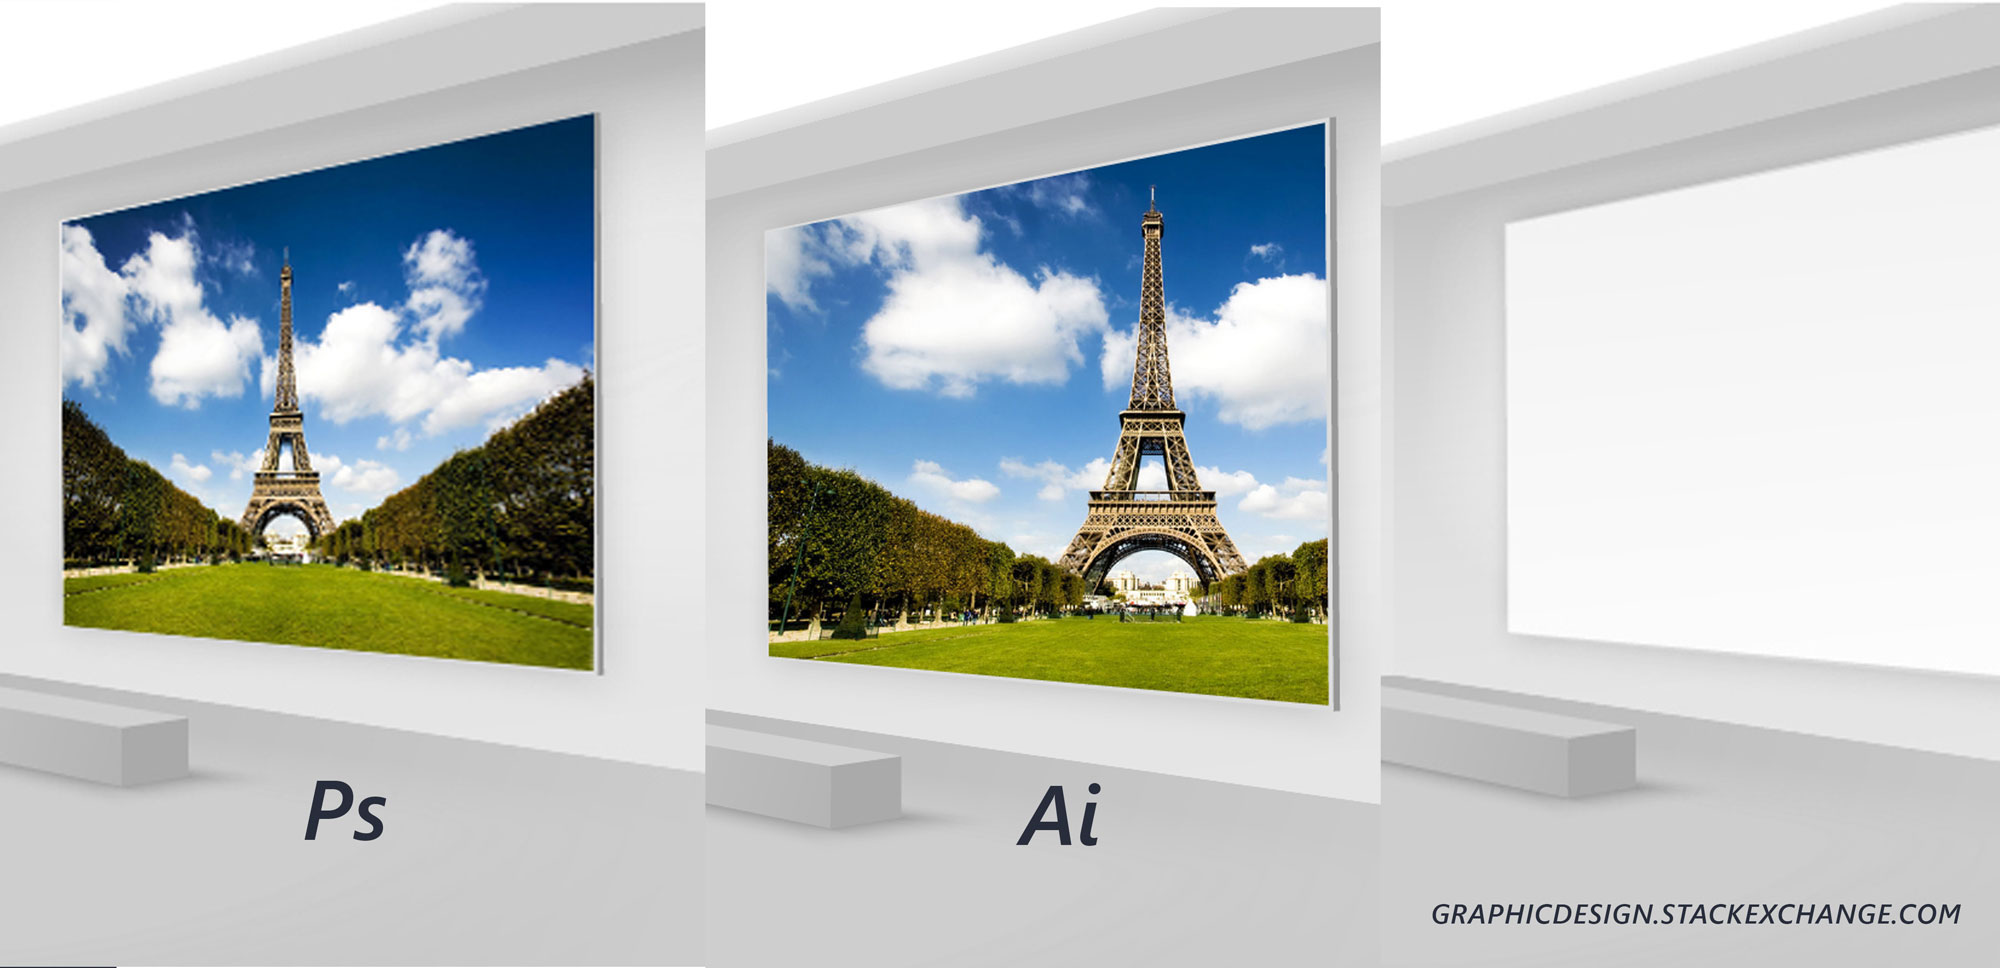
We have a vector mockup here for example (image 1). There is no problem with this mockup because you need just put the image or vector between some layers ...but if you have a vector mockup with perspective then what would you do?

enter image description here

Photoshop had a solution for this: Smart Object but what about the Illustrator? Every time we need to transfer or fix the alignment to make a right perspective? I'm looking for the best and fast way ...

4
  • 1
    You can always use Transform...there are other ways too but I don't have the time to give an answer now, it you don't get an answer by the time I get back home I'll give you some guidelines.
    – Alin
    Commented Mar 2, 2016 at 8:15
  • @Alin I know that ... but it waste your time. Maybe a better way could help us. Commented Mar 2, 2016 at 8:22
  • Maybe something like: Make it into a symbol, apply 3D rotate effect and apply clipping mask to constrain it. Then you'd double click the symbol in the symbols panel to edit the contents or with a raster image, relink it in the links panel.
    – Joonas
    Commented Mar 2, 2016 at 9:07
  • Still not home but in the meantime another question with an answer you can benefit from was asked and answered. Take a look at the perspective grid graphicdesign.stackexchange.com/a/67883/48529
    – Alin
    Commented Mar 2, 2016 at 12:35

2 Answers 2

4

Symbols in Illustrator are a close equivalent to Smart Objects in Photoshop.

Drag your image to the Symbol Panel to create a Symbol.

Then use the Symbol. Transform the symbol however you need it. (In fact, art must be a symbol to apply it in Illustrator 3D effect surface mapping.)

If you then need to edit the original image later.... Double-click the Symbol in the Symbol Panel. It opens as a flat image which can be edited, added to, etc.

It is sometimes helpful to draw a no-fill/no-stroke rectangle around the artwork before making a symbol if the art is non-rectangular in nature. This creates a bounding area that, when you later edit, you need to stay within. If you edit and exceed the original bounding area, it can throw off your transformations.

2

Create a box that matches the edges of the "perspective" object (directly on top of it). Select it and shift-select the picture, select the Object menu, select Envelope Distort, then Make with Top Object. This is a non-destructive method and works well for things like computer/cell phone screens.

1
  • and what about 3D cube or something like that? I need a general method. ;) Commented Mar 2, 2016 at 16:04

Your Answer

By clicking “Post Your Answer”, you agree to our terms of service and acknowledge you have read our privacy policy.

Not the answer you're looking for? Browse other questions tagged or ask your own question.