0

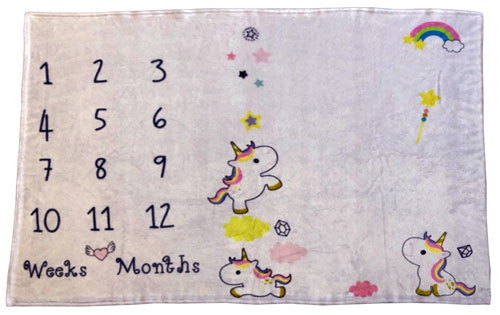
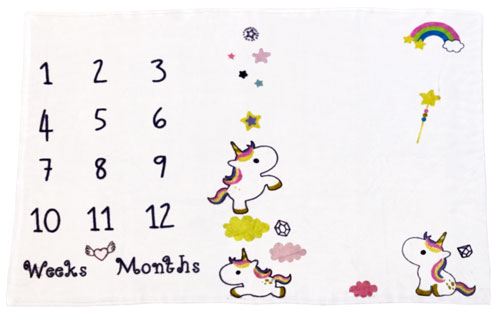
I have a picture of a blanket:

enter image description here

When I try to open up the Color Adjust panel on Sketch and try fooling around with the brightness and contrast, it makes some of the parts look overexposed.

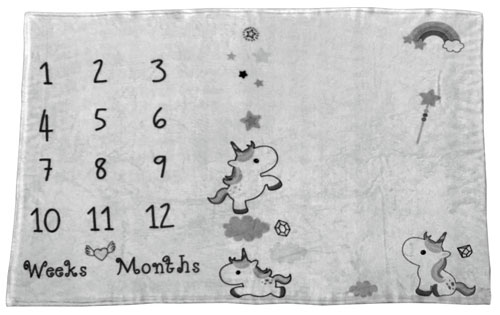
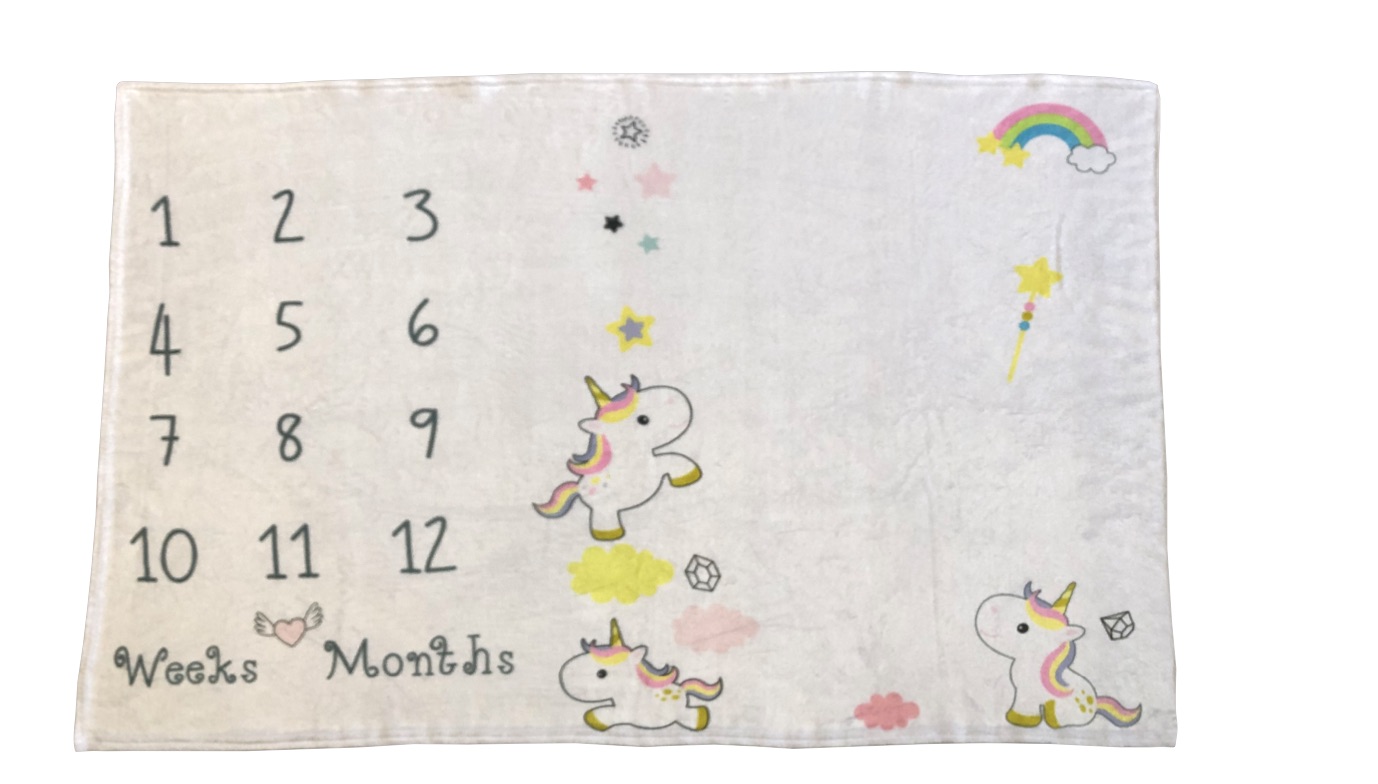
Is there a better way to make them look cleaner without having to retake the picture? I want a white similar to this:

enter image description here

P.S. I have both Sketch and Photoshop

3 Answers 3

3

With Photoshop's Image > Adjust > Curves you get this:
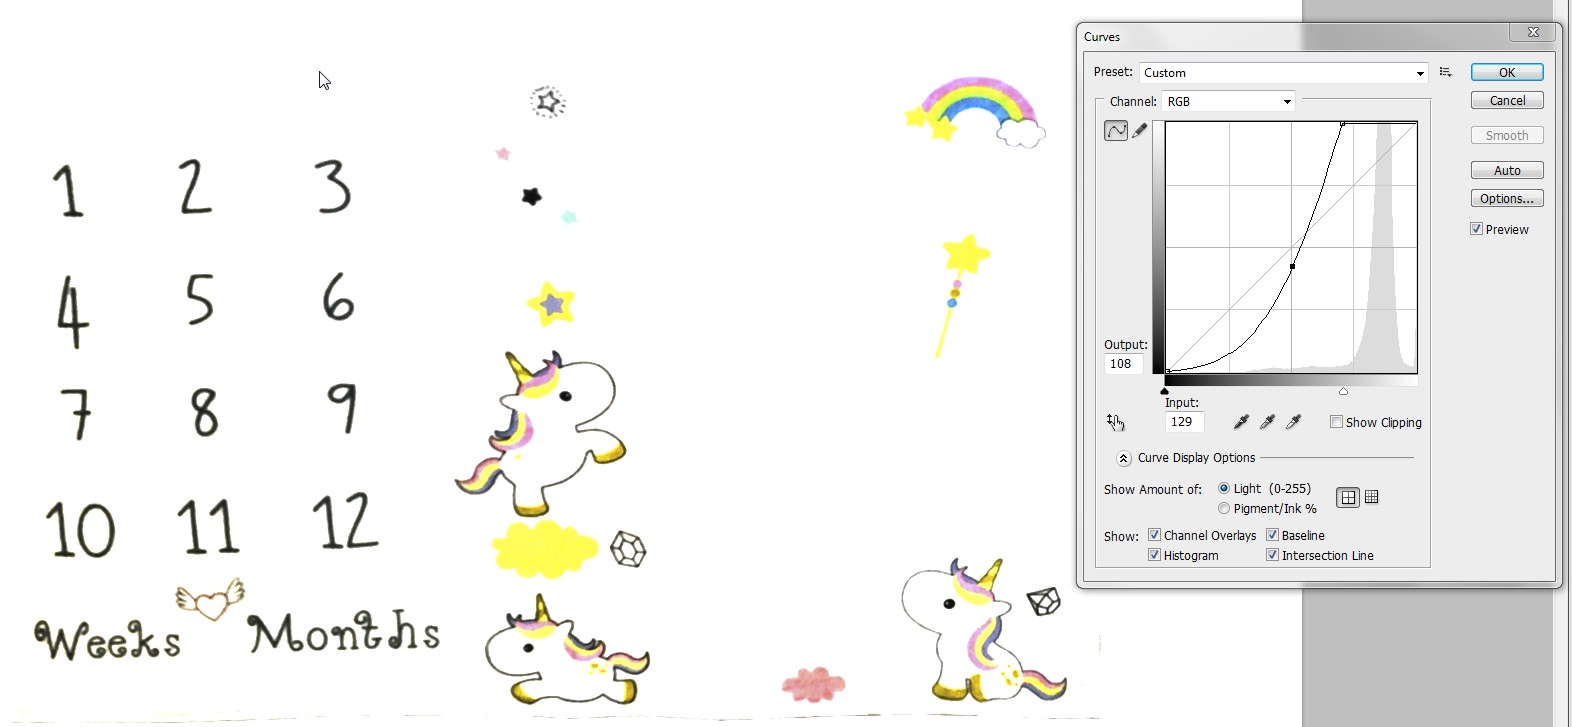
enter image description here

Use eraser or white color to clean the unwanted stray dots. Some light details vanish, you must recreate them manually. You can have the edge in another layer, if you want it.

Another version:
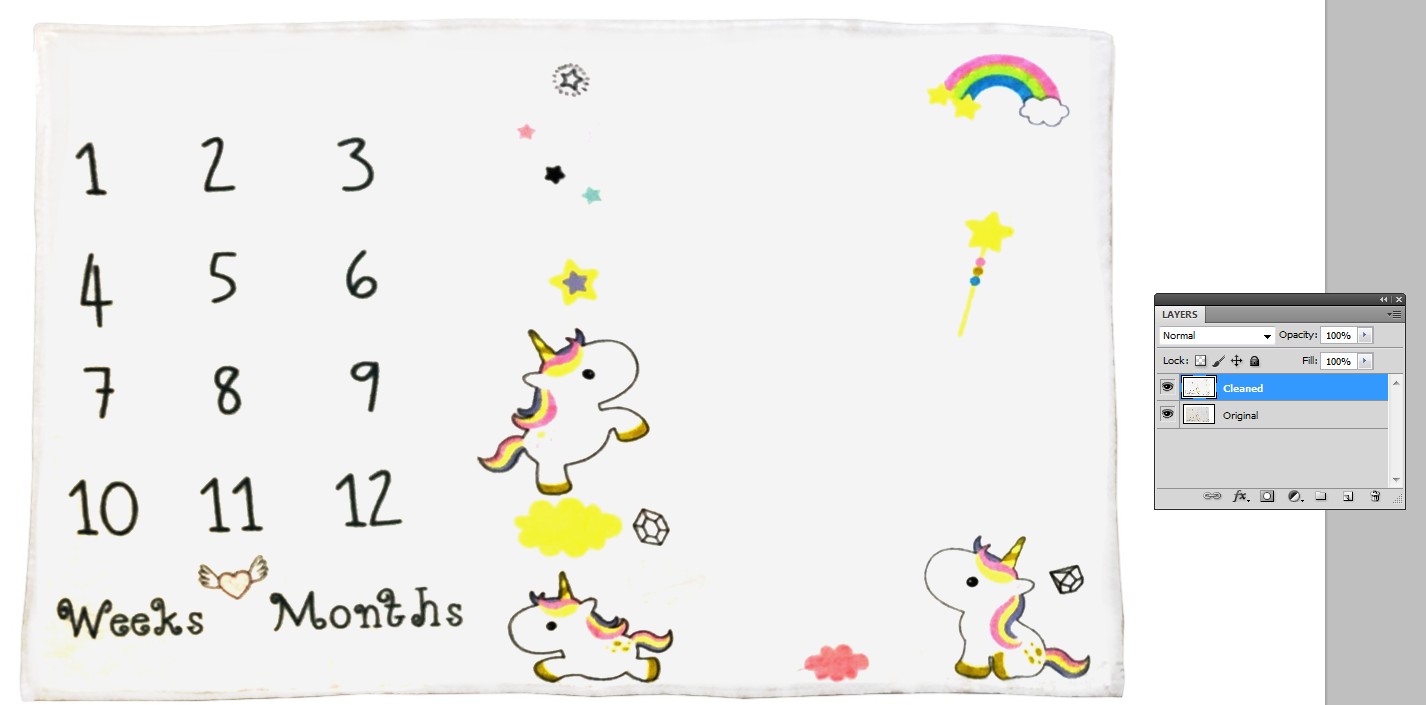
enter image description here

The whitening has been made at first fully, stray dots were cleaned by painting white, the whitening has been taken back with the curves a little to get some greyness and the edges of the underlying original were partially revealed with the eraser which had low opacity.

The missing pink cloud must be recreated:
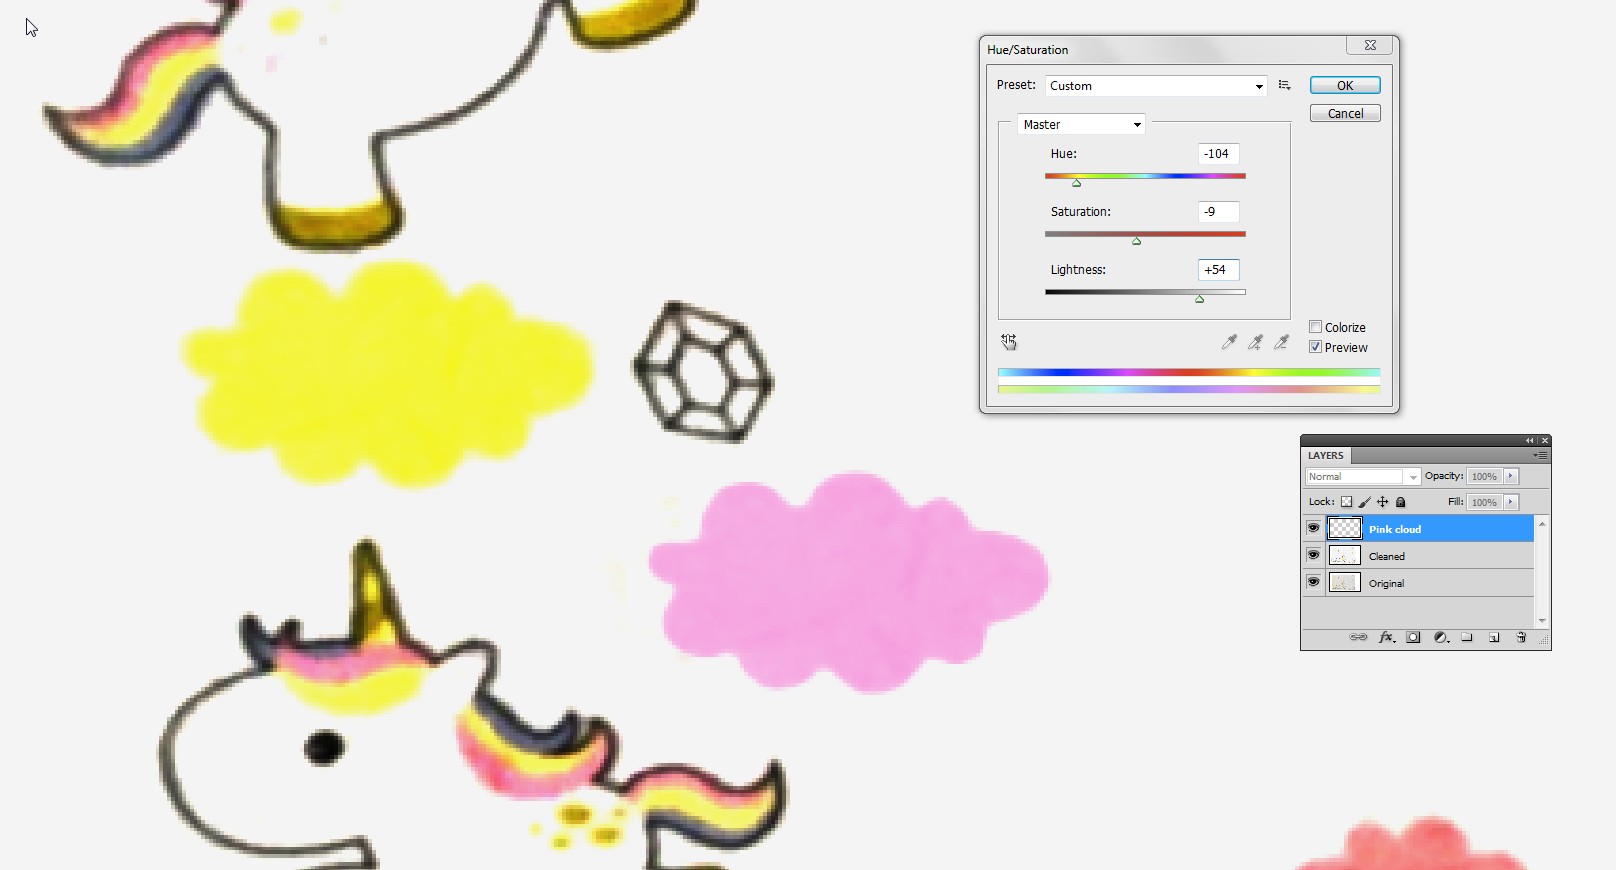
enter image description here

It's here actually the yellow one selected with the magic wand and copied & pasted to a new layer, then recolored with Image > Adjustment > Hue & Saturation

3
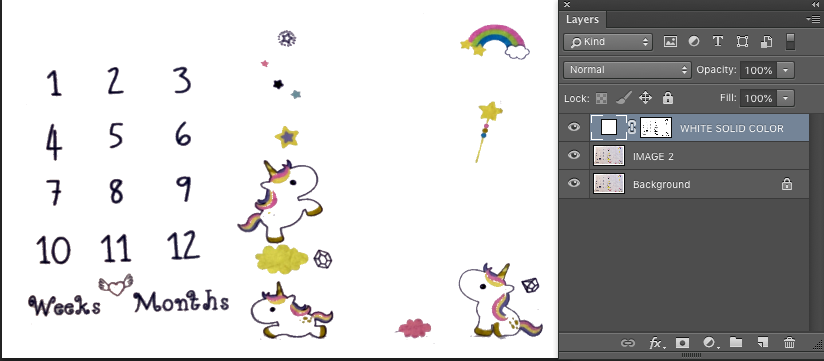
  • Duplicate the image layer and press Cmd + Shift + L Mac or Ctrl + Shift + L Win to apply Auto Levels

Auto Levels

  • Duplicate this layer and go to menu Image > Adjustments > Desaturate Desaturate

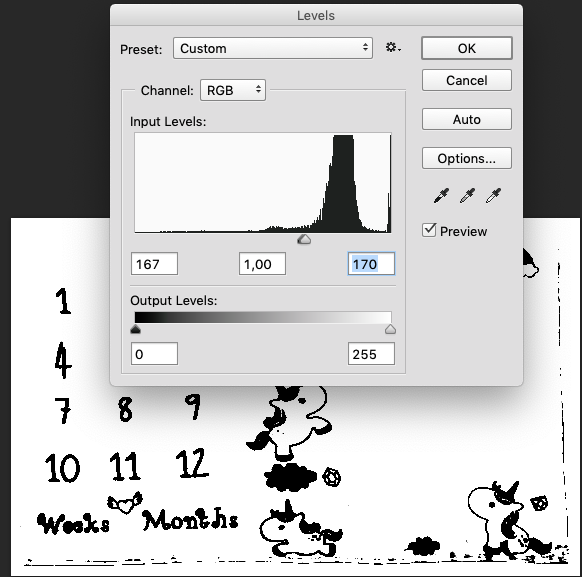
  • Press Cmd + L Mac or Ctrl + L Win to open the Levels Window options

  • Move the shadow and highlights sliders to remove the midtones

levels

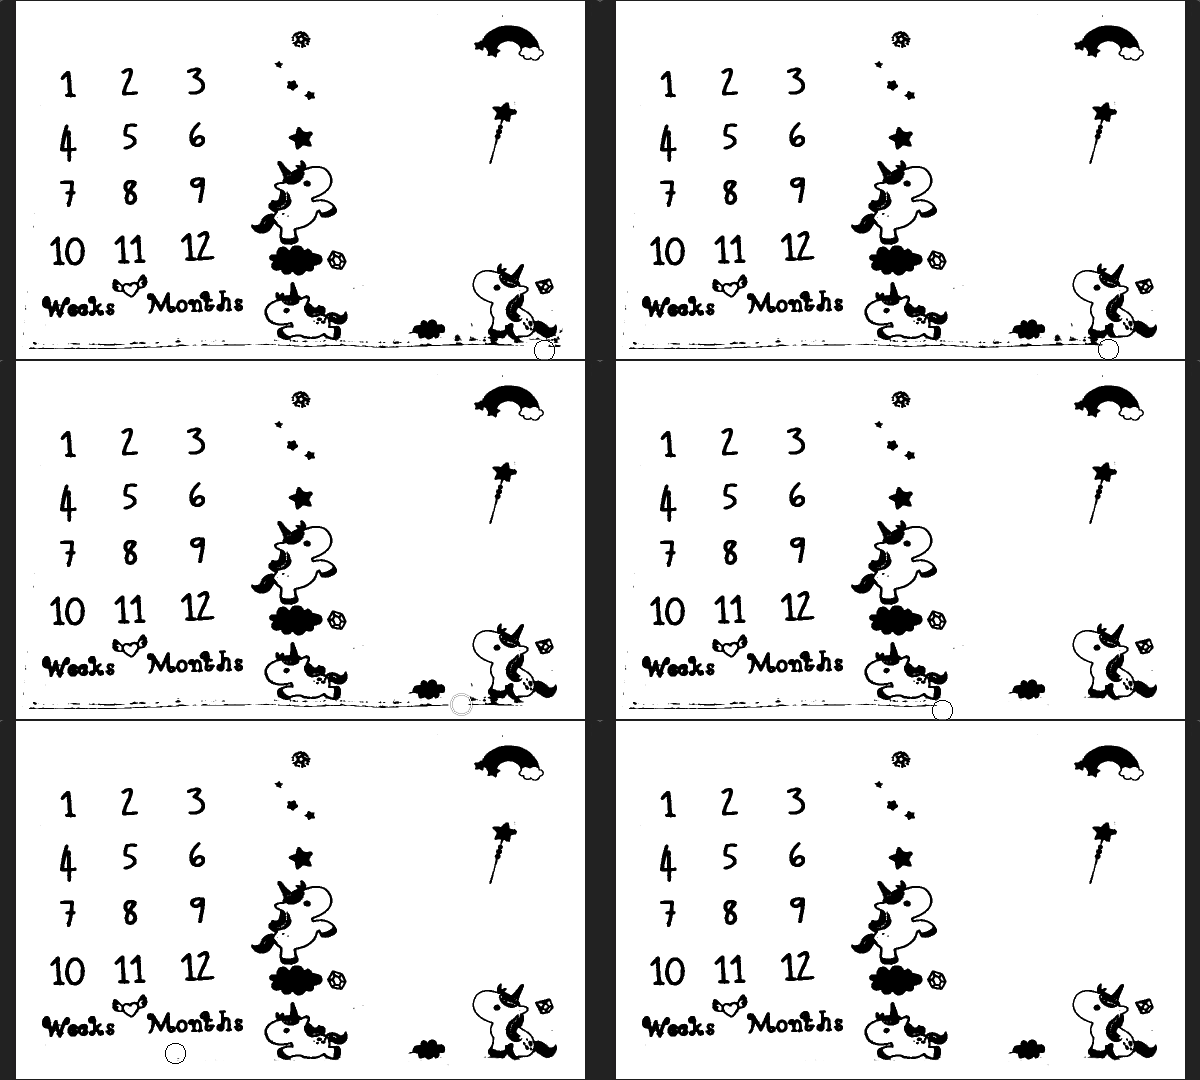
  • Use the brush to clean up the noise

noise

  • Go to menu Select > Color Range > choose Highlights to select all the white area
  • Delete this layer
  • With the selection active make a Solid Color layer filled with 100% white

Solid color

  • Change the blend mode to Screen and reduce the opacity
  • Click the mask thumbnail to edit it
  • Go to menu Effect > Blur > Gaussian Blur = 1 px
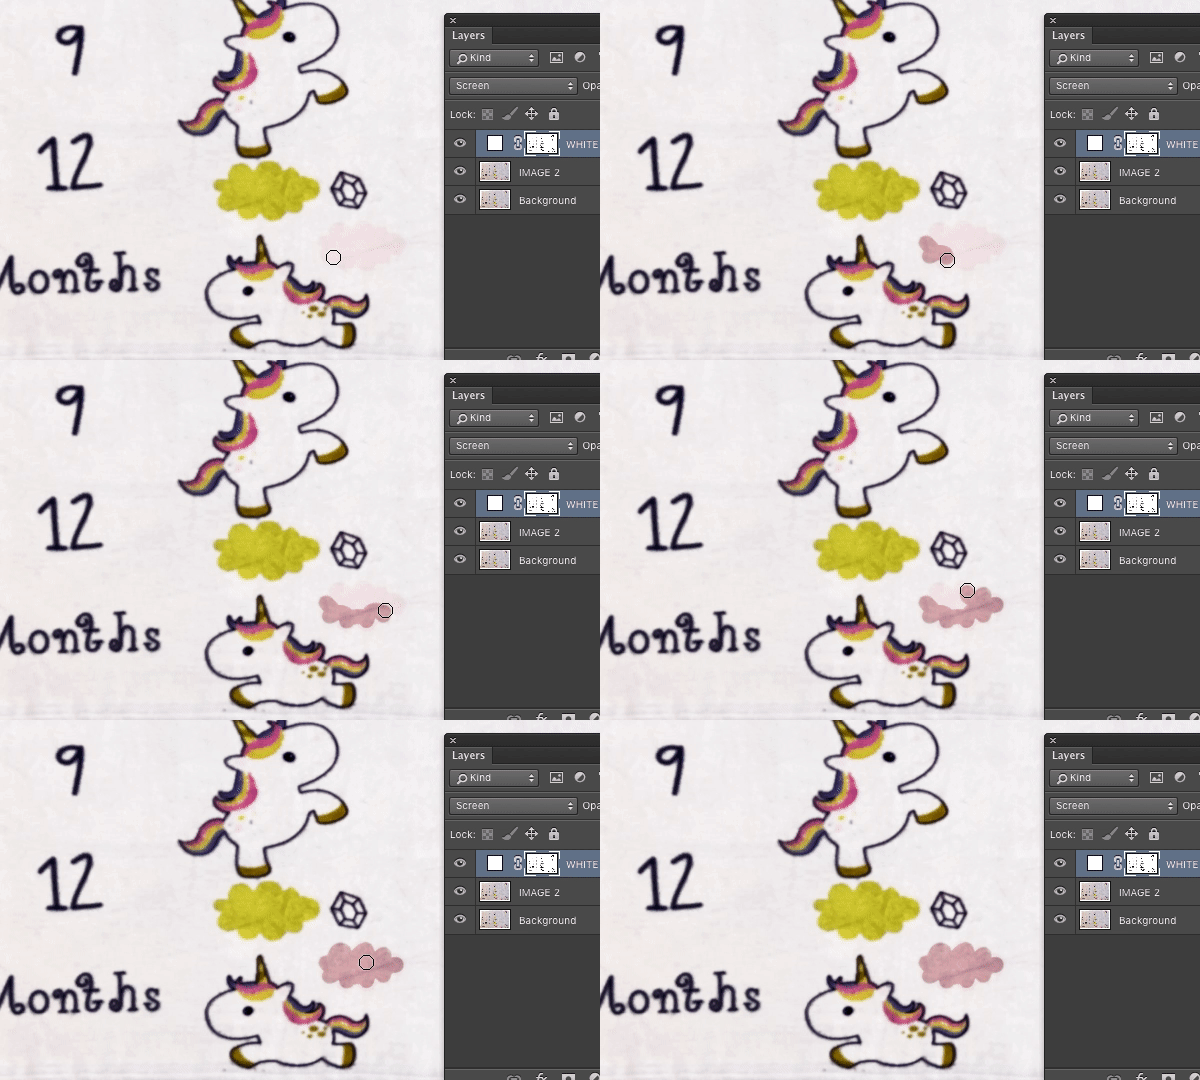
  • Use the brush with 100% black to unmask the pink cloud and top star

unmask

Result

end

0

I wouldn't use Sketch for this, because it's not a raster image editor, and any adjustments you can make will therefore be extremely limited.

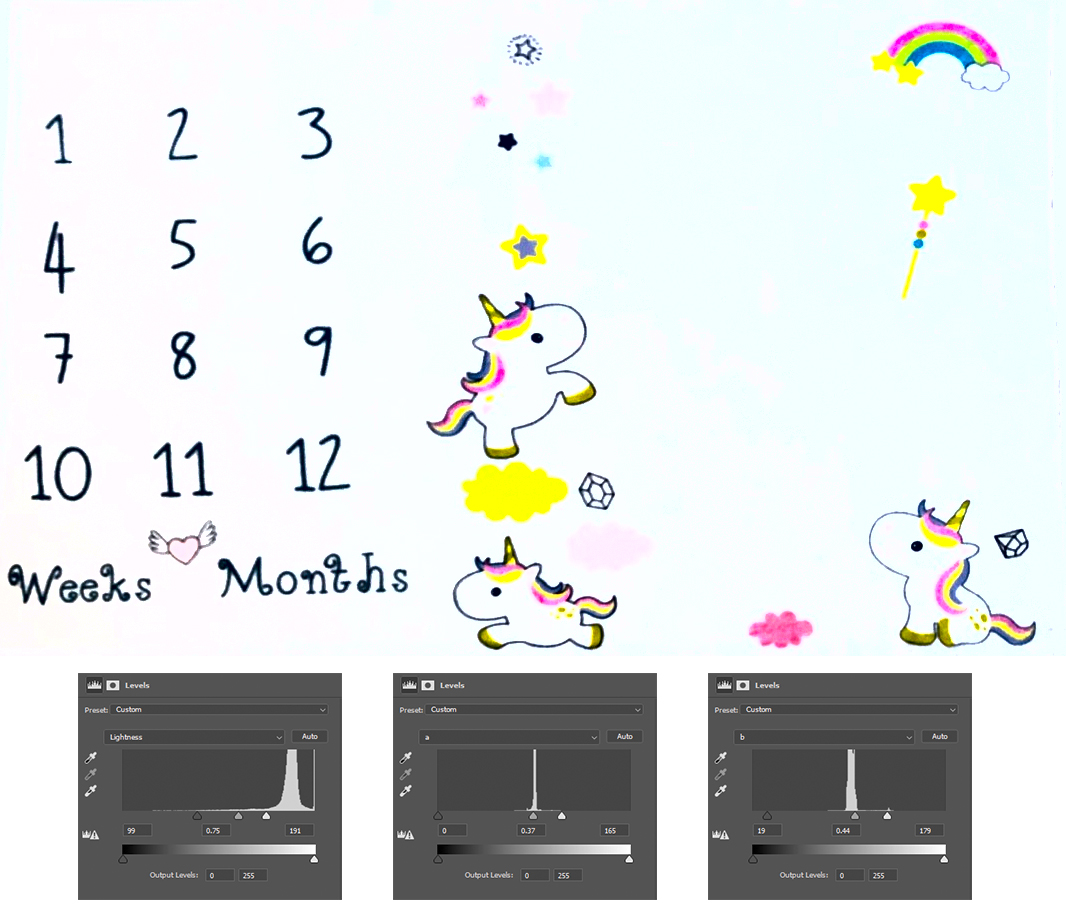
Use Photoshop instead. Convert the image into LAB mode, and make Levels adjustments as shown below for each of the Lightness, A and B channels. Using LAB mode to do this will enable you to make levels adjustments while keeping the light pink cloud and star.

enter image description here

Your Answer

By clicking “Post Your Answer”, you agree to our terms of service and acknowledge you have read our privacy policy.

Not the answer you're looking for? Browse other questions tagged or ask your own question.