This was actually not asked, but I inserted it for GIMP users. I have also in the end something to Photoshop Users.
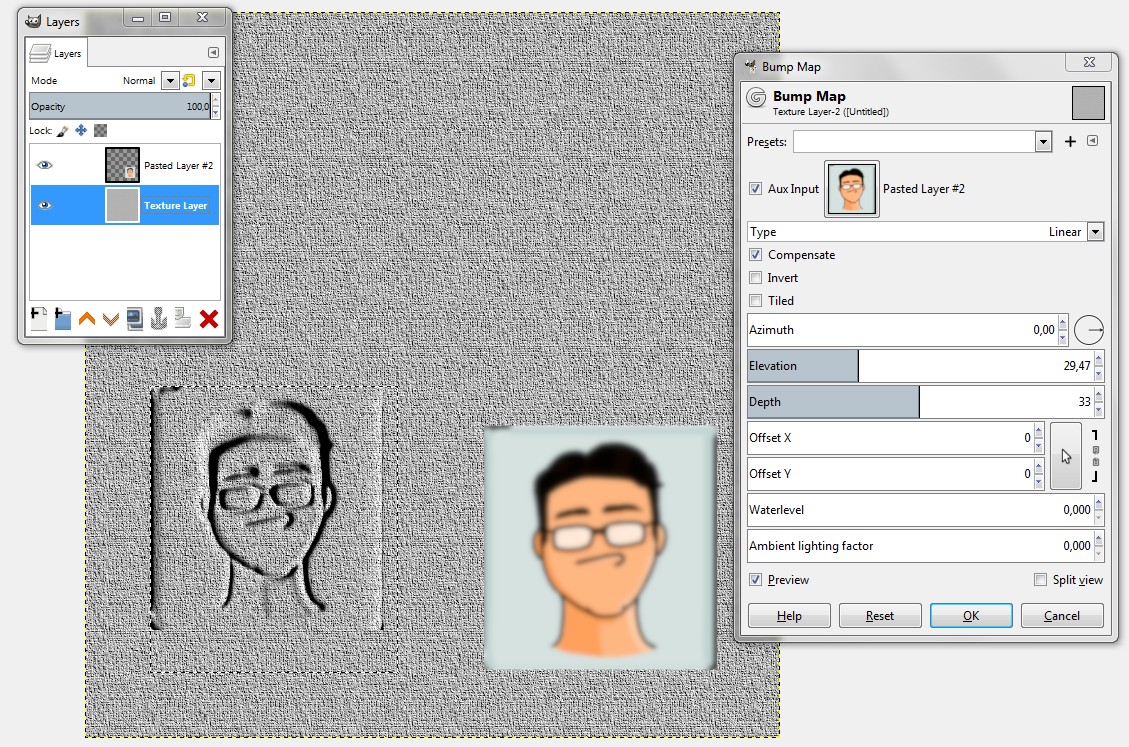
In GIMP filter "Bump Map" does the job.

In the bottom layer I have a random texture. On the top I have the wanted bump map image. It's a little blurred to create well visible slopes(See NOTE1)
I made to the texture layer a selection for the wanted affected area. No selection actually is needed if you set X and Y offsets in the dialog.
I applied to the selection Filter > Map > Bump Map and selected my top layer to be the Aux Input of the map.
NOTE1: The brightness sets the relative elevation. The apparent 3D view is straight on the face, so a gradient is needed to have visible slopes. A light blur works well.
The next is an alternative version of "Embossing". The core idea is shown already by user keith rodi in his answer, but this version doesn't use layer styles, so it can be used directly in GIMP and many other image editors. I tried it in Photoshop.
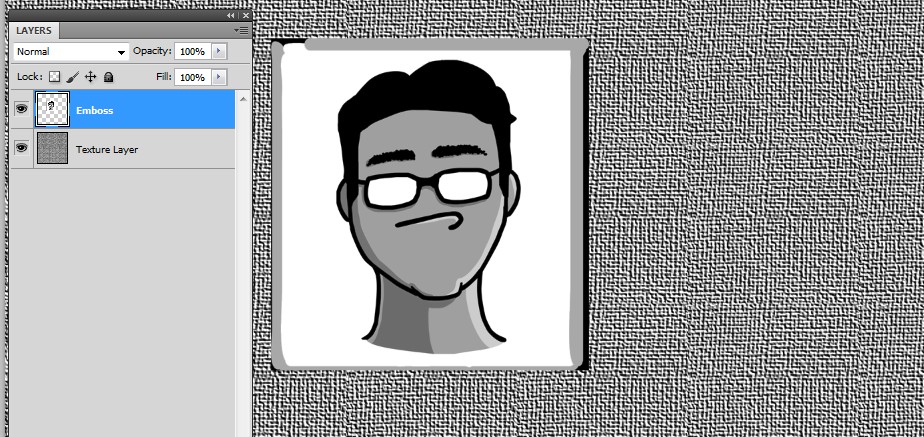
Here's again a random texture in the bottom layer, but the top layer has a BW version of the wanted embossing shape. It is adjusted with Image > Adjustments > Black and White so that all wanted details can be seen as different greyshades:

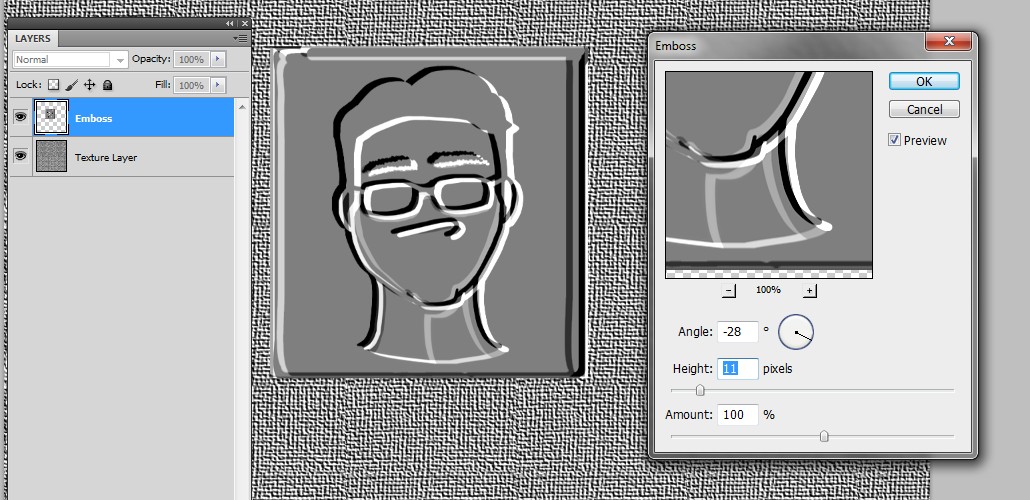
The next step is to apply Filter > Stylize > Emboss for the fake 3D shading.

Adjust depth % so that the scale covers range black to white. We can adjust it later. The height cannot be adjusted later, so it must be got right now.
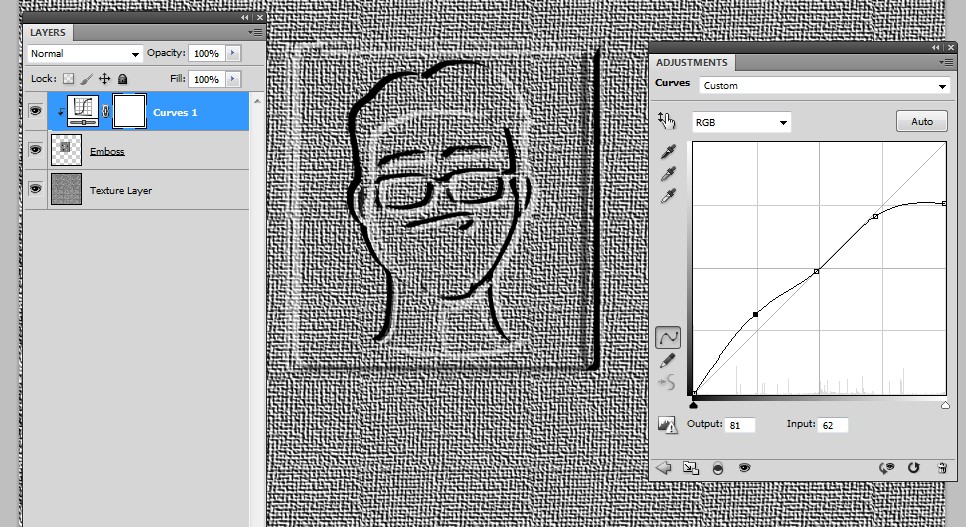
With blending mode Hard Light the embossing affects to the underlying layer. Reduce the opacity and possibly adjust the contrast of the embossing layer to avoid too bright and too dark areas and to lift up too subtle borders.

Here the contrast is adjusted with a curves layer (next layer only switch = ON), but Image > Adjustments > Curves works well, too. The blending mode of the Emboss layer is Hard Light but the opacity is and can well be =100% due the reduced white.
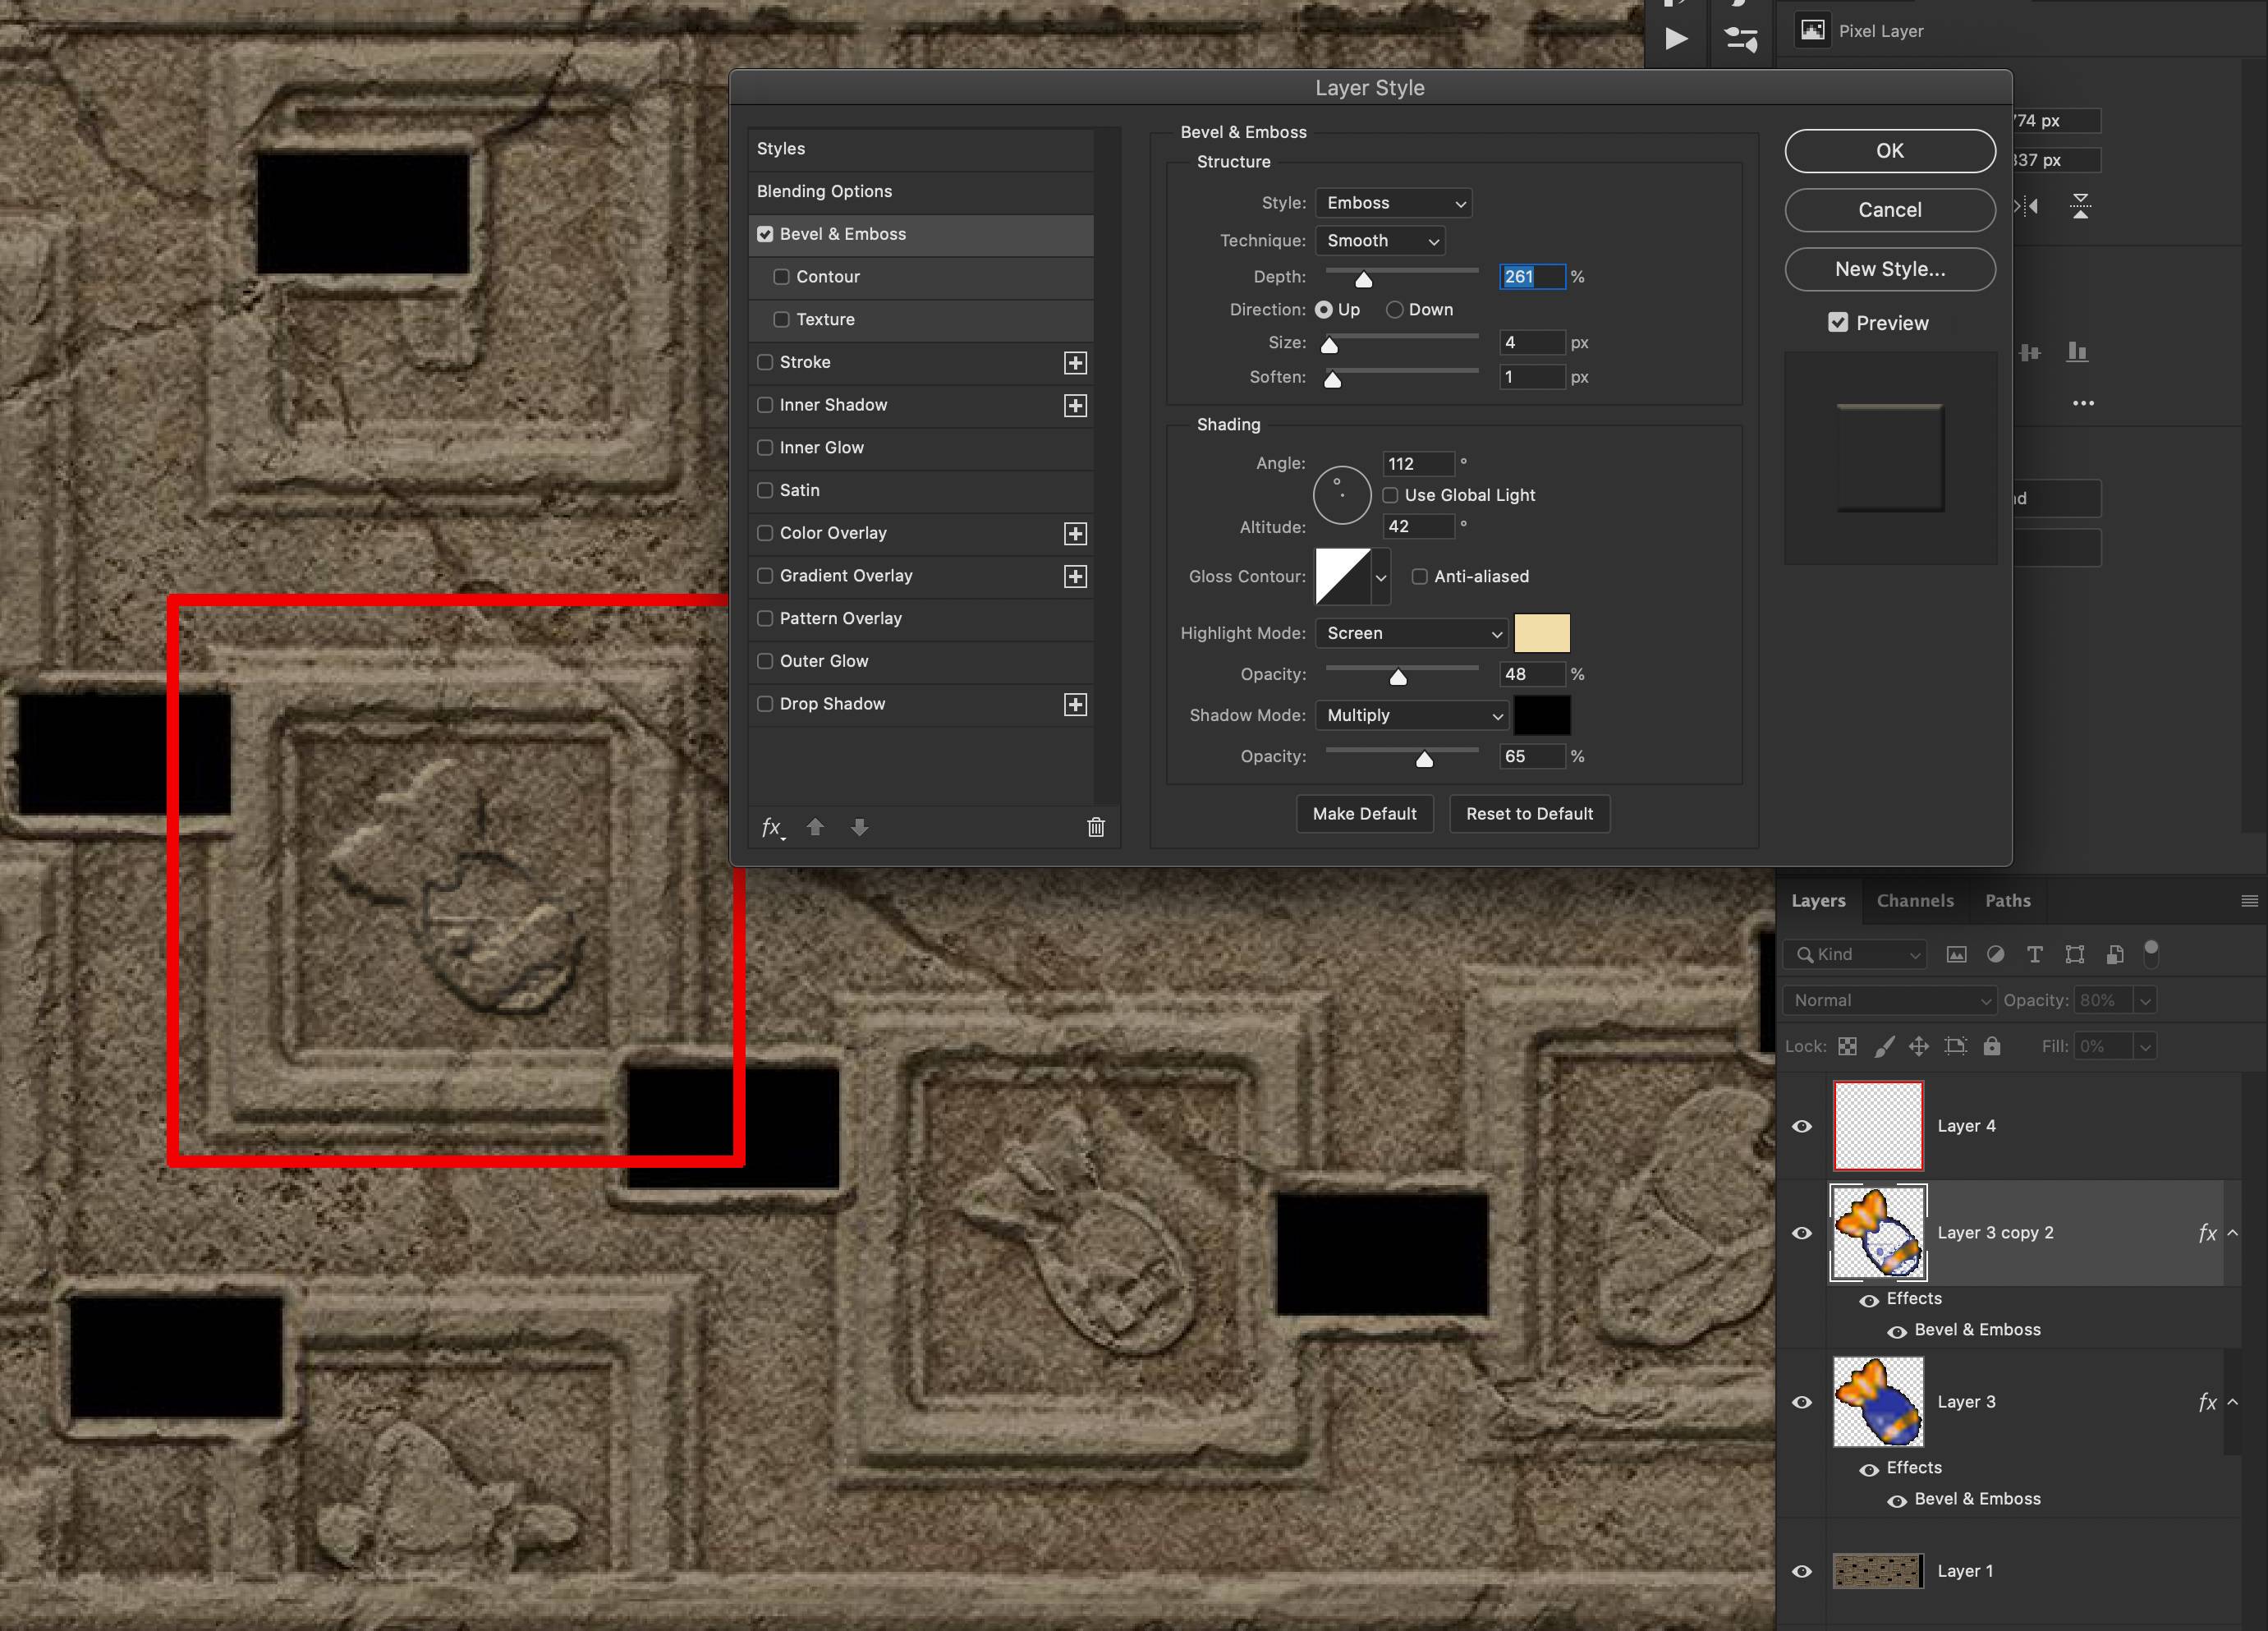
As already shown by user keith rodi, the embossing with Layer Style Bevel&Emboss works and offers a kind of adjustability which is lost with filter "Emboss" except in case one uses smart filters.
Conclusion: Bump Map and Embossing are totally different ideas. Bump map needs gradients (or blur) to generate well visible forms. It is a kind of partially implemented 3D. Embossing generates shadows caused by imagined vertical surfaces and to the light side edges it generates highlights as physically impossible anti-shadows.
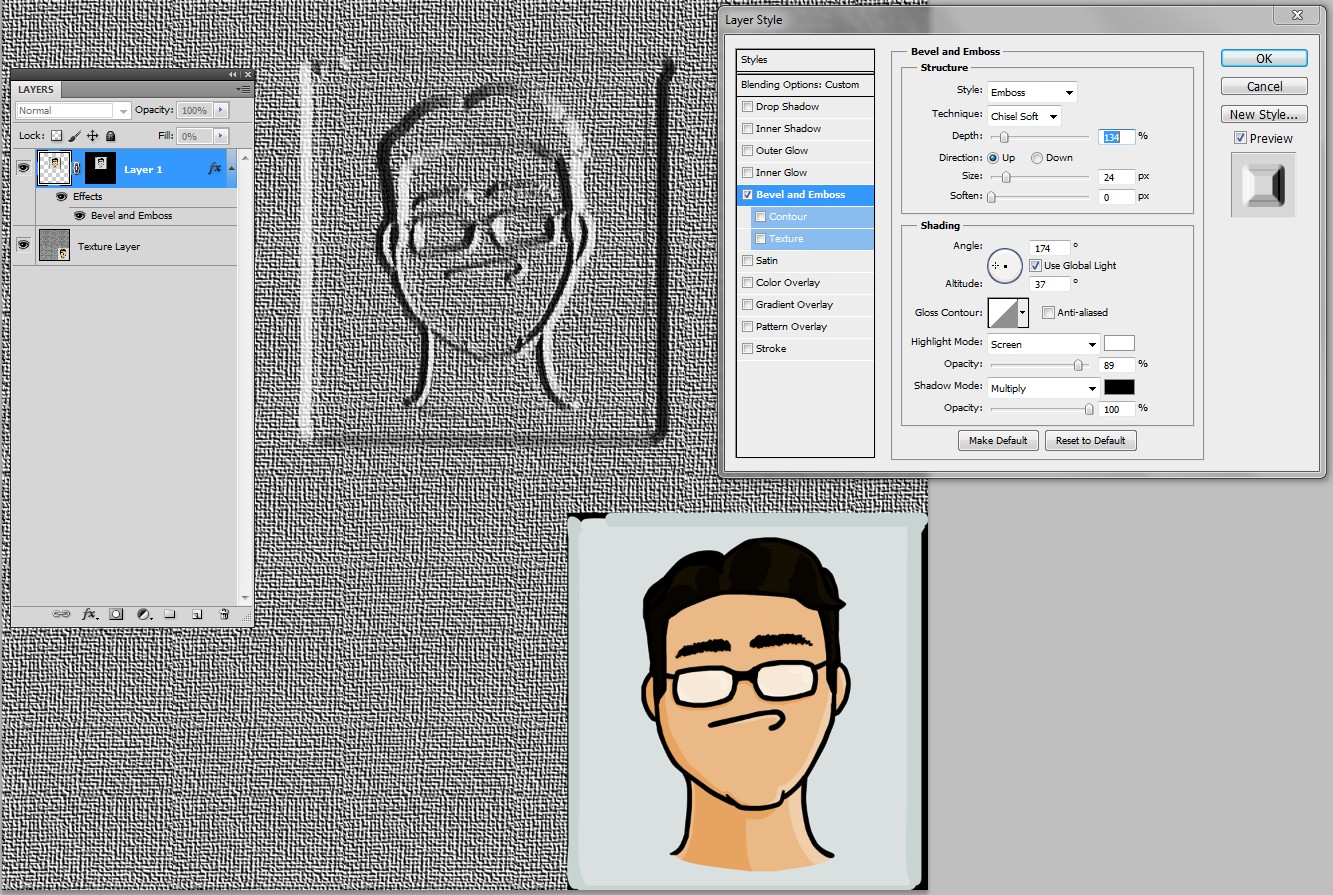
ADD: Keith rodi's version could be enhanced greatly by having a layer mask for the embossing shape. The layer mask defines as transparency the edges for effect Bevel&Emboss. The actual layer can have any color because the fill=0%. One can paste an image to the layer mask after Alt+Clicking the mask icon in the layers panel.
In the next screenshot the used embossing shape is shown in the bottom right and it's pasted to the layer mask as is.
