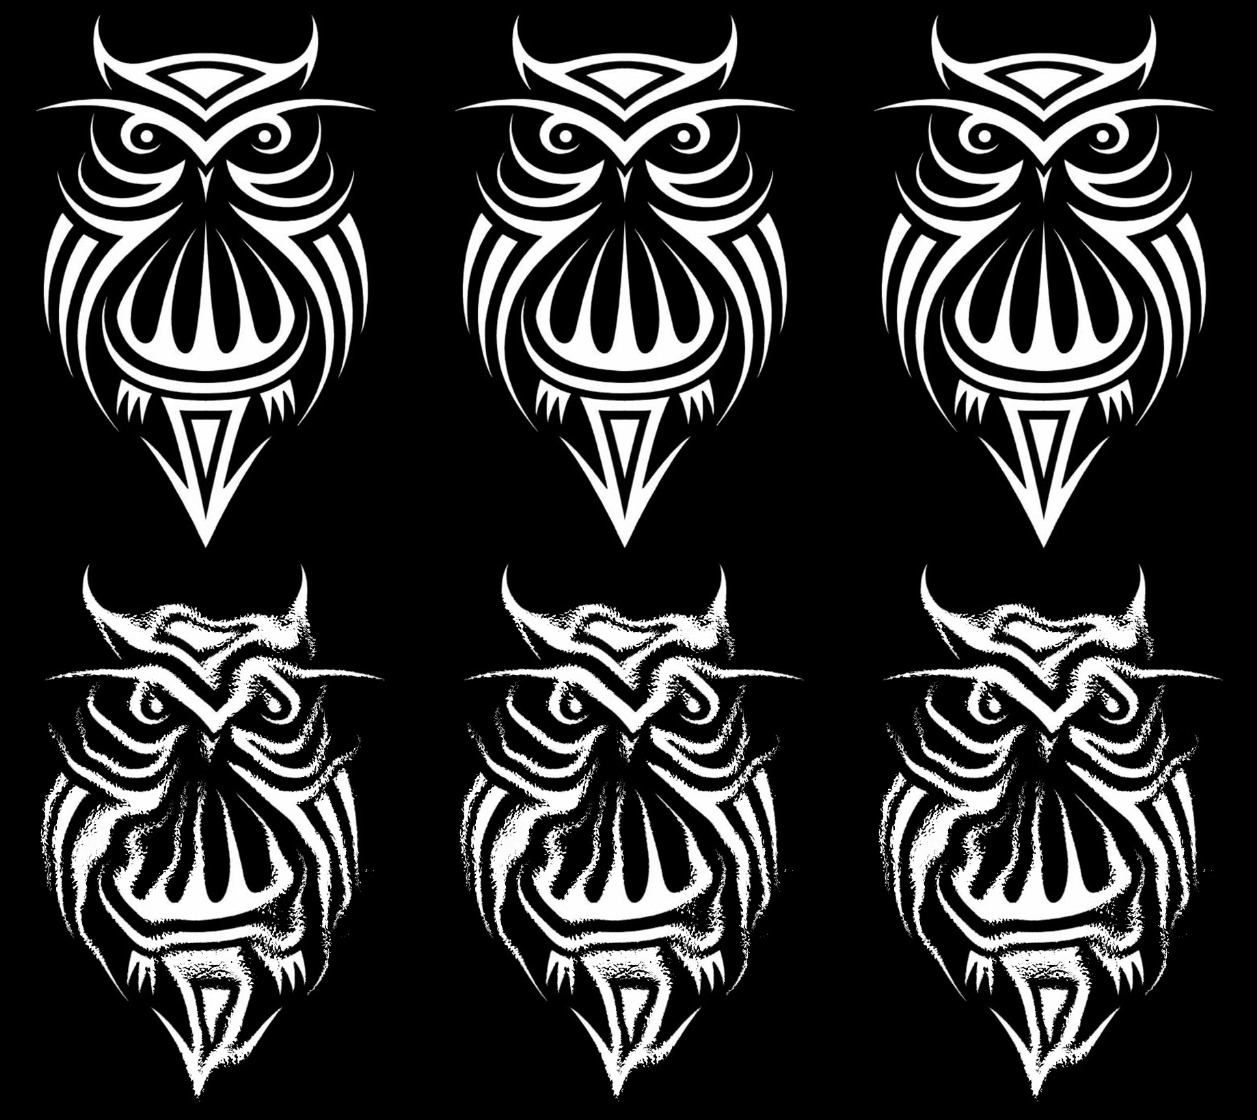
I tried googling this one out, but no luck.
I can't wrap my head around this effect. It must be combination of liquify, noise, dissolve mixing, texture mapping maybe? Any help would be appreciated.
Here I'll try to recreate the appearance of the second image.
I find an image of some water, scale it to the wanted height, crop it to half the width and mirror that half to create the full image.
Then I upscale the image 400%. This is required because we are going to use Dissolve blend mode which creates sharp aliased pixels. In the end we'll scale it down to 25% again to smooth those jagged edges.
Using the upscaled image, I create a grayscale version of the image to use as background. I add a lot of contrast and some grain.
Again using the upscaled image, I create another grayscale version of the image to use as map for a Displacement filter to use on the text. This image has more details and also some grain to help create the dissolved distortion of the text. I save the image as a PSD file.
Now I open the upscaled background image from before. I want to let the image dissolve, so I need to make the white pixels transparent. One way is to left-click the gray channel in the Channels panel, invert the selection and fill with black in a new layer. I set the blend mode to Dissolve and create a white layer below it. The original background can be deleted.
Then I add some white text and also set the blend mode of this layer to Dissolve.
I select the text layer and use Filter > Distort > Displace with the following settings (the values needed will differ depending on the effect you want and the dimensions of the image):
After pressing OK I'm prompted to select an image to use as displacement map and I choose the map I created earlier.
Finally I flatten the image and scale it 25% down to the intended size. Here is a full size image of the result:
Yeah that looks like Filter > Distort > Displace
Displace is a little tricky to control to get a mix of a portrait and type to look that nice, the creator did a solid job. Here is a quick, crude attempt to mimic something like that.
You'll want a black and white PSD to use as the displacement map/source. In this case, a portrait.
What I did: In a separate doc, rasterize your type. Use displace on type layer, selecting your portrait as the source. A dialog pops up with some options, play around with these as results vary. You should see the type distort based on the values of your source img. I then added the same portrait on a new layer, and put it on screen so the face would be more prominent. Then applied displace once more. You'll notice my type doesn't distort on the sides (T&E) because my source image is empty (white) in those areas.
The second example looks like they used something like splashing water as the displacement.
Hopefully that helps. Mess around with different images and values as the displacement sources to get a better idea of how this filter works. Trial and error.
It's difficult to tell exactly what was done to these, but something similar could be done by using the Displace filter. Here's a very quick run through.
Something like this perhaps
Here's a before and after using the displacement filter.
Perhaps this could be further improved upon by duplicating the image layer, flipping it horizontally, and cutting away half of it so the distortion on each side appears symmetrical.