1

Let's have an image with a size of e.g. 1000x1000 px. The image is transparent, but only but one pixel is not.

The question:

  1. How can I find this pixel where it is in the picture by using Photoshop?

  2. Can I see from somewhere how many (non-transparent) pixels my image contains (by using Photoshop).

1
  • You can use the measurement log if you want something more sophisticated than a count. Anyway, what do you want to do with semi transparent pixels?
    – joojaa
    Commented Nov 28, 2020 at 19:16

4 Answers 4

3

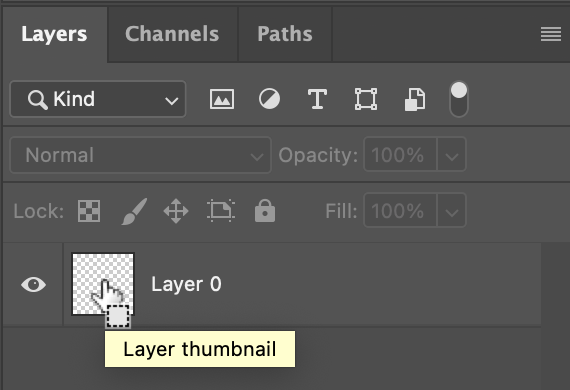
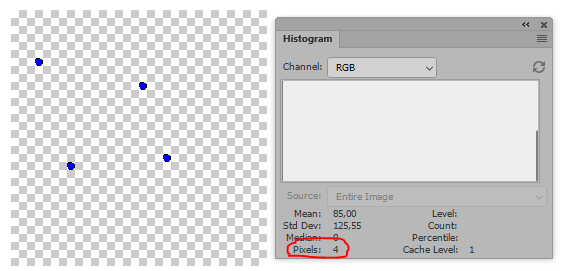
You can Ctrl / Cmd + click the Layer thumbnail to select all non-transparent pixels and read the number of pixels in the Histogram panel:

The downside is, that the pixels must have 50% opacity or more to be able to be selected this way. Might need to make sure that is the case before doing the count.

1

There's a lot of different scenarios in Photoshop where you could have what you've described, but here's a couple of ways to track down a non-transparent pixel.

If your files has a single layer and no layer mask, here's two options:

  1. With the the move too active, click on the layer in the layer panel and the check this box on the options pallet at the top of the screen. This will display the standard transform controls, which will be pretty easy to spot.

enter image description here

  1. You can simply hold CMD (macOS) or CTRL (windows) and click on the layer thumbnail in the layer pallet. This will put a marquee around the pixel on the layer.

enter image description here

If the layer has a mask, you can hold ALT and click on the layer mask, this will show a black and white version of the alpha channel for that mask.

0

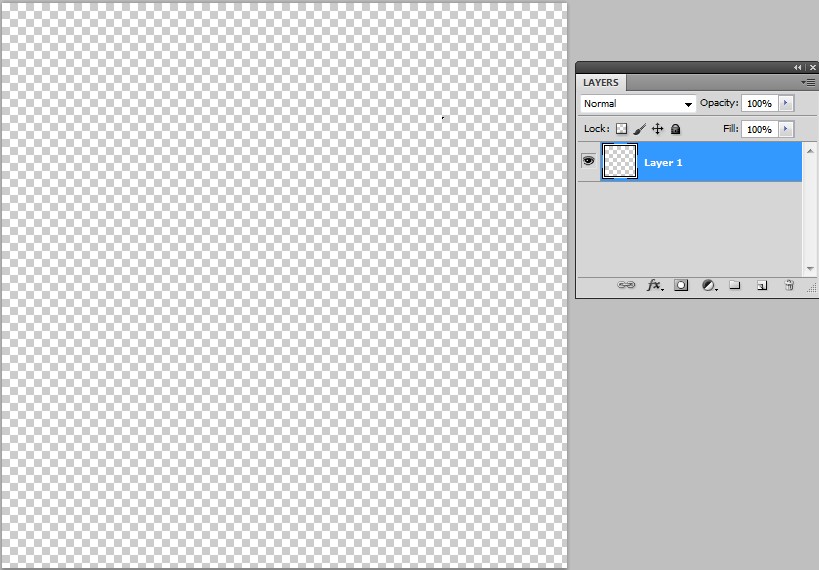
Here's 6 grey opaque pixels in a 1000x1000 image, all other 999994 pixels are fully transparent:
enter image description here

Counting them visually causes at least for some of us some problems as you might have noticed.

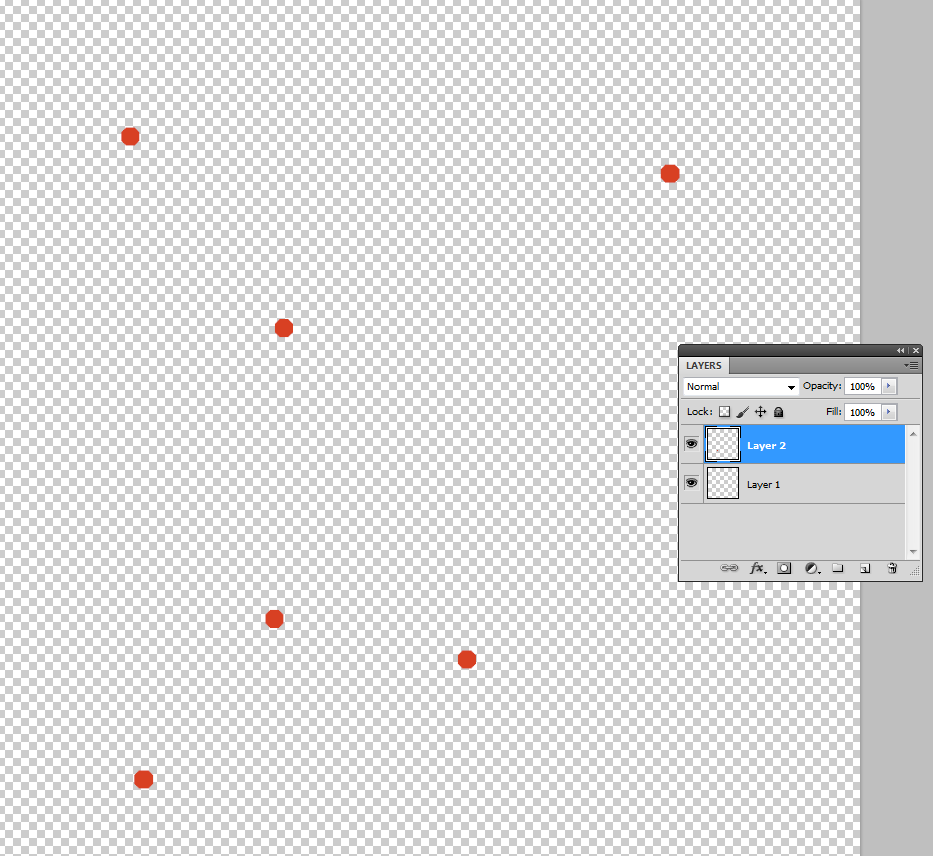
You can select them by clicking the image icon in the layers panel and holding Ctrl at the same time. Then you can expand the selection. In the next image the the selection is expanded by 10 pixels. A new layer is inserted. The selection is filled with red by applying the paint bucket with no antialiasing nor contiguous selected:
enter image description here

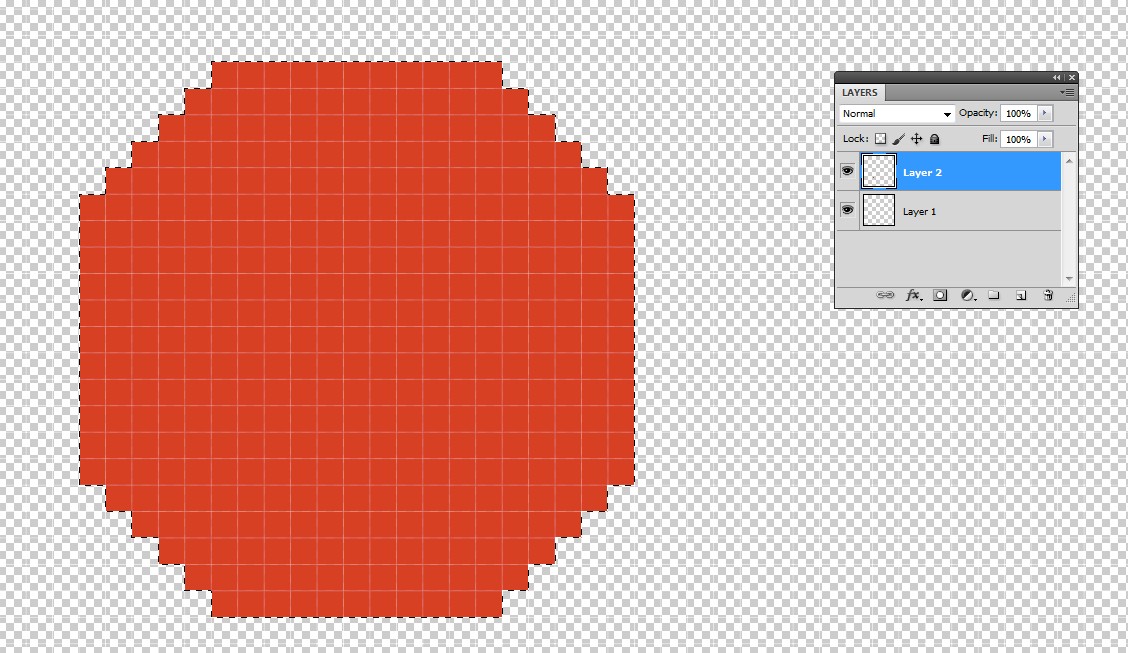
Now at least the enlargened pixels are visible. Unfortunately adjacent opaque pixels can be difficult to see because they become nearly one when expanding the selection. One spot is this in pixel view:
enter image description here

It's not square, but it's pixel count can easily be calculated. It's 381.

In principle one could use white instead of red, merge the dots with a solid black layer and apply the averaging blur. The resulted brightness would be proportional to the number of opaque pixels.

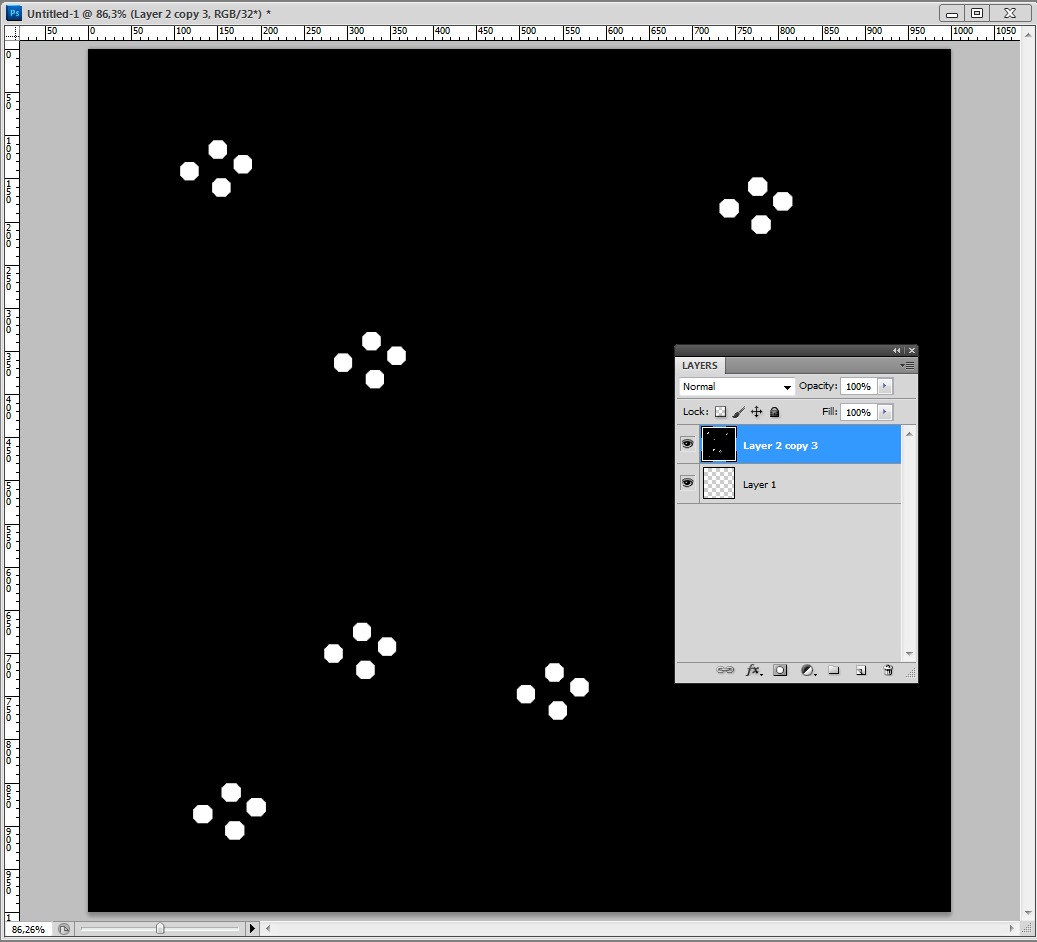
Just for fun I adjusted the dot layer to pure white with curves, made 4 copies of the dot layer, moved the copies apart and merged them to a solid a black layer:
enter image description here

If you watch carefully you see that the color mode is changed to RGB 32 bit/Channel. With it filter Blur > Average makes a substantially different than zero result:
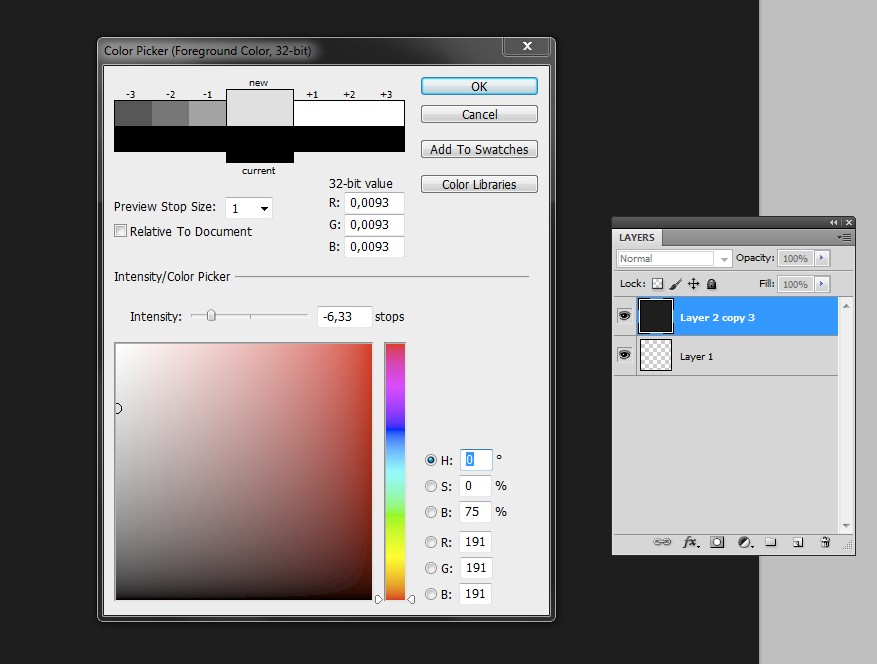
enter image description here

All channels have 0,0093. That's probably truncated or rounded in calculations, the exact average can as well be for example 0,0094 or 0,0092 or something else - only Adobe knows how accurate the result is. If we divide 0,0093 at first by 4 and then by 381 and finally multiply by 1000000 we get 6.1 I do not recommend to use this fun calculation for anything important. As said it doesn't know if there's amalgamated dots or dots over the border.

0

In Photoshop, you can also use the Magic Wand tool to select an area in your image you believe to be transparent, and click on it.

Then click Select/Inverse to select any pixels in that layer that are not transparent.

Next, you can click View/Fit Layer(s) on Screen. This will show you the rectangular bounding box that surrounds all the non-transparent pixels it found as one selection, in a zoomed-in view, showing all of them on the screen. They may still be hard to see on the screen, but you can zoom in more to see each actual pixel.

Try it yourself, with a 1000x1000 pixel transparent image and a 1 pixel sized (default) hard brush. Using your Brush tool (with the blank image layer selected), click on the image once or a few times. Then, try the method I described above.

Your Answer

By clicking “Post Your Answer”, you agree to our terms of service and acknowledge you have read our privacy policy.

Not the answer you're looking for? Browse other questions tagged or ask your own question.