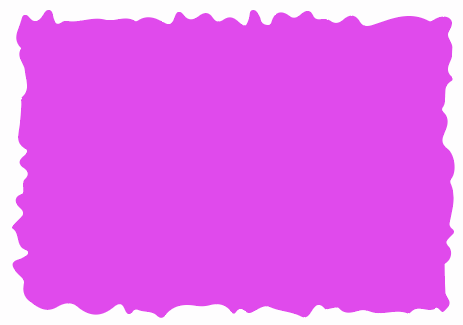
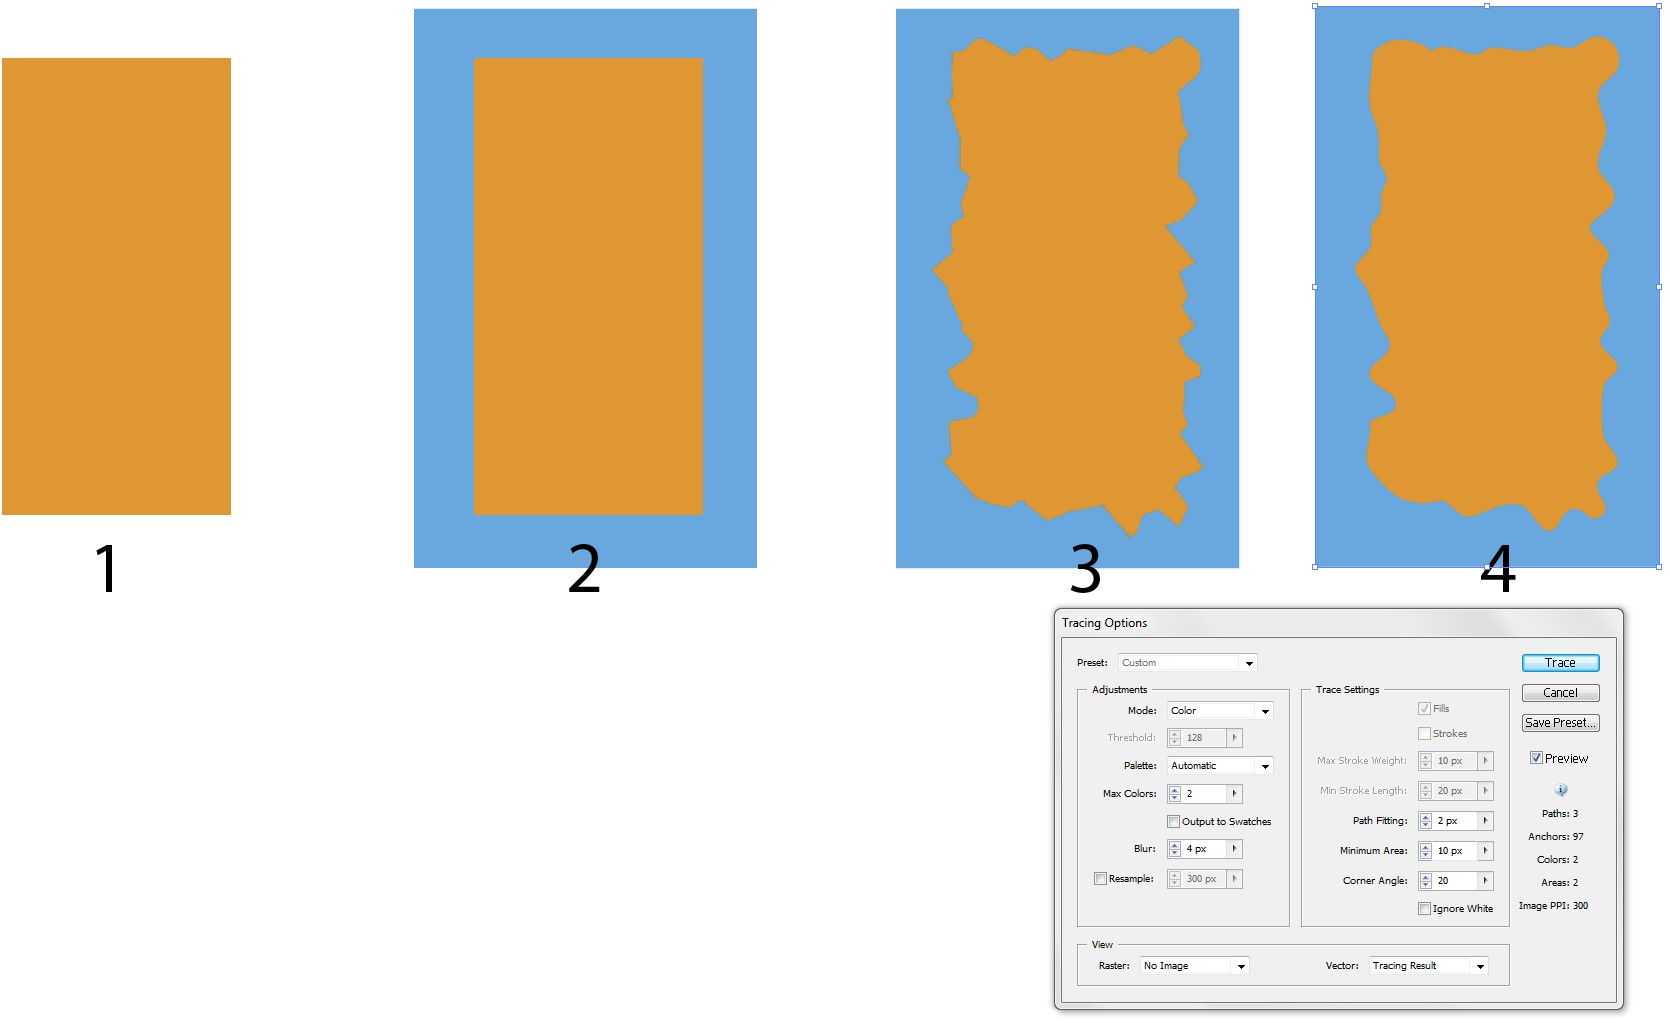
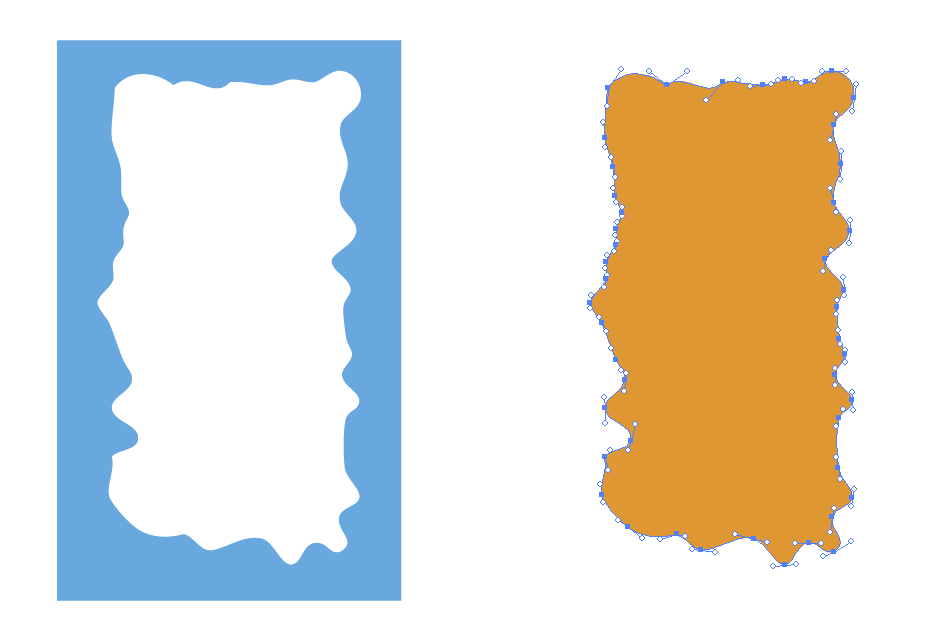
Actually, it probably is working or has been applied successfully but since there's only one color, you can't observe it (unless you zoom in a lot and notice some rough edges). Just like your problem, for example, I've applied the crystallize effect to this shape, but I can't notice it in my shape.

According to official Adobe's user guide:
Effect > Pixelate > Crystallize
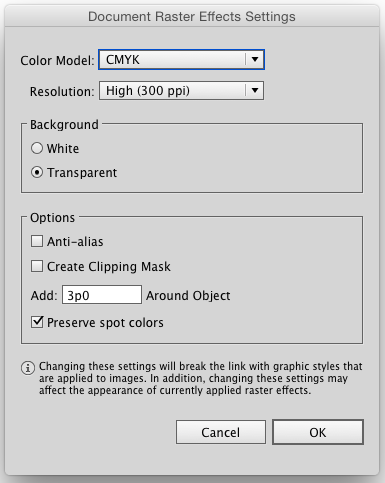
The Pixelate effects are raster-based and use the document’s raster
effects settings whenever you apply the effect to a vector object.
Crystallize - Clumps colors into polygon shapes.
So what I could conclude or what I could understand is that your object should have more than one color to actually see the effect easily. It could be a raster image or a simple vector shape with two or more colors or a group of different colored shapes. More the colors, more you'll see the cells/polygons.
Here are a few examples:
On left, no effect is applied. On right, effect is applied.
Image (which is already a raster object)
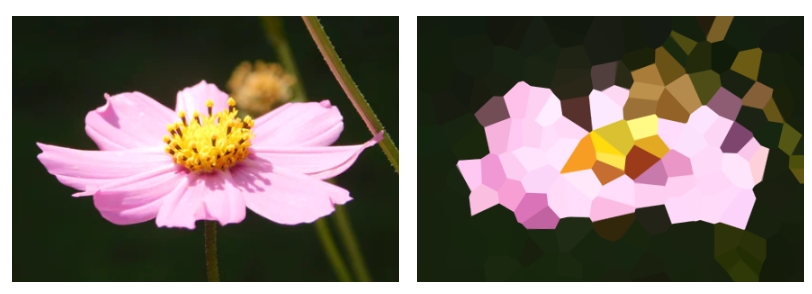
Group of 3 fill shapes (better the resolution in raster effect settings of your document, better would be the results)

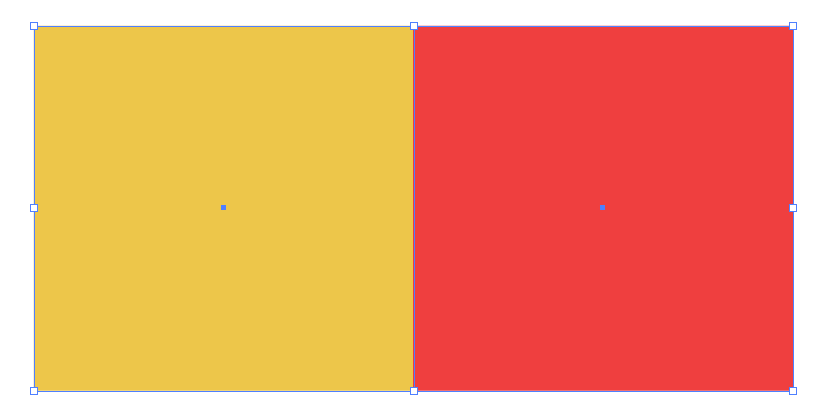
A rectangular/square shape with a stroke

After you expand it, it will become a raster image, like a JPEG/PNG etc. You can confirm this by going to Layers panel and checking the layer. And the effect is easily noticeable because you have two different colors.
Gradients

How to use it for creating wrinkled border:
Like mentioned before, you can use this effect To give a crystallize border look to a solid shape. This is what you're trying. For this, you can follow the 3rd example explained above, i.e., using a stroke for your shape.
Here's a bit more guide about how can you further use some tools and make it vector/crisp.
Select the shape with Crystallize effect applied on it and go to Object > Expand Appearance (turns shape into an image)
Window > Image Trace and trace it using suitable preset
Expand again and remove the black part:

After expanding it:
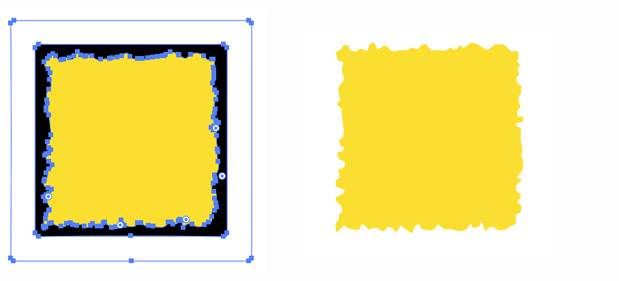
The reason your effect looks like low quality because it was still raster effect. Plus, like I had mentioned, better resolution and bigger objects will give better results.
You don't need necessarily need to trace and expand it, if you're satisfied with higher document resolution and your requirements.
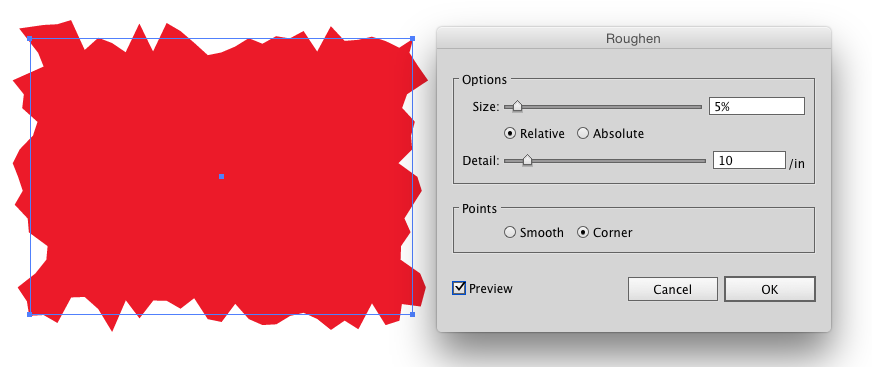
Like you said, there are some other tools in Illustrator for this kind of border effect, which are quicker and efficient than this. But this is in case you want to use only this effect and try more things.
Note: I'm posting this answer to my own question because I recently noticed this behavior. I experienced most of the problems I'm mentioning and figured out the behavior with some hit and trials. I feel this effect might be confusing or unknown to some new users. Or could be at least useful to some users. I was trying to improve one of my existing answers a few days ago and I had trouble understanding my own answer. I couldn't understand how that effect was applied at that time. I came to realize I had explained it in somewhat incorrect way. So I went into some details and got some understanding which I'm sharing here. Please help improve my question/answer if you feel I've stated something incorrect. Or please post a new answer if you think you can explain this with a new perspective.

