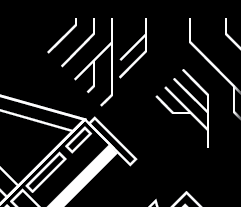
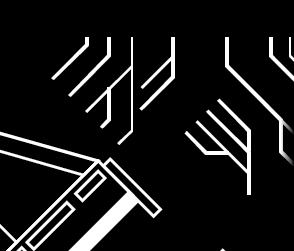
First...
Align to Pixel Grid is indeed checked in your file. Actually it is hyphenated indicating some objects are set to align to the pixel grid and some objects are not. Select all and then uncheck it on the Transform panel. If you don't see it on the Transform Panel, click the menu icon on the Transform Panel and choose "Show Options". You will then have to click the Align to Pixel Grid checkbox twice. Once to check it - removing the hyphen, then again to uncheck it. This will correct the issue with art being changed upon scaling.
In addition....
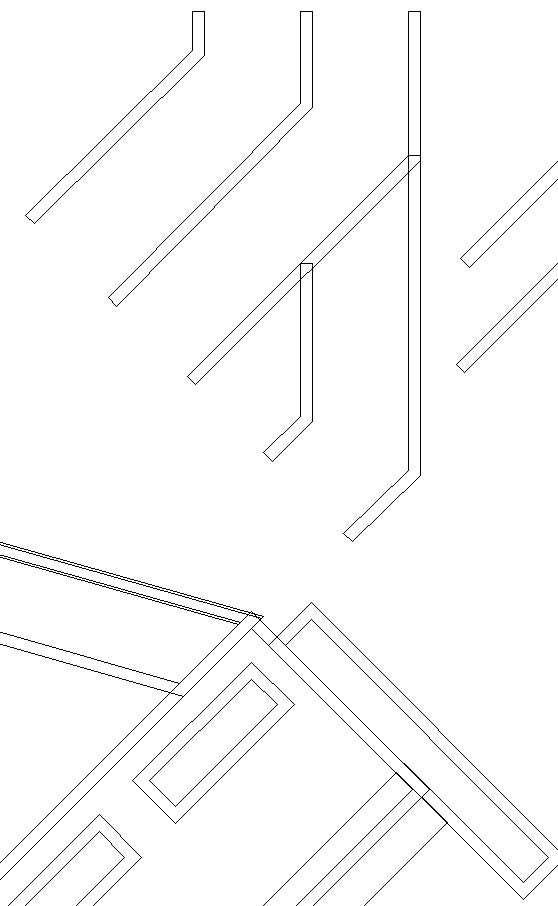
Looking at the file in Outline mode (View > Outline) shows areas of misalignment in the shapes. When you scale these areas of misalignment the inconsistencies in construction are merely easier to see.

This is caused by expanding overlapping shapes which don't line up precisely.
You can reduce many of these areas by locking the blue background, selecting the white areas and using the Merge button on the Pathfinder Panel (not the Pathfinder Effect menu item) to create solid shapes rather than overlapping pieces.
- Select the Blue
- Choose
Object > Lock from the menu
- Select one white shape
- Choose
Select > Same > Fill & Stroke from the menu
- Click the Merge button on the Pathfinder Panel (
Window > Pathfinder - DO NOT use the menu item.)
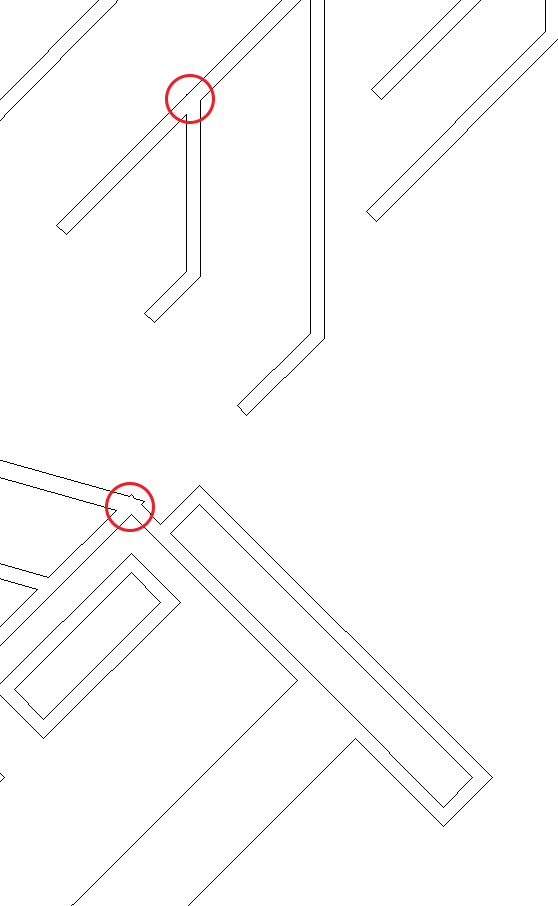
After doing this the art will appear much less complex in Outline mode. However, there will be areas which have issues due to the uneven expanded strokes...

These areas will have to be fixed manually.
