15

I'm curious to know if anyone knows of any effective techniques for finding the center line of a curved object.

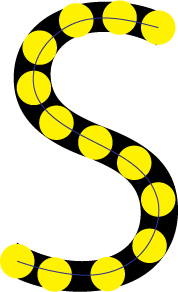
In the screenshot below you'll see a crude version of what I mean.

Shape with a drawn centerline path

Is there any way to get that line to perfectly trace the center, or is it easiest to just eyeball it?

Photoshop or Illustrator techniques are acceptable.

4 Answers 4

18

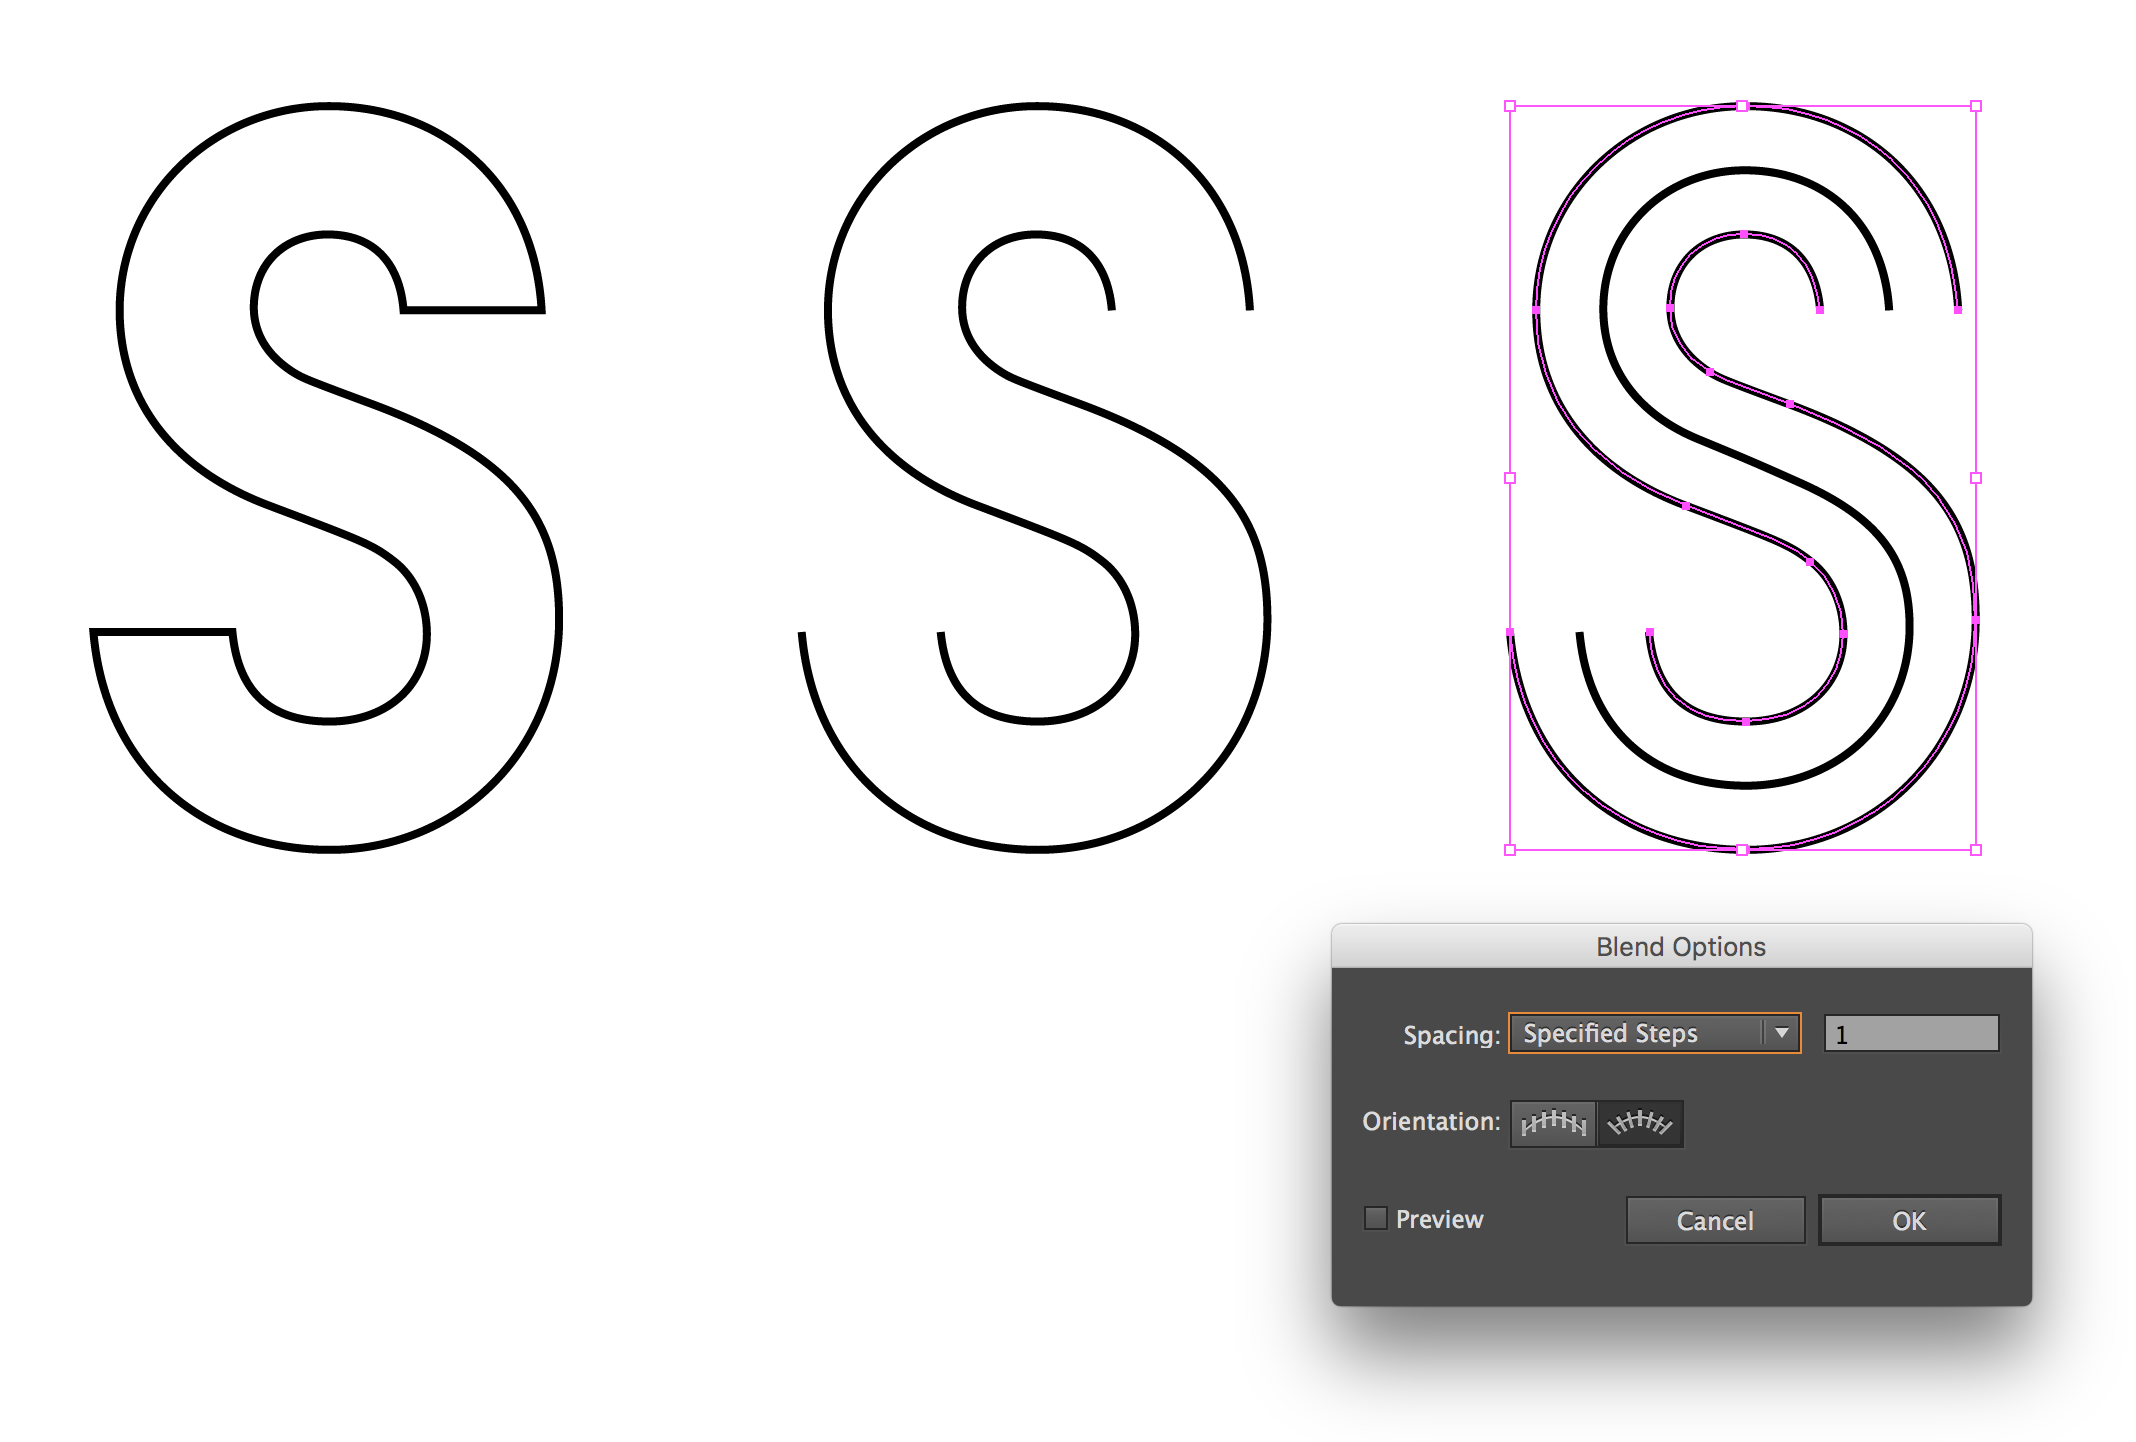
Use Illustrator's Blend

  1. Outline your type (Type → Create Outlines)

  2. If needed, ungroup the paths and/or release the compound path (Object → Ungroup / Object → Compound Path → Release)

  3. Use the Direct Selection Tool (A) to select the end paths and delete those segments. You should now have 2 separate paths.

  4. Set the blend options to 1 step (Object → Blend → Blend Options)

  5. Create your blend (Object → Blend → Make)

enter image description here

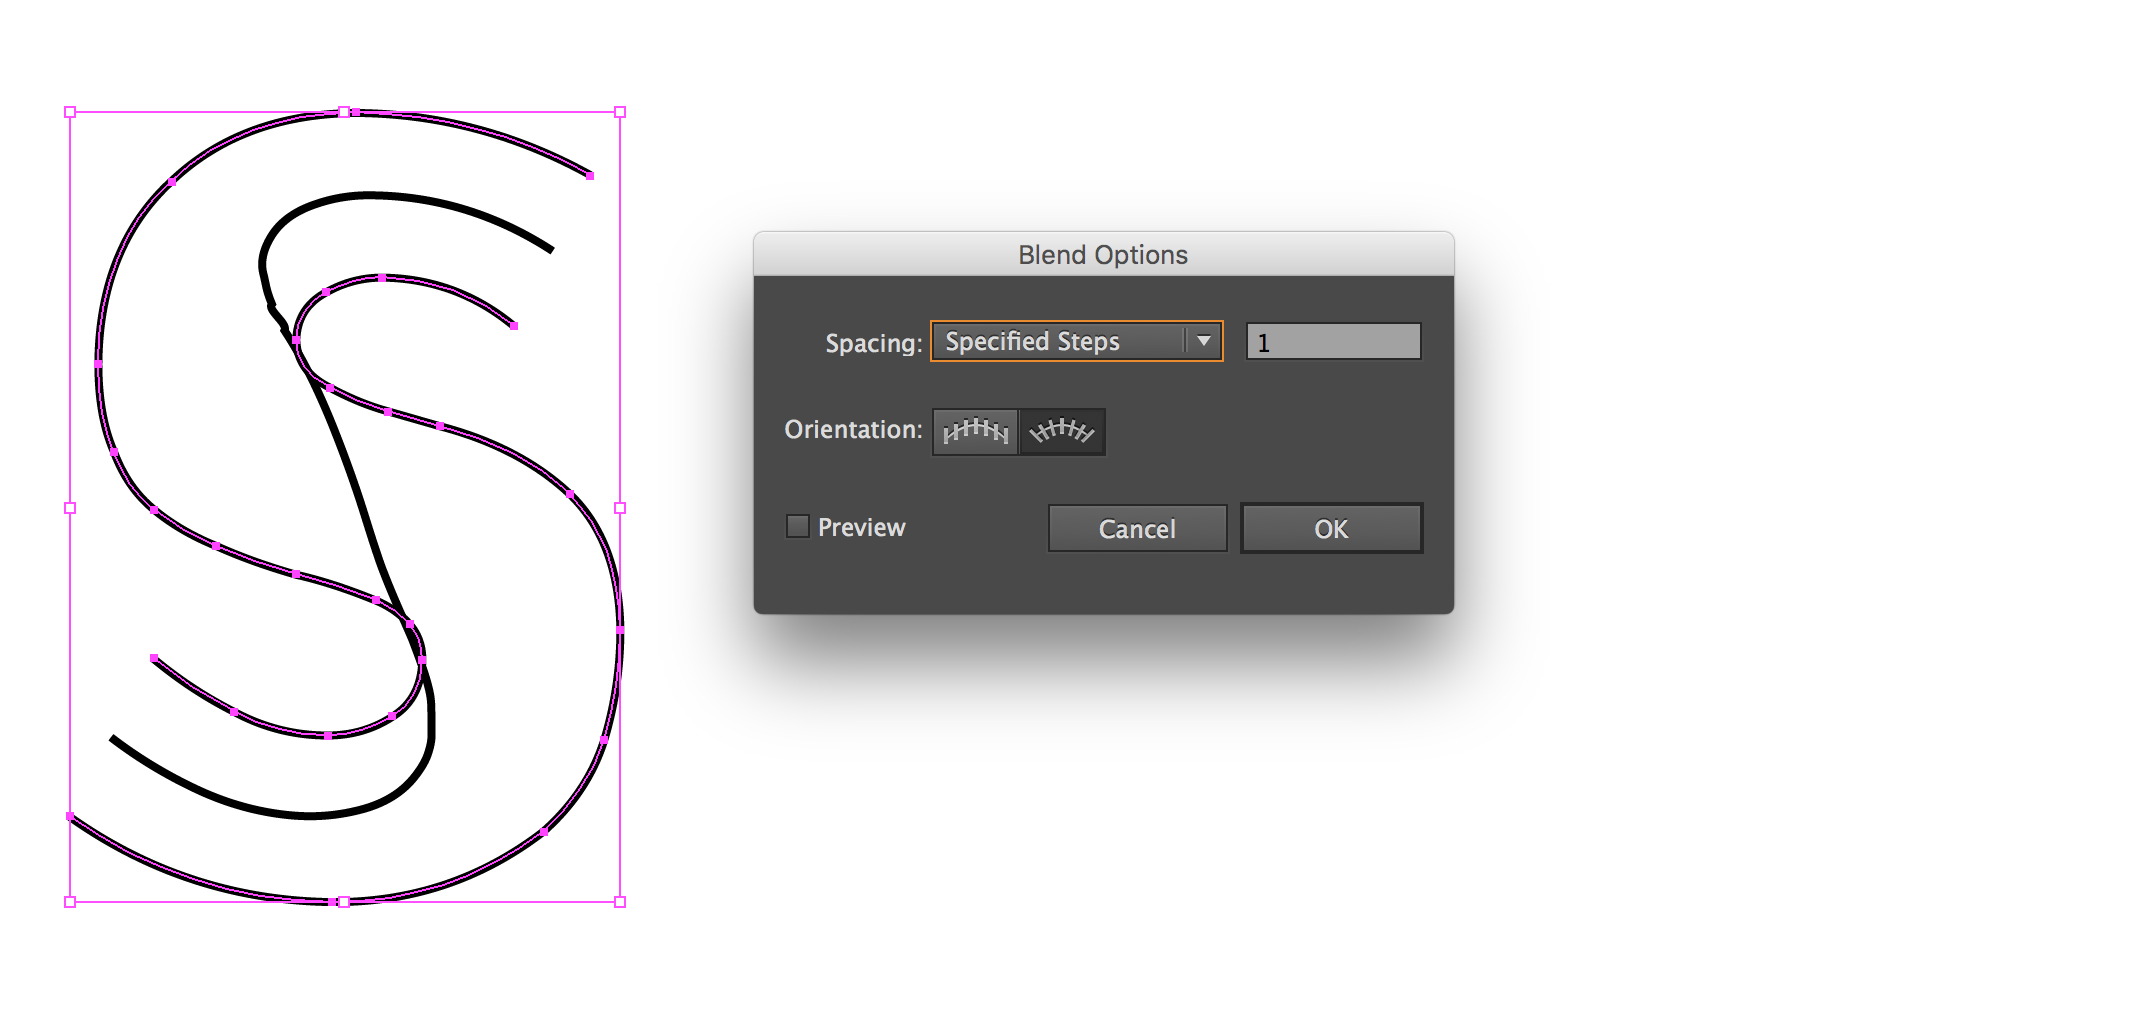
Blend will usually give the desired result but can sometimes fail with more complex curves.

enter image description here

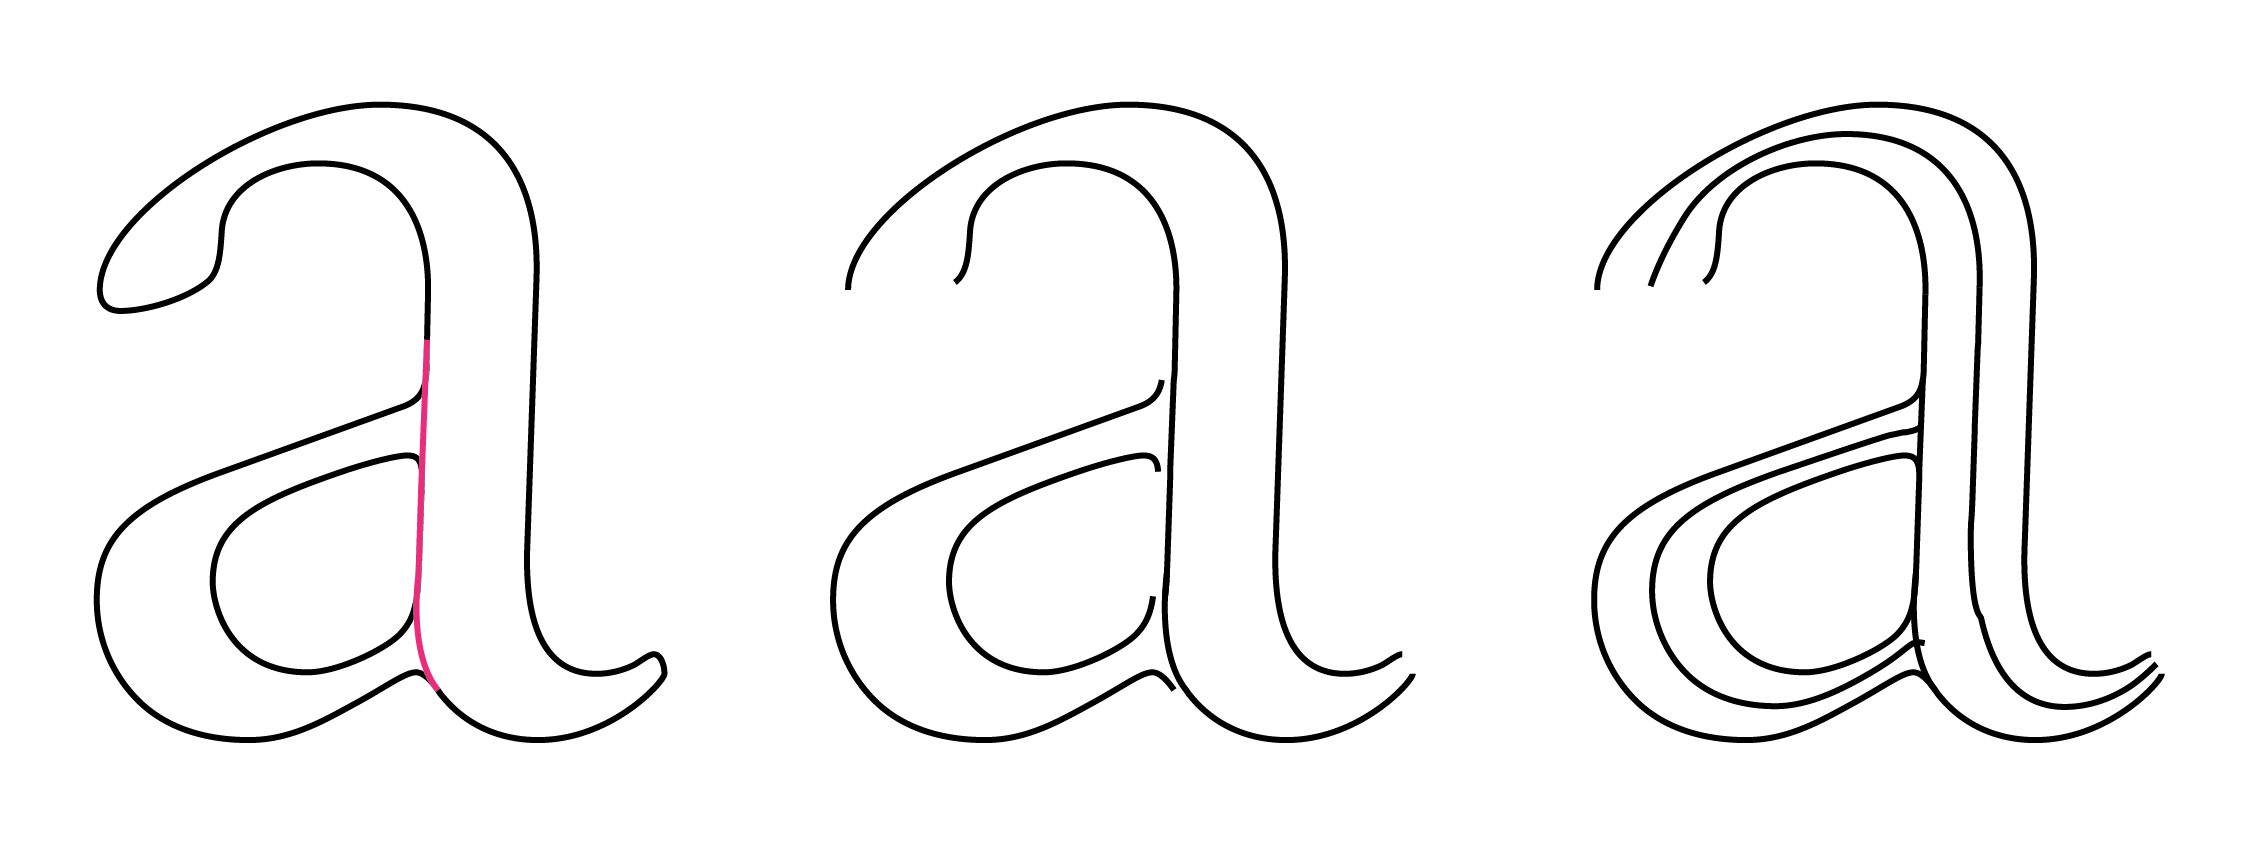
If the blend fails, use the Scissors Tool (C) to cut both paths at the problem areas and recreate the blend for each section.

enter image description here

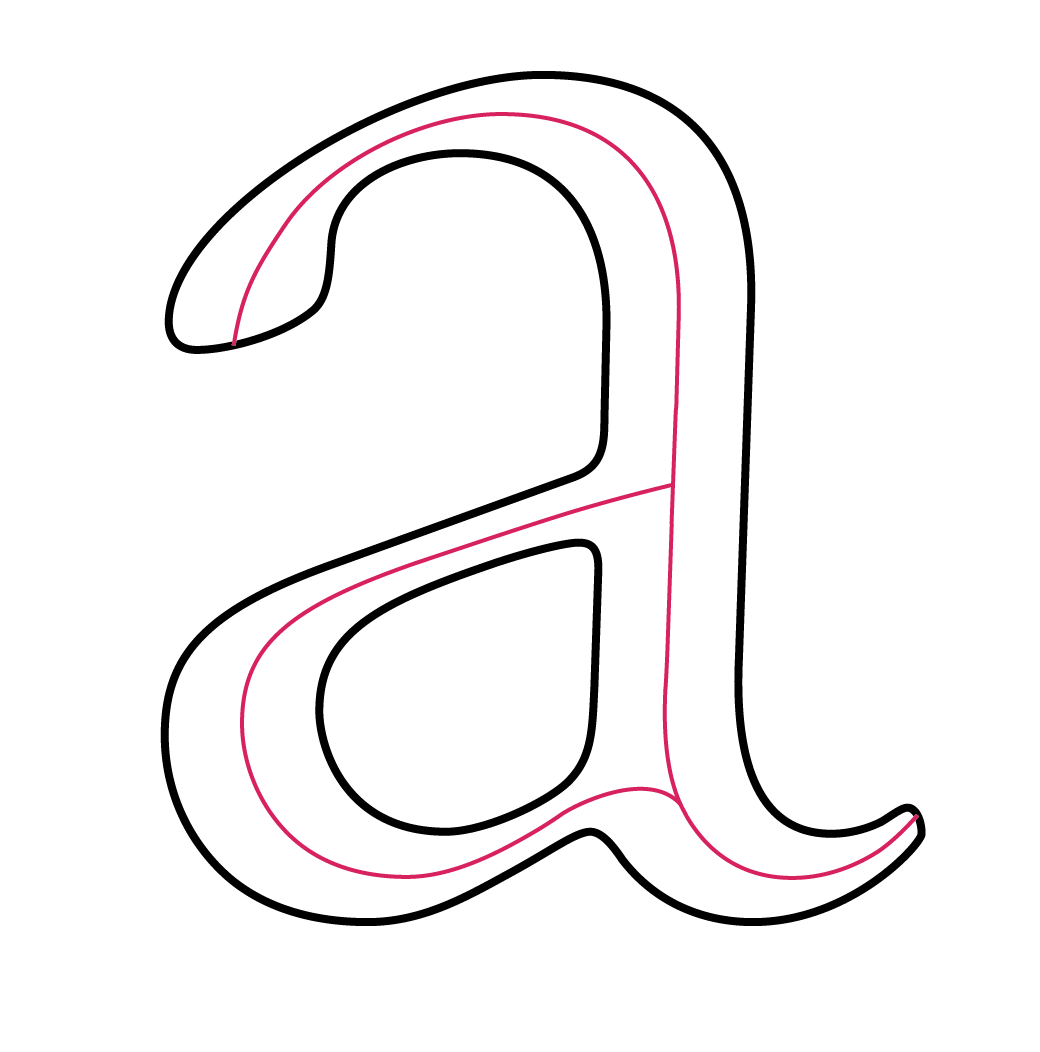
For more complex letters or shapes, divide the shape in to more manageable sections. Then create a blend for each section.

enter image description here enter image description here

3
  • 2
    Such a smart idea to separate the shapes and use blends!
    – Welz
    Commented Jun 8, 2018 at 22:17
  • :O I just found this! :O this is so cool. but I cant make B or W or M... Commented Jul 31 at 18:30
  • :O I just found this! :O this is so cool. but I cant make B or W or M... Commented Jul 31 at 18:30
13

If you are happy with just getting close, this works in Illustrator - especially for an image that has a consistent width like your example.

  1. Draw a circle that is the same width as your object's width

  2. Copy/paste the circle as many times as needed and distribute around the object. Use enough of them to follow the shape fairly closely

  3. Using the pen tool simply draw a line through the centerpoints of the circles you made. Just connect them straight, don't worry about curves.

  4. Use the smooth tool to curve the line you just made. (just follow the curve of the original with the smooth tool) If necessary you can make curve adjustments separately at the bezier points.

  5. Delete the circles

The picture below will demonstrate a little better.

Find the middle line

1
  • 1
    This will also work with curves of different widths - you just have to draw individual circles to fit. The more exacting you are setting everything up, the more exact your result will be. Commented Oct 10, 2011 at 2:49
13

If I understand the question correctly, you want to know if there's a way to exactly trace the center line of a thick curved line.

In Photoshop there's no straightforward way to do this that I know of. I would add a Bevel and Emboss effect to the layer, set it to Chisel Soft (works better than Chisel Hard), and increase the size until there was no flat "table" left. Then I would trace the "ridge" of the bevel, which would be centered on the shape, with the pen tool. This would work for a shape of uniform thickness, like your example. Playing with the "Soften" parameter can help to giveyou a smoother and more visible curve for tracing.

In Illustrator you could use a similar approach, or "Offset Path" with a setting that reduced the resulting path to a very thin line.

In both cases, your line won't run all the way to each end, but that should be easy to work around.

[Later Edit]

As promised, here's an alternative Photoshop technique that is quite flexible and may work better in some circumstances. It involves more steps, but seems to trace irregular curves more smoothly. It also extends almost to the ends of the shape.

Here's the starting point:
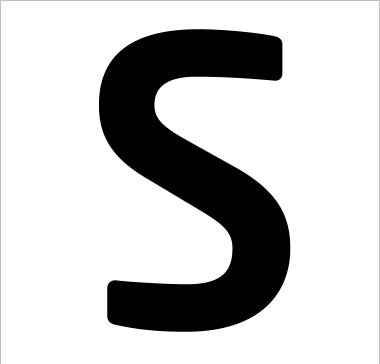
S shape

  • Copy your shape to a new layer (Ctl/Cmd-J) and apply a blur. Depending on the shape, Gaussian Blur or two passes of Motion Blur (one horizontal, one vertical) may work better. The main thing is to get a good blur that leaves a distinctly darker grey along that critical center line. You want to be able to see the transparency grid through the darkest part. If you can't, part of the image is fully opaque and the next bits won't work as planned.
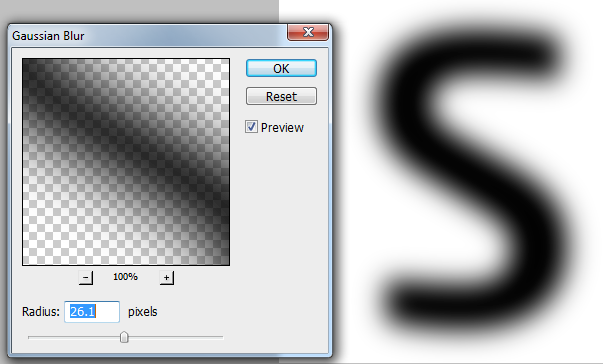
After blur

  • Apply Filter > Other > Maximum with an amount roughly the same as your blur. Tweak until you have a distinct fine "ridge" along the center line of the shape.
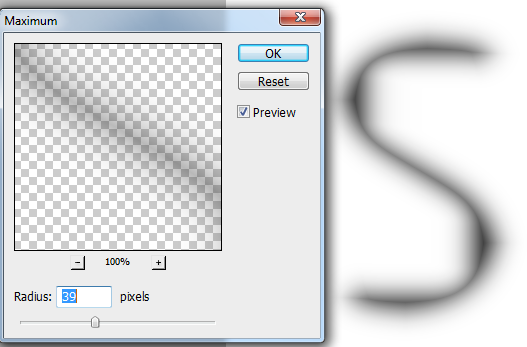
After Maximum filter

  • Apply Filter > Unsharp Mask with an amount of 500% and adjust the radius until you have a distinct center line. It turned out, when I was experimenting with my original idea, that this gives a much better result than other methods of tweaking the contrast, such as curves or levels.
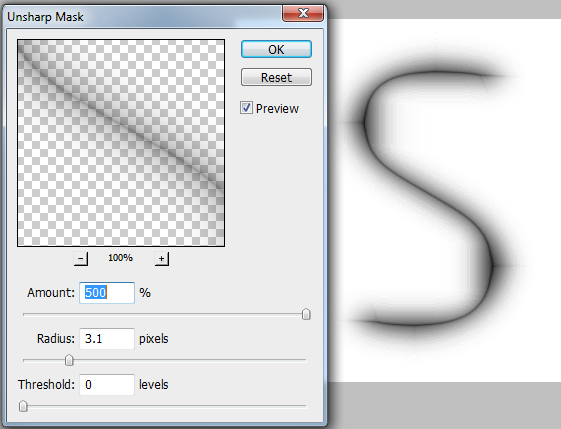
After Unsharp Mask

From there, you just trace the curve with the pen tool.
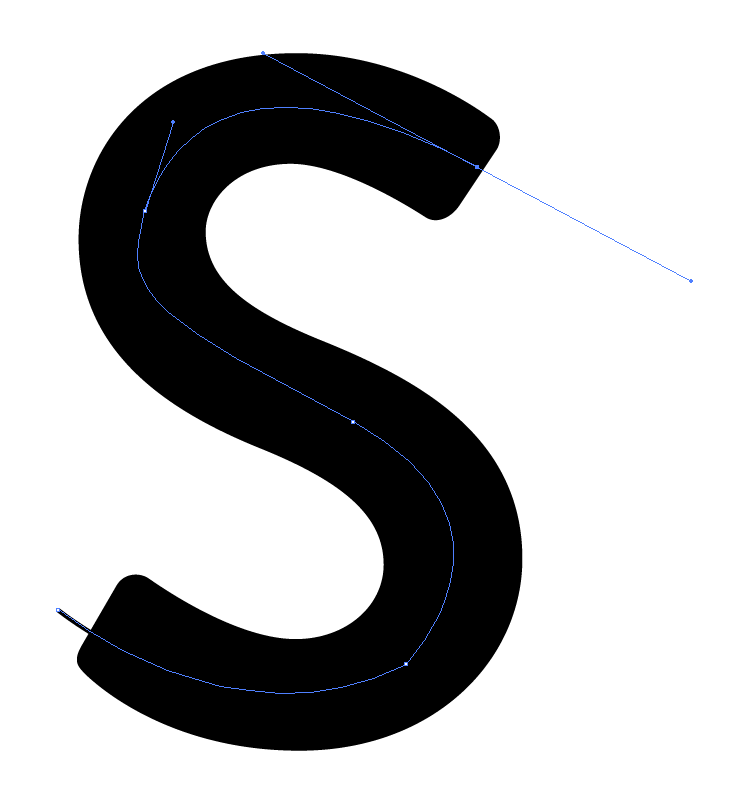
2
  • You're welcome! There's another, slightly esoteric technique I think would work in Photoshop, but I've been at Adobe MAX the last three days and haven't had a chance to check it. When I do, I'll add it to the answer. Commented Oct 6, 2011 at 3:43
  • @Johannes: I've now updated the answer. Turns out my idea works quite well. (I love it when a plan works out!) Commented Oct 9, 2011 at 22:41
2

This will only work with a graphic of the same width all the way. Select the entire graphic, the S in this case. Then use the selection shrink tool to take it down to 1 or 2 pixels in width. It will shrink from all borders equally, so you'll lose some from the ends of the S, but it should trivial to extrapolate the ends.

Your Answer

By clicking “Post Your Answer”, you agree to our terms of service and acknowledge you have read our privacy policy.

Not the answer you're looking for? Browse other questions tagged or ask your own question.