4

I want to make this shape in adobe illustrator:

enter image description here

I don't want to have to draw a path. Is there any option that makes the sides rounded?

The shape in picture was designed in Adobe After Effects, I made a polygon with six sides, and there is an option in AE called "Outer Roundness" that makes the sides rounded, but I can't find any option like that in Illustrator.

Does anyone have an idea?

2
  • Hi Osam, welcome to GDSE and thanks for your question. Could you tell is what options you have tried that didn't work? If you want to know more about the site, please see the help center or ping one of us in the Graphic Design Chat once your reputation is sufficient (20). Keep contributing and enjoy the site!
    – Vincent
    Commented Jun 25, 2015 at 13:23
  • I believe that's referred to as a hexagon in the bible of shapes.
    – Dom
    Commented Jun 25, 2015 at 15:50

7 Answers 7

10

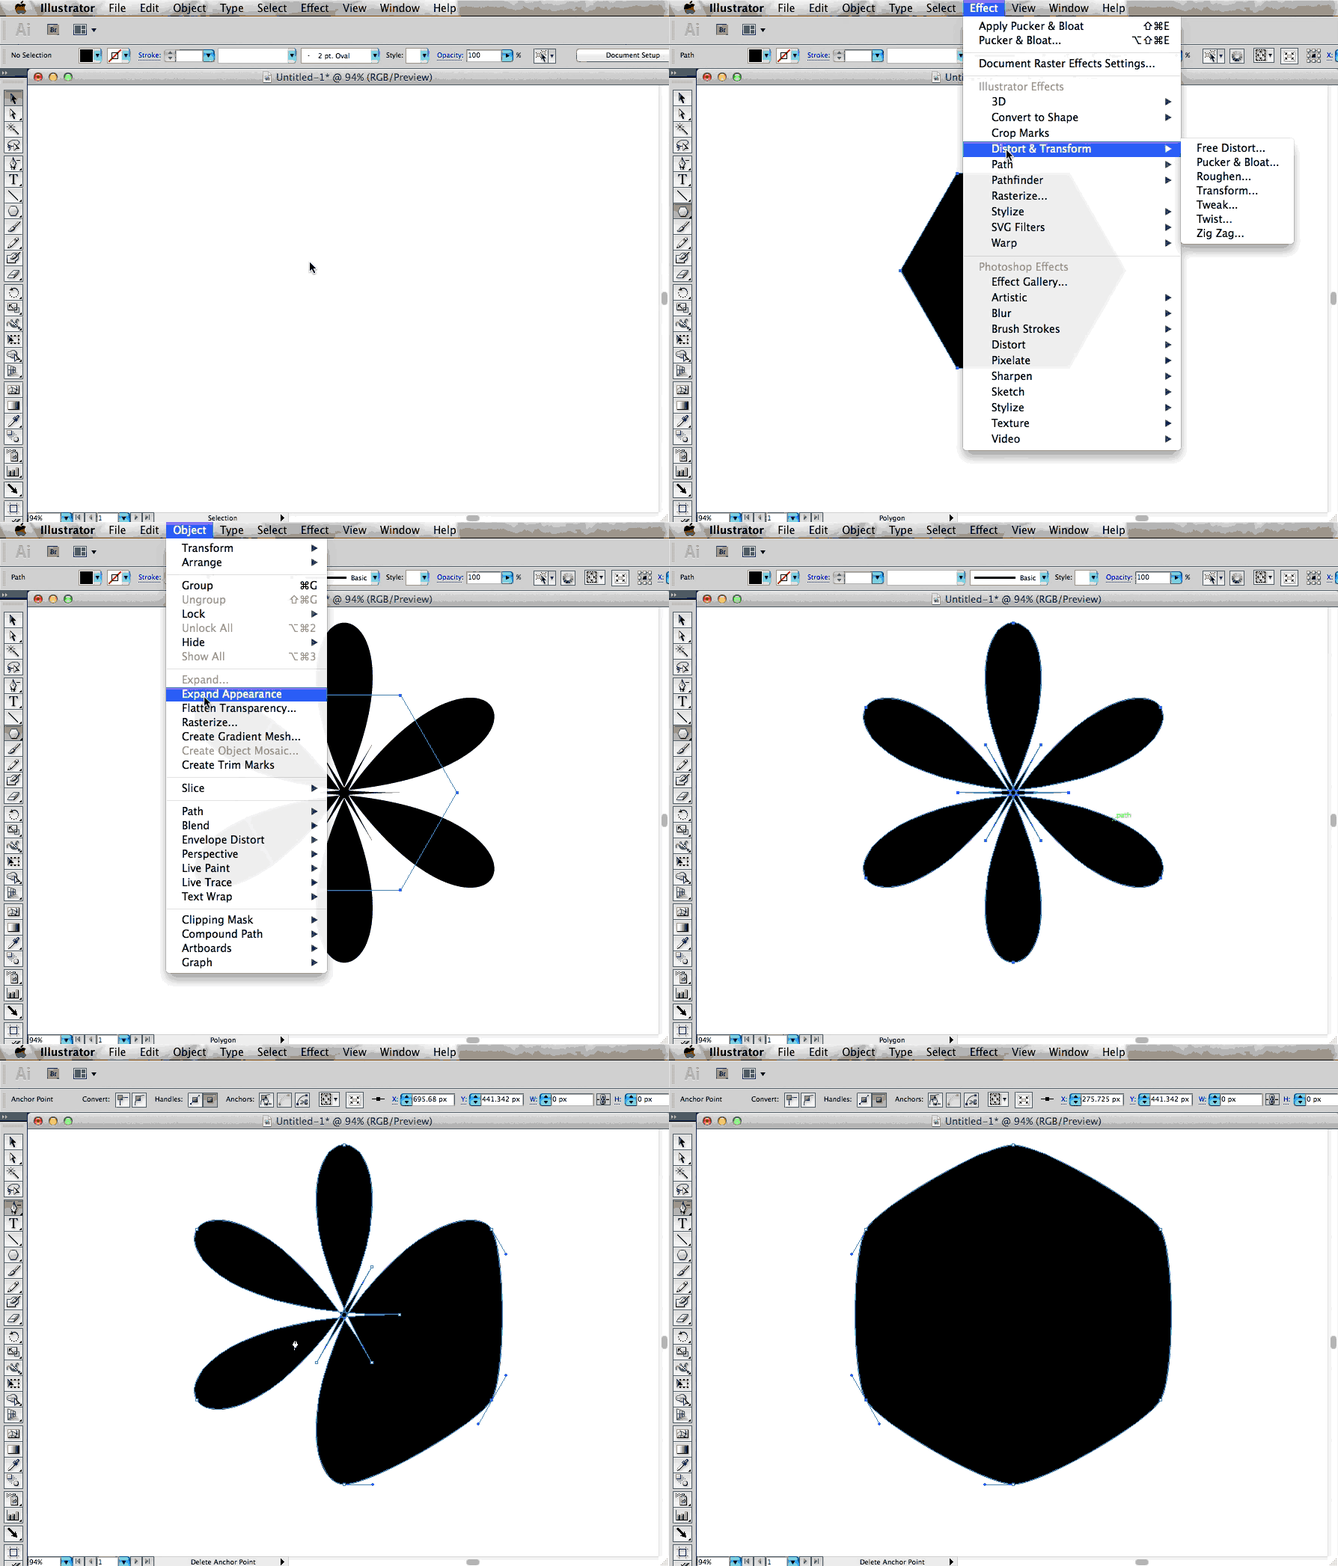
It looks like you want a hexagon that has symmetric handles at each node. I don't think there's any standard tool to do this, so use something like Effect > Pucker & Bloat with a value around 100%.

Expanding this shape and adding points with Object > Path > Add Anchor Points gives you a shape with 12 nodes that has a nice amount of curvature in the middle of each "petal".

By removing the original nodes with the pen tool, you are left with a nice, bloated polygon.

enter image description here

0
4

Once you have the shape selected you can go to (Effect > Stylize > Round Corners). You can then select the 'preview' button to get live changes.

2
  • Hi john, welcome to GDSE and thanks for your answer. If you have any questions, please see the help center or ping one of us in the Graphic Design Chat once your reputation is sufficient (20). Keep contributing and enjoy the site!
    – Vincent
    Commented Jun 25, 2015 at 13:32
  • Thanks for your reply , but i already tried that and didn't give me the same result . *see my comment on Nick's reply
    – Osam
    Commented Jun 25, 2015 at 13:42
4

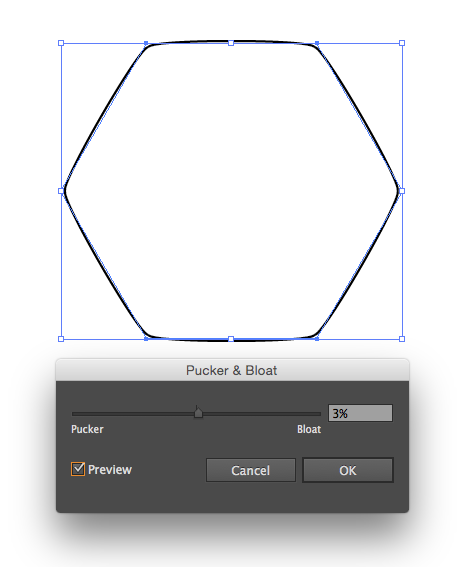
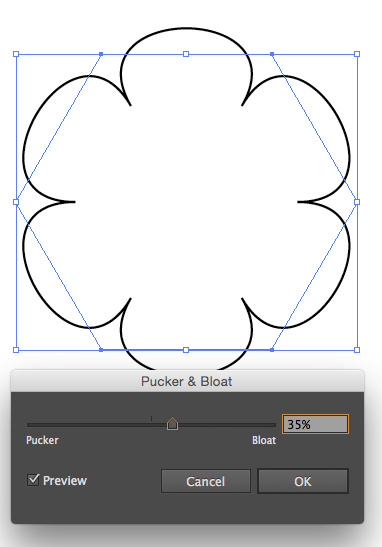
You can achieve the effect you desire using the 'pucker & bloat' dialog in 'Effect>Distort & Transform'. The only caveat is that is it will only work up to 3% bloat before the effect starts to turn your hexagon into a flower. 1. Start with your hexagon hexagon 2.Apply 3% Bloat 3% bloat 3. By 5% you will see inward facing nodes start to form at your vertices. and then you start getting flowers. 5% bloat, nodes start to form flowers. too far.
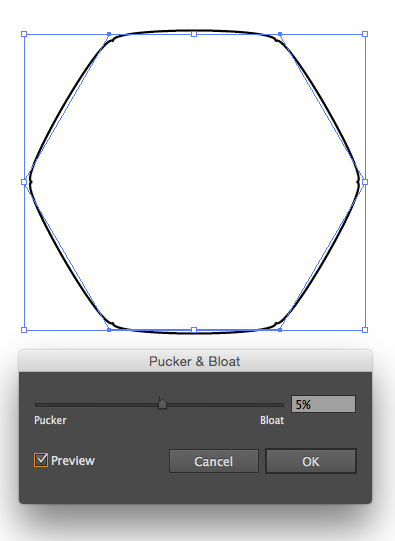
The 3% value seems to give you exactly what you are looking for though. I hope this helps

2
  • Hi Daniel, welcome to GDSE and thanks for your answer. If you have any questions, please see the help center or ping one of us in the Graphic Design Chat. Keep contributing and enjoy the site!
    – Vincent
    Commented Jun 26, 2015 at 11:57
  • Great answer, just one thing to add - after doing this, you can either fix the effect with Object > Expand appearance to get normal handles on the bloated corners, or if you don't, you can edit the effect setting under Window > Appearances Commented Jul 5, 2015 at 22:10
1

I'm using the latest version of Illustrator, so if this doesn't help then it maybe because of that, however when I create this shape and select the direct selection tool, you should see small selectable points within the shape that allow you to click and drag to make the corners rounded. If you don't see these, at the top of the screen is a small link called 'corners' that will allow you to edit the size and shape of the corners. Hope this helps.

2
  • Hi Nick, welcome to GDSE and thanks for your answer. If you have any questions, please see the help center or ping one of us in the Graphic Design Chat once your reputation is sufficient (20). Keep contributing and enjoy the site!
    – Vincent
    Commented Jun 25, 2015 at 13:24
  • Thnks for your reply ,, I am using adobe illustrator CC 2015 , i tried rounding corners , but that didn't give me the same result , compare this one which i made it with round corner effet with the previous one
    – Osam
    Commented Jun 25, 2015 at 13:38
1

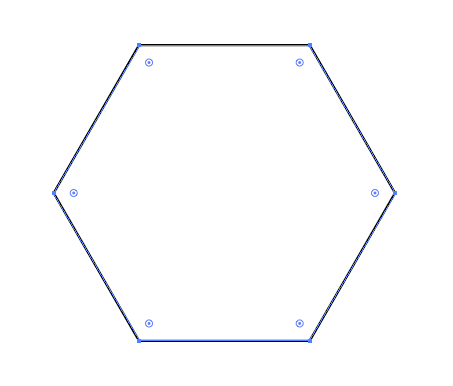
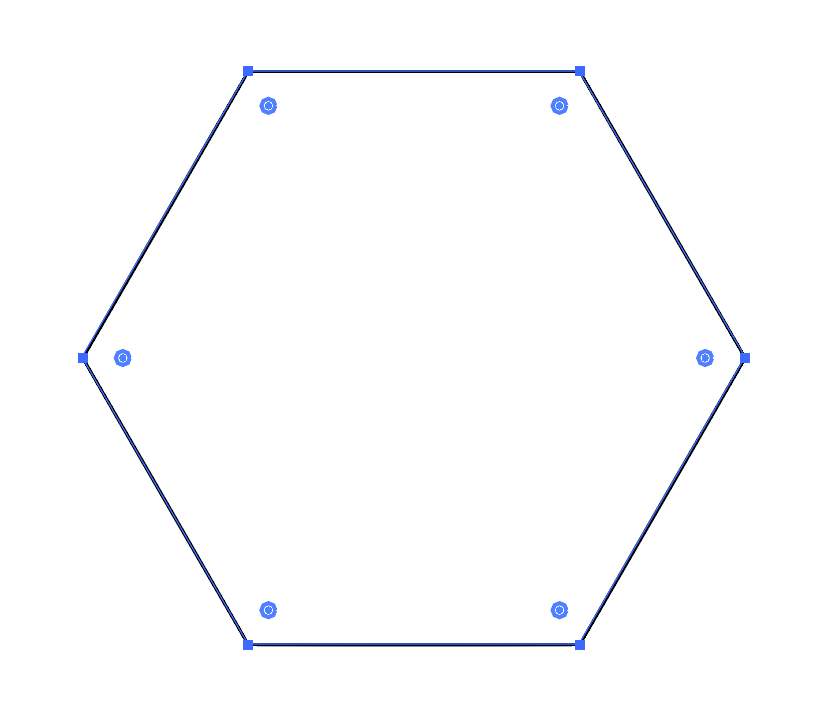
After you draw your hexagon, use the Direct Selection Tool (white arrow) to select the entire object. You should now see these little dots in each corner:

hex

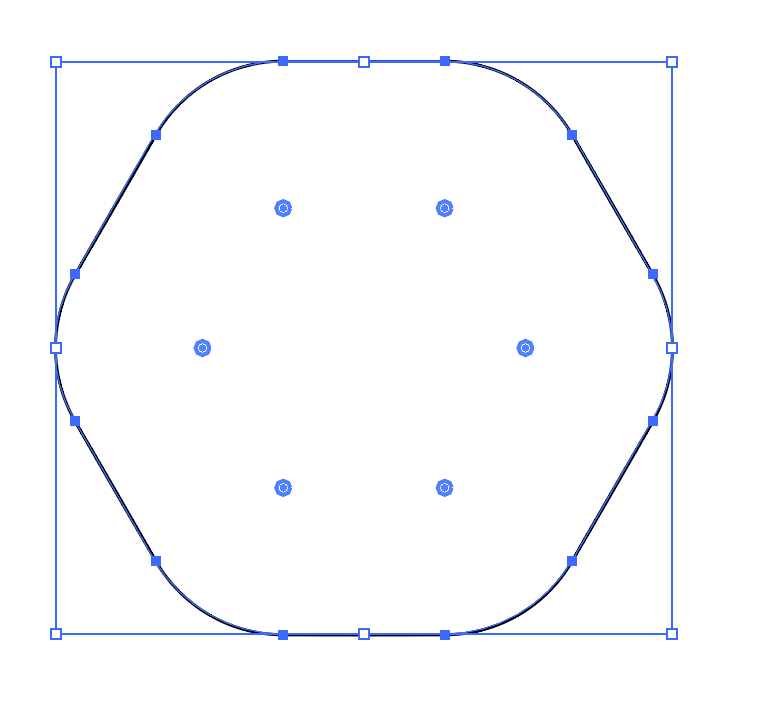
Then all you need to do is go up to your menu bar and adjust the corner radii:

corners

You can get any radius you want and it can be adjusted smaller or larger at any time in the future.

final

Edit - I just noticed your comments on the other answers and see that your original shape has more of a "bloated" appearance. Why not just import that image into AI and do a live trace or trace it by hand?

-1

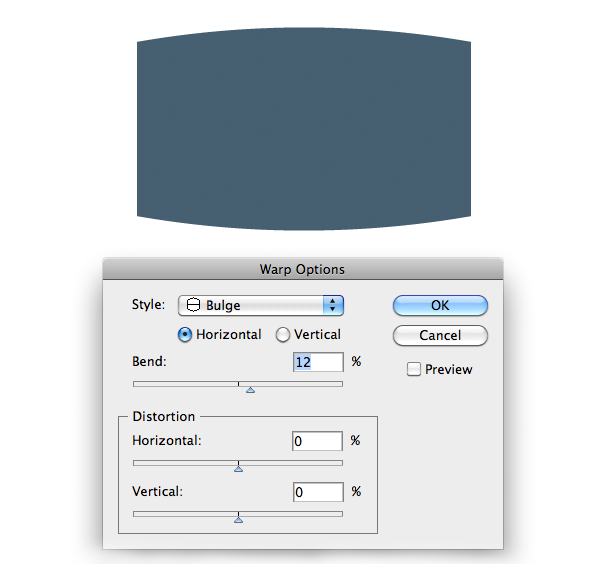
What you are looking for is: Effect > Warp > Bulge

http://s3.amazonaws.com/bundlr-app-production/content_images/images/large/51a99257cf32220002004636/tut2_1.png

Afterwards, you can apply: Effect > Stylize > Round Corners

-1

Effect > Warp > inflate (this makes polygons blop both X,Y)

Your Answer

By clicking “Post Your Answer”, you agree to our terms of service and acknowledge you have read our privacy policy.

Not the answer you're looking for? Browse other questions tagged or ask your own question.