0

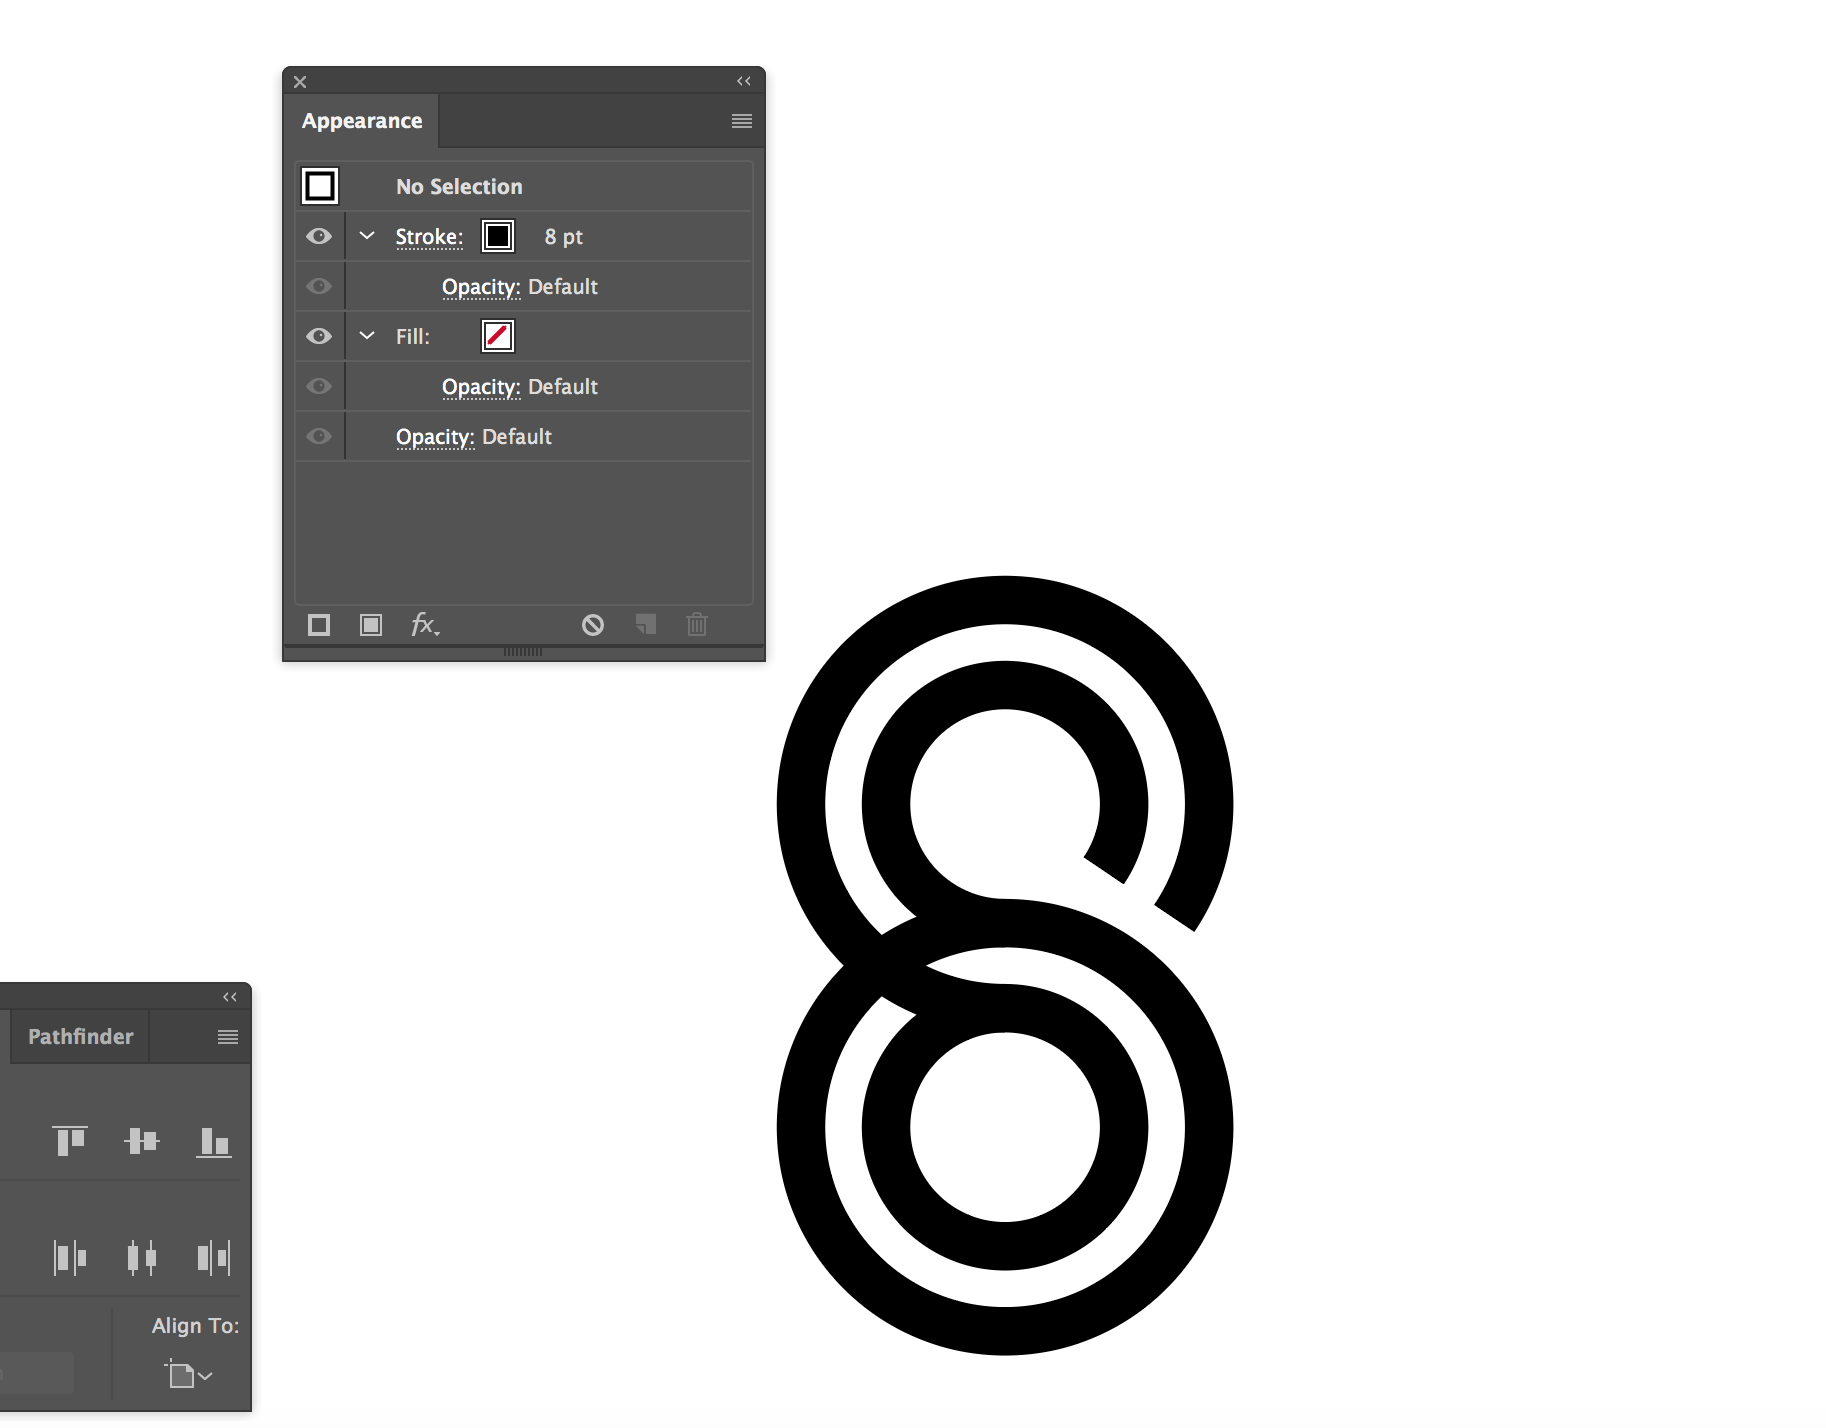
I've been trying to reconstruct this offset path effect in Illustrator but I haven't been able to.

I can't get it mathematically or optically to work. I'm both interested to know how to achieve the offset part and how to create the overlapping parts as well.

I'm using Illustrator CC.

enter image description here

enter image description here

My construction so far. Made the offset work with the Appearance Panel. But the cutting is not accurate.

2

3 Answers 3

3

Starting from two ellipses, in this example:

stroke weight = 20 px / fill = none
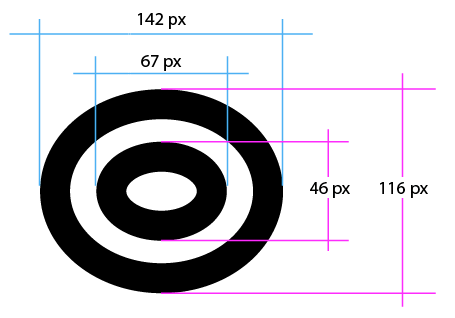
ellipse

Duplicate moving them vertically and connect them like the image below:
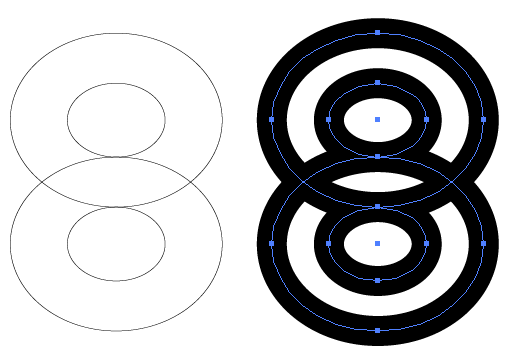
ellipss

With the Direct Selection Tool > select all the center points
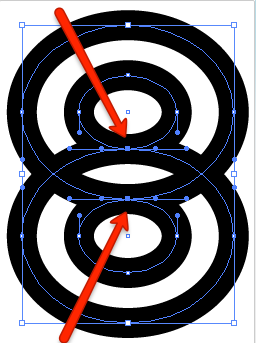
enter image description here

Menu Edit > Copy

Menu Edit > Paste in place

Move horizontally pressing Shift + right arrow
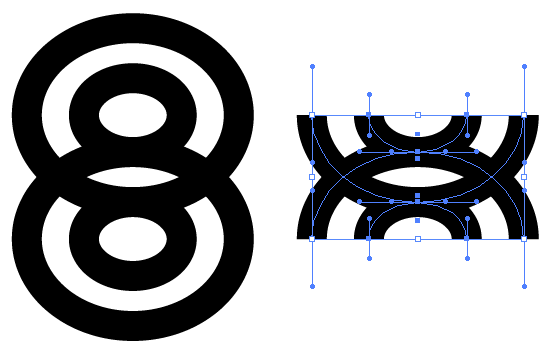
eight

Delete the two top right points and the two bottom left points.
delete

Join the vectors middle points: with the Direct Selection Tool make a frame around the top middle point and press Cmd+J (mac) / CTRL+J (win). Do the same with the two bottom middle points.

Select the two vectors and blend them with just one step to create the middle vector:

Menu Object > Blend > Make

Menu Object > Blend > Blend Options > 1 step
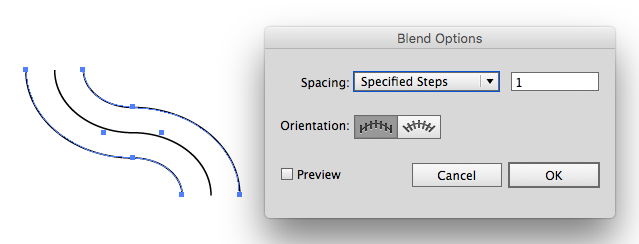
blend

Menu Object > Blend > Expand, to get the three vectors

Menu Object > Ungroup

Move back the middle vector to the main figure center pressing Shift + left arrow
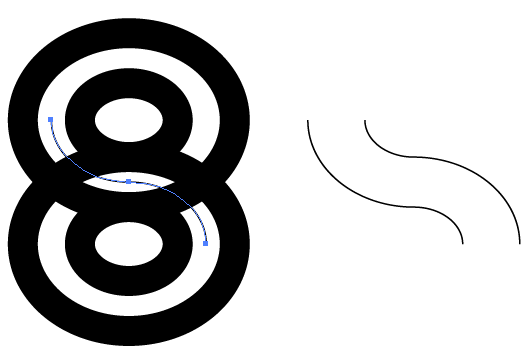
middle vector

Stroke white (yellow on the example), weight = 18px
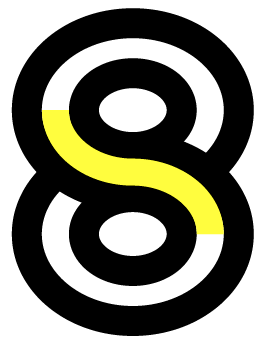
yellow

Move back the other two vectors, red on the image below
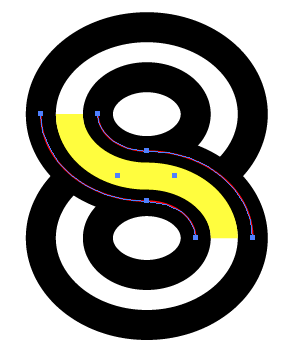
move back

Selecting those two vectors, from the Appearance Panel add another bottom stroke, weight = 40px (green on the image)
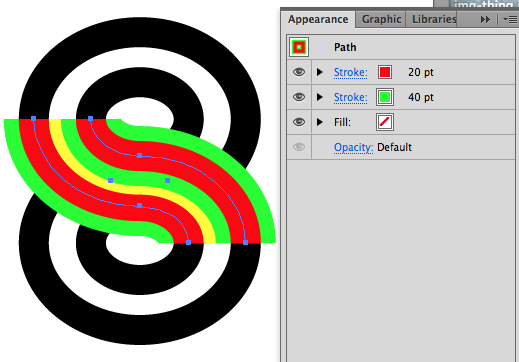
enter image description here

Using the Selection tool, press Shift to select those two vectors + the top ellipses + the bottom ellipses

Menu Object > Arrange > Send to back

back

Change the stroke colors:

S

2
  • 4
    You put some work into this answer, not only the effort to solve the problem, but the effort in creating a clear display of the answer. Nicely done.
    – fred_dot_u
    Commented Jun 4, 2018 at 1:05
  • Does the job I guess, but I feel using Shape Builder to connect the circles and Pathfinder to cut the end caps would be cleaner.
    – Joonas
    Commented Jun 4, 2018 at 7:39
2

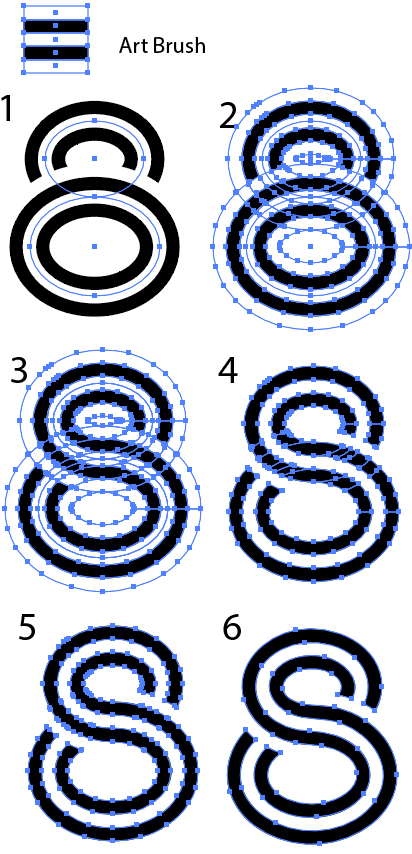
This answer is quite similar to user287001's answer, however this uses an art brush to create the initial strokes, and finishes by simplifying the paths to reduce the number of anchors.

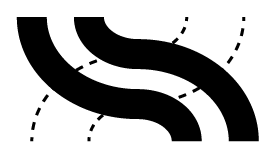
Make an art brush from black and white filled rectangles as shown below.

  1. Draw ellipses, and apply the art brush. In the example I have two different size ellipses, but with the same brush applied. However there's no reason the ellipses couldn't be identical. I just thought it would look better if it's supposed to look like a letter/number.

  2. Expand appearance

  3. Open the Pathfinder, and hit Divide, then Ungroup. Then fill in the shapes that should be white, and those that should be black.

You could stop at this point, or continue the process of cleaning up so that you end up with single paths filled black, and no white parts left.

  1. Delete all the white shapes

  2. Use the Shapebuilder Tool to unite all the black parts.

  3. Object > Path > Simplify to remove the unnecessary anchor points.

enter image description here

2
  • Thank you for making it so simple. But what are the dimensions on the art brush you made? Any special settings?
    – Juhlio
    Commented Jun 5, 2018 at 18:43
  • The dimensions don't matter, because you can set the stroke size for the brush later. The only thing to know is that the rectangles that make up the brush are all the same. There are no special settings.
    – Billy Kerr
    Commented Jun 6, 2018 at 7:25
1

enter image description here

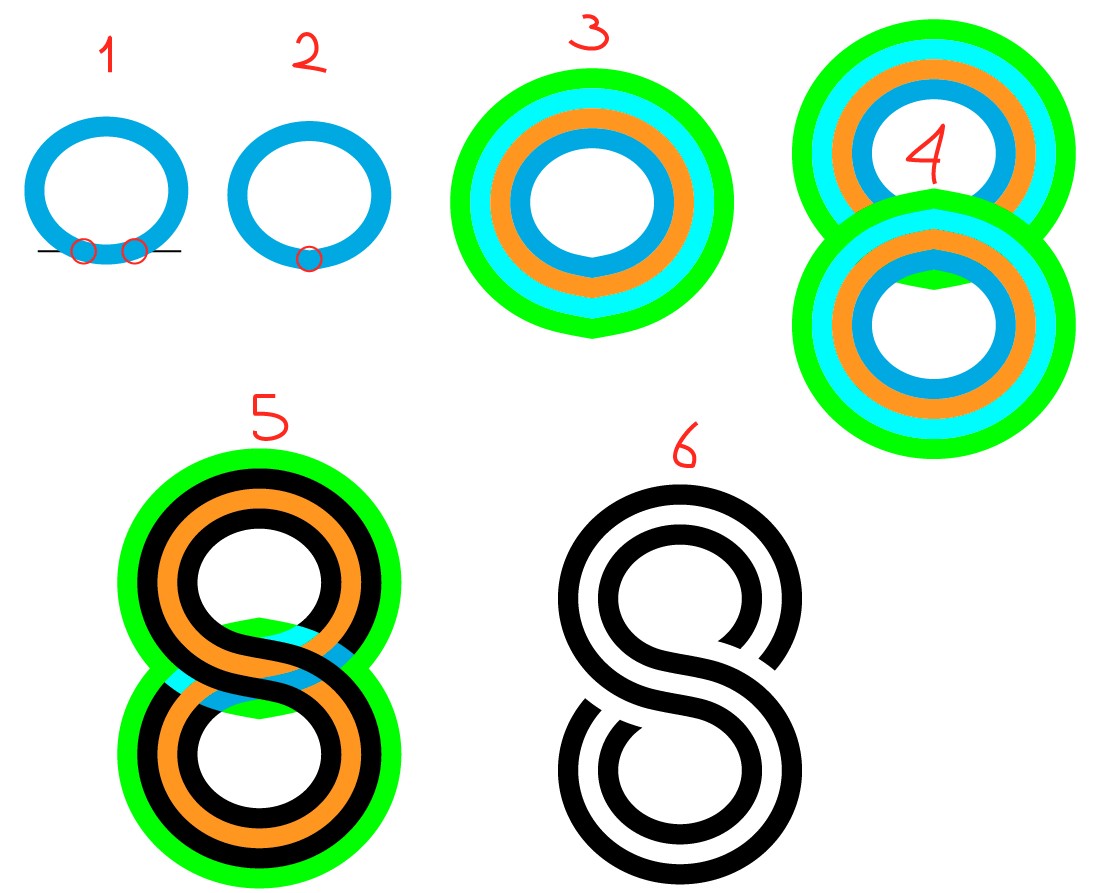
  1. Draw the smallest ellipse. Here it has 10pt wide stroke. Draw a horizontal line a little above the bottom anchor point of the ellipse and insert to the ellipse 2 new anchors at the crossings (=in the red circles). Remove the line.

  2. Convert the bottom anchor of the ellipse to a corner point (the conversion tool is under the pen). With the direct selection tool drag that anchor a little downwards to have the right curve direction. The inserted anchors are guards who limit the affected area

  3. Make three 10pt wide offset paths (orange, cyan, green). The offsets are 10pt, 20pt and 30pt. Group them temporarily to get step 4 done easily.

  4. Make a 180 degrees rotated copy. Select it. With the direct selection tool just after selecting drag the copy to fit. Drag the top anchor of the cyan curve to snap with the bottom anchor of the orange curve in the original group. Have smart guides and snap to points on, no other snaps! Cursor color shows the snapping.

  5. Ungroup all. Convert all paths to outlines. Select all. With the shape builder combine the parts. Have a new fill color (=black) to see the result clearly

  6. Remove the extras. Done.

Your Answer

By clicking “Post Your Answer”, you agree to our terms of service and acknowledge you have read our privacy policy.

Not the answer you're looking for? Browse other questions tagged or ask your own question.