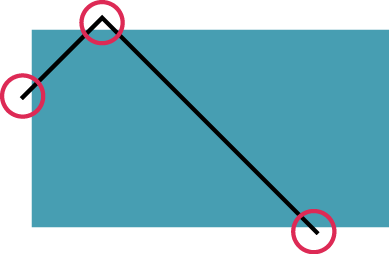
As AndrewH says, a clipping mask is the easiest way to achieve this effect. A mask hides all elements outside of its boundary, but it can only be applied to single objects or groups.
- Group the two line segments together by selecting both of them (using the selection arrow, click on one, then Shift+click on the other) and choose Object > Group or press Ctrl / Cmd+G;
- Select your rectangle and use Edit > Copy (or Ctrl / Cmd + C) to put it on your pasteboard;
- Select Edit > Paste in Front or press Ctrl / Cmd + F to make an exact copy that is in the same place as the original;
- Arrange that new copy on top of the line group using either the Layers palette or Object > Arrange > Bring to Front or Shift+Ctrl / Cmd+];
- Remove the copy's fill so you can see what your are doing. The copy should now be a rectangle without any stroke or fill;
- With the no-stroke-no-fill rectangle still selected, use the selection arrow and Shift+click the group of line segments to add them to your current selection;
- Choose Object > Clipping Mask > Make or press Ctrl / Cmd+7.
The clipping mask is a kind of group, which you can still enter isolation mode for (Double click on any contents to enter) and then edit its contents or the actual clipping path. Expanding a clip group in the Layers palette makes its structure a bit clearer.
Just remember that when you create a mask. Illustrator will use the topmost object as the mask, and mask that what is below, provided that it's a single entity (object or group). You can use compound paths as masks, but not groups.

