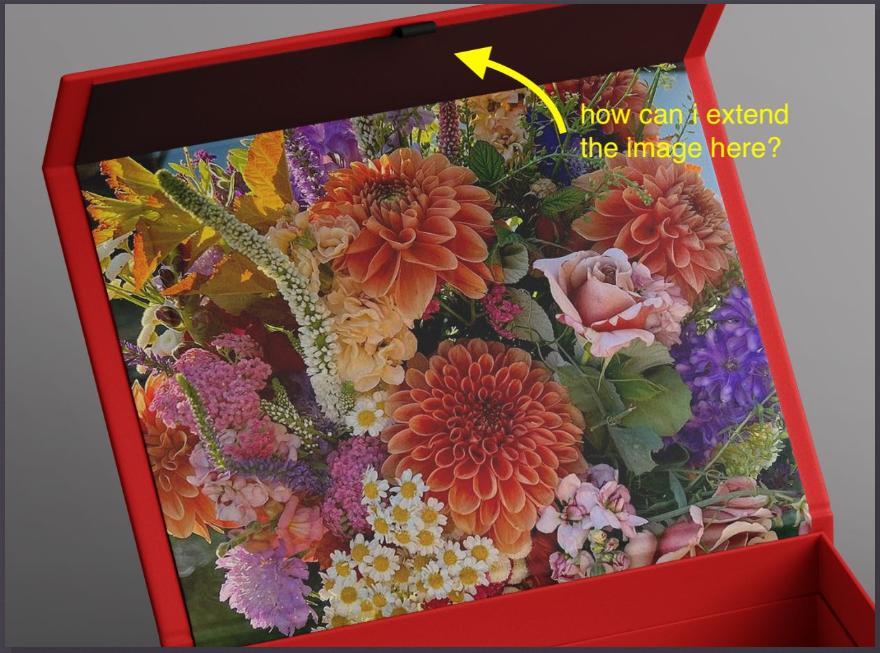
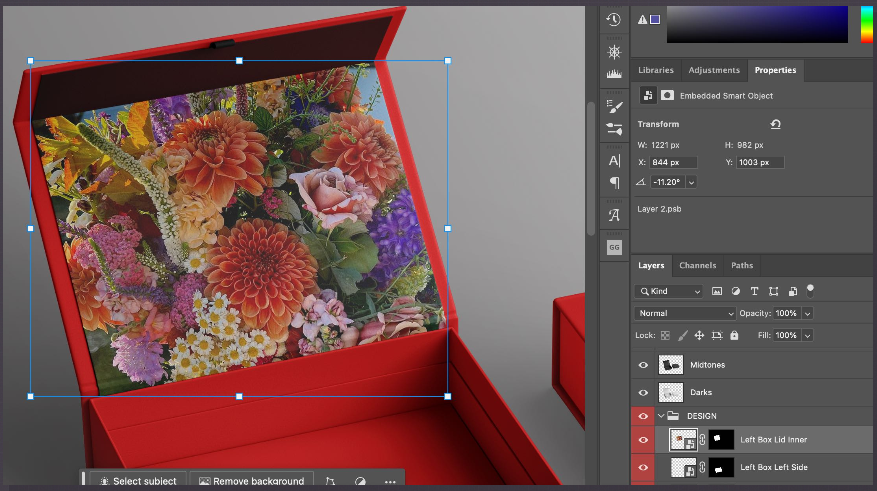
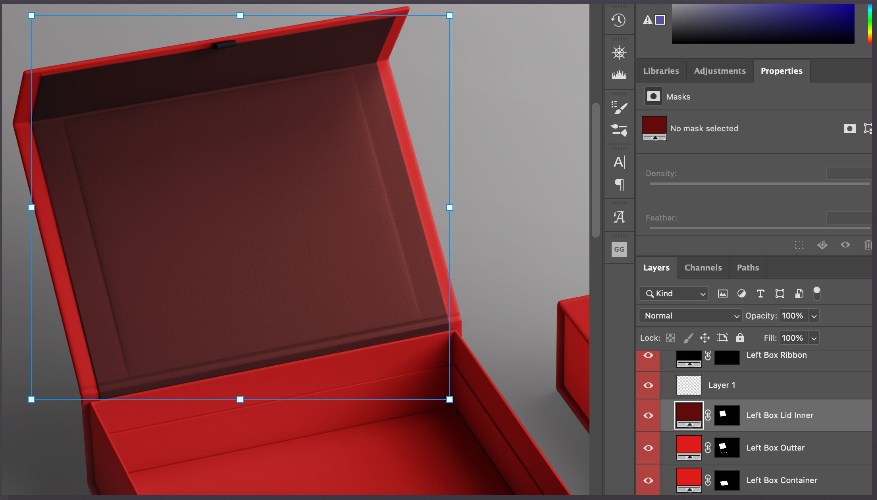
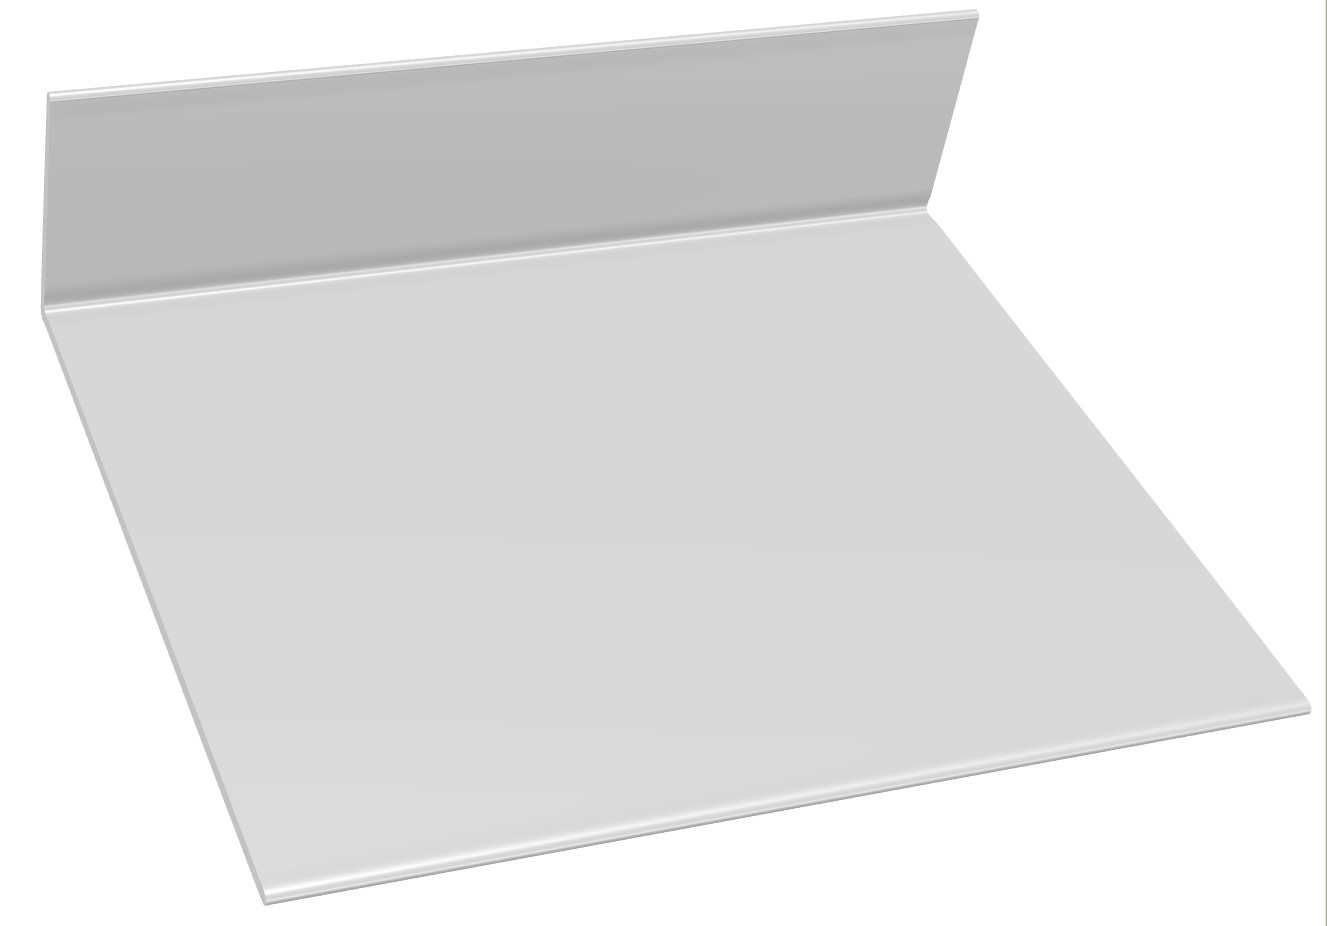
This is my simplified version of your box cover flap. But it has proper perspective like yours:
I took a screenshot of your question and tried to use it as custom artwork:
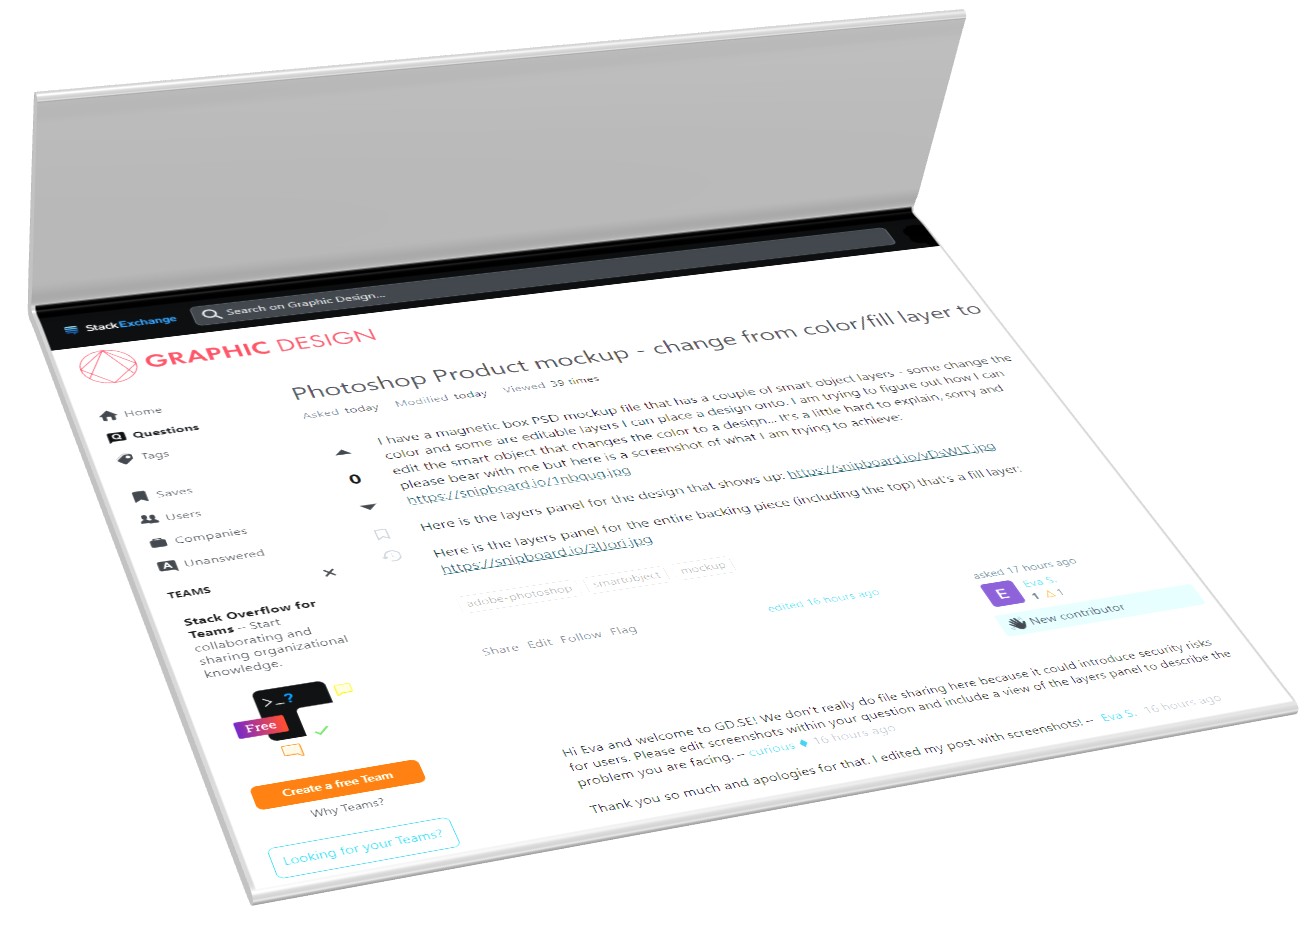
It was no problem in Photoshop to make a smart filter which incorporates that distortion to the artwork.
It's easy to change the image because the smart filter remembers exactly the used distortion. This is one of the fundamental ideas behind Photoshop mockups. The others are blending modes, layer masks, layer styles and adjustment layers.
Then I tried to make this - I guess it's the version you actually wanted:
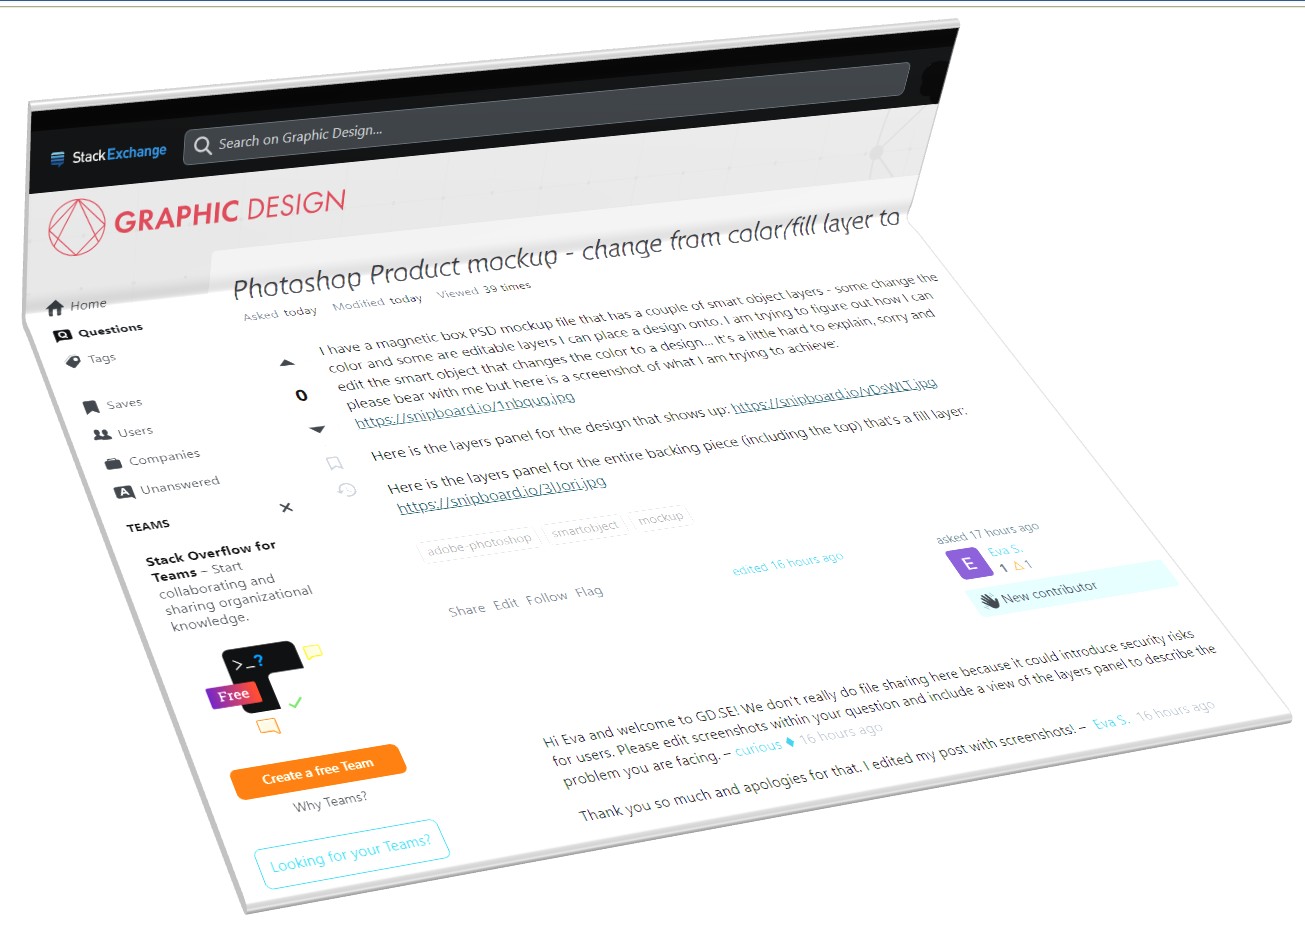
I failed because Photoshop doesn't have any practical method to incorporate this complex distortion to a smart filter. This is not Photoshop's distortion to a single image. It's only a fake and 100% useless for Photoshop mockups. The real thing is impossible or out of my knowledge.
I tried also another idea: Insert 2 copies of the same artwork image to different layers and insert to them different distortions. Use layer masks to limit the area of one image layer to one planar surface. It nearly worked - except the seam was not continuous. I especially placed text (the title of the question) on the seam to find a way how it will become continuous. I didn't find it.
The 2 copies of the same artwork image in different smart filters -idea would work better if the photo of the box didn't have perspective (see NOTE). In that case skew-scale-rotate distortions would be enough. But it's practically impossible to make 2 different perspectives fit in the seam with Photoshop's distortion tools.
In some cases it's possible that the artwork image can look acceptable when only the edges are cropped by using a clipping mask, but no distortion is even tried. An example:
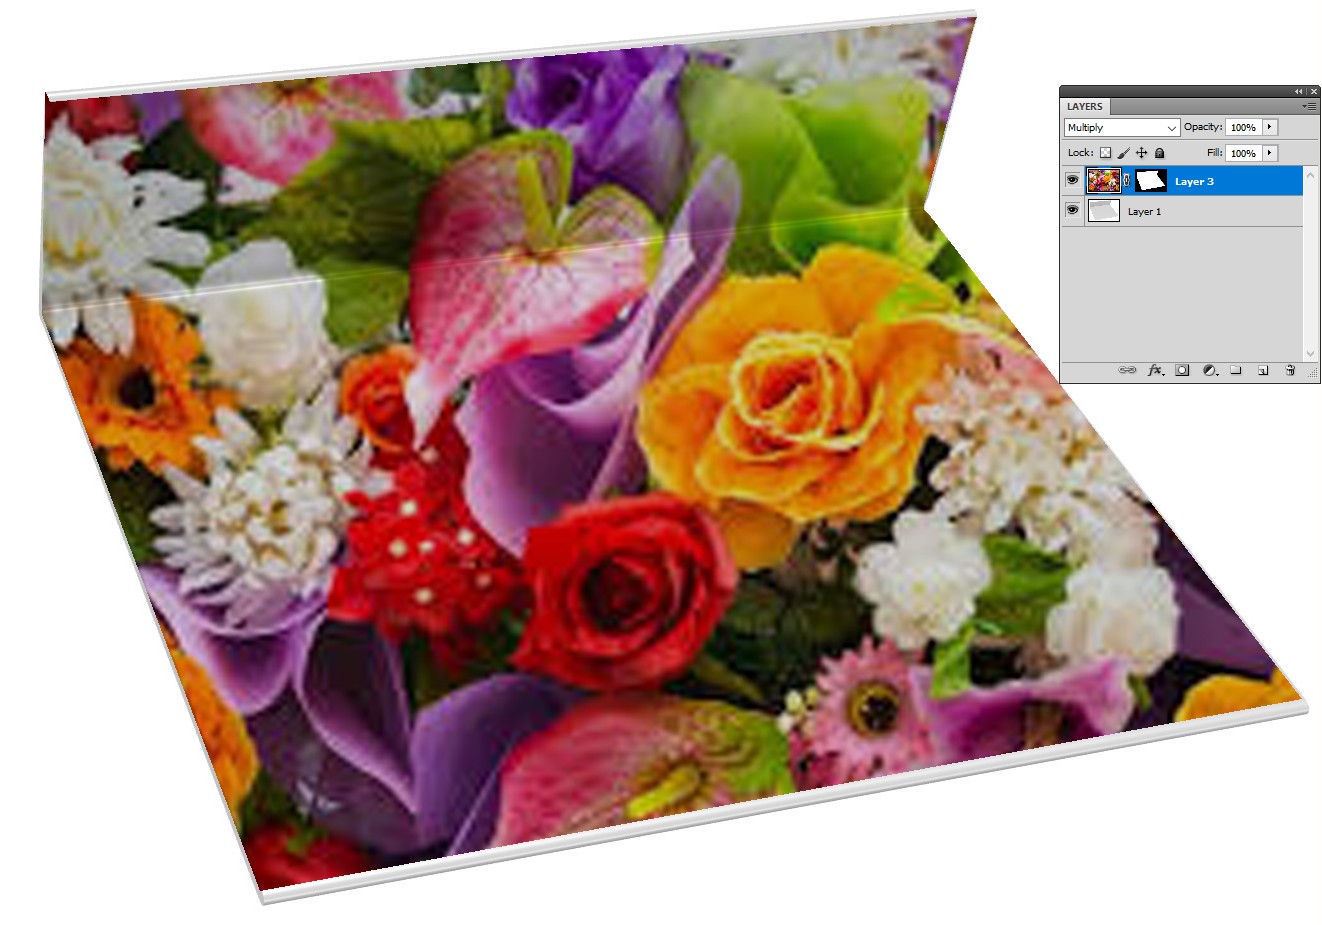
Blending mode multiply gives to the artwork the light variations of the box image. That's enough when the image has only small items and no straight lines which should be aligned with the edges of the box. Blending mode overlay could also be used, but then the box below should have average 50% grey brightness. The brightness defining layer can as well be above the artwork if the blending mode is multiply or hard light or it's an adjustment layer.
If I see it right, your mockup already contains layers which give the geometrically right light variations to the artwork, so no problem here.
Conclusion: There's no hope to expand successfully the smart filter as you wanted except in cases where the image can have wrong or totally missing distortion or you accept discontinuous seam.
NOTE: A no-perspective photo can be shot by using a long focal length telephoto lens and by shooting from far away from the target. 3D models also can be rendered with no perspective. One should ask an ortographic projection to get it. Trimetric, bimetric and isometric projections are common ortographic projection presets.
