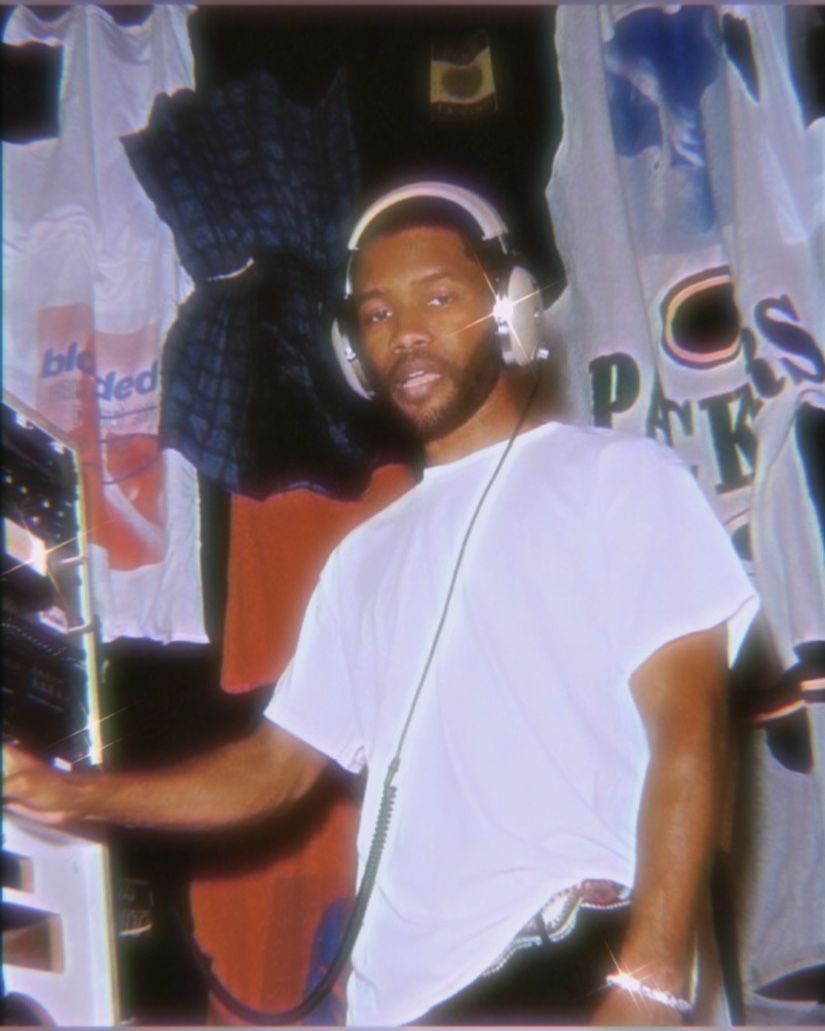
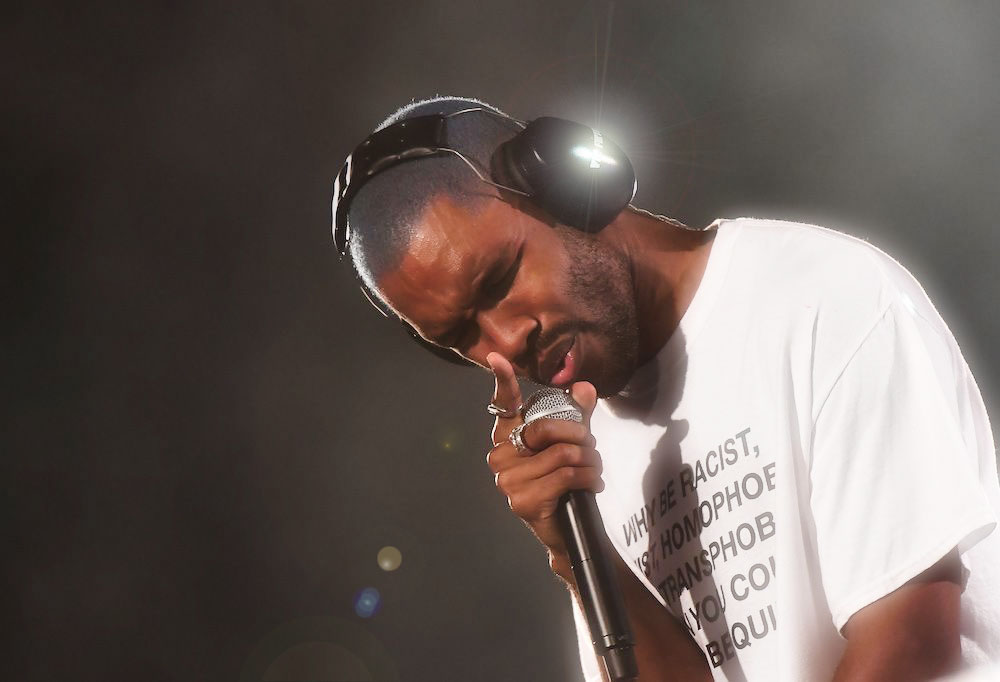
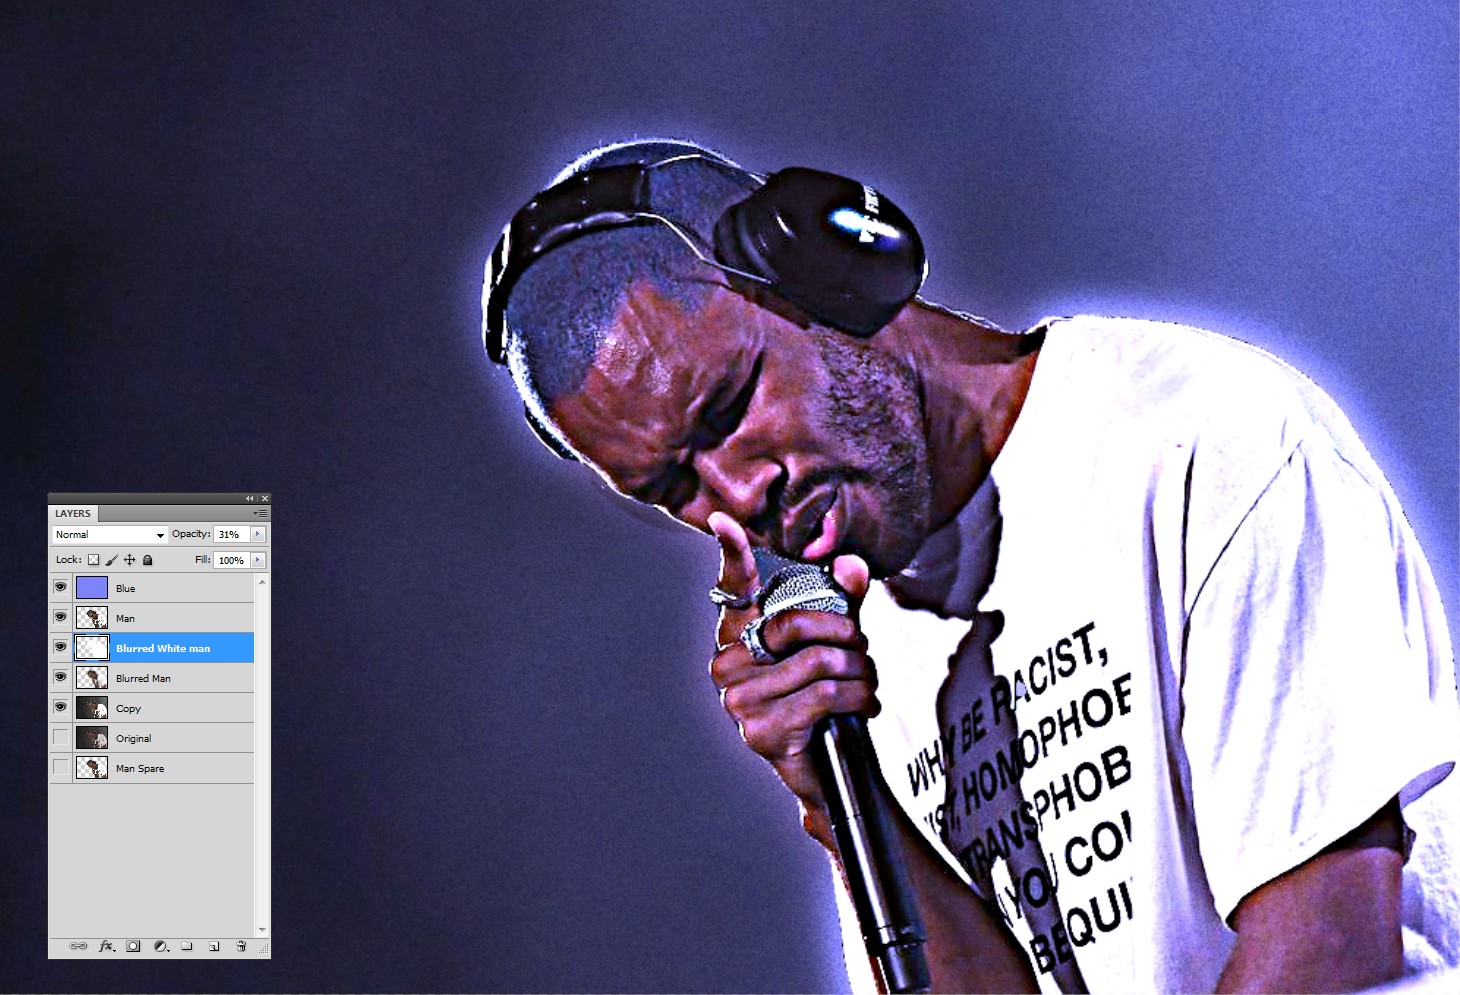
I wanna recreate this effect in this picture in another separate one
3 Answers
Here's a very simple method which will look a hundred times better than the low quality example you posted. TBH it would be quite difficult to make the second photo as bad quality as the first.
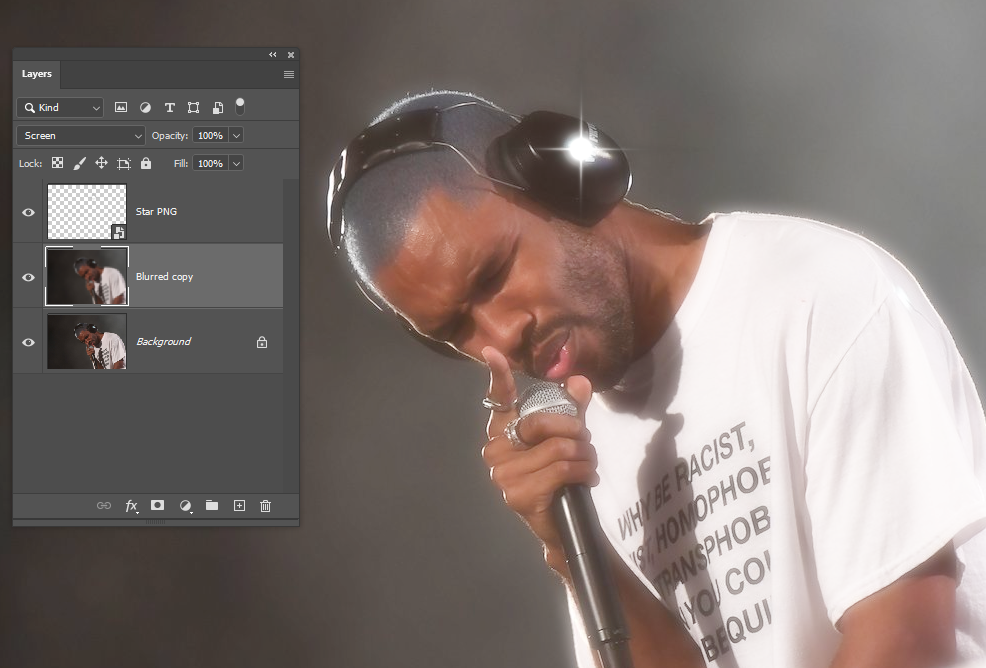
Duplicate the background layer, and apply some Gaussian blur
Set the layer mode to screen
Find a star burst image, and paste on a layer on top.
To be honest, I really don't like the first image at all. It's overcooked, badly edited & shows some HDR edges that really should have been treated more carefully. It also looks like it was taken with a camera-mounted flash, which is a very unsympathetic lighting.
In essence, it looks like it was taken with a phone, as opposed to the second image, which is a professional result probably from a good camera, with staged or 'lucky accident' lighting. Chalk & cheese, really.
However, I think I can see what about the first image you might like to emulate, so I had a go at what I'd call a 'not quite so harsh' version using the 2nd image.
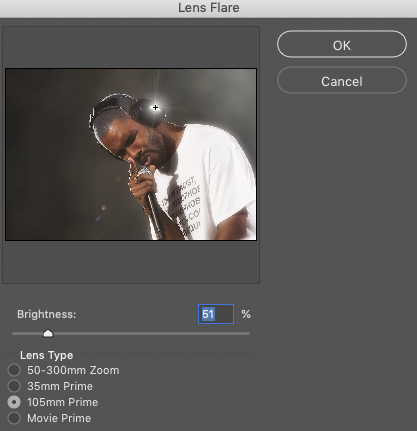
In short, the 'slight distortion' is a radiance or glow effect you can do in post, the 'sparkle' is a starburst, often captured in the camera itself. You can get physical lens filters to do this, or sometimes a dirty or scratched lens will do it by accident. You can very probably do it in post, but it's not an effect I've ever researched. You can imitate it slightly with a 'lens flare' effect.
I threw it into Luminar to get all the lighting 'over-glow' aspects & punch up the colours, reduced the sharpness of the structure, then re-contrasted that reduced structure, which tends to make edges 'bolder'. Then at the end just pushed the image radiance, which lifts the 'glow' aspect. I didn't attempt to get the flat-glow-HDR look of the shirt in the first image; that's the bit I dislike the most ;)
After that, I used Photoshop's built-in Lens Flare plugin to add a flare to the highlight on the headphones. I don't have anything with finer granularity for flares.
End result - glowing highlights & lens flare… just not as harsh as image 1. I did this quickly, you could probably make many adjustments to this if you wanted an even harder look.
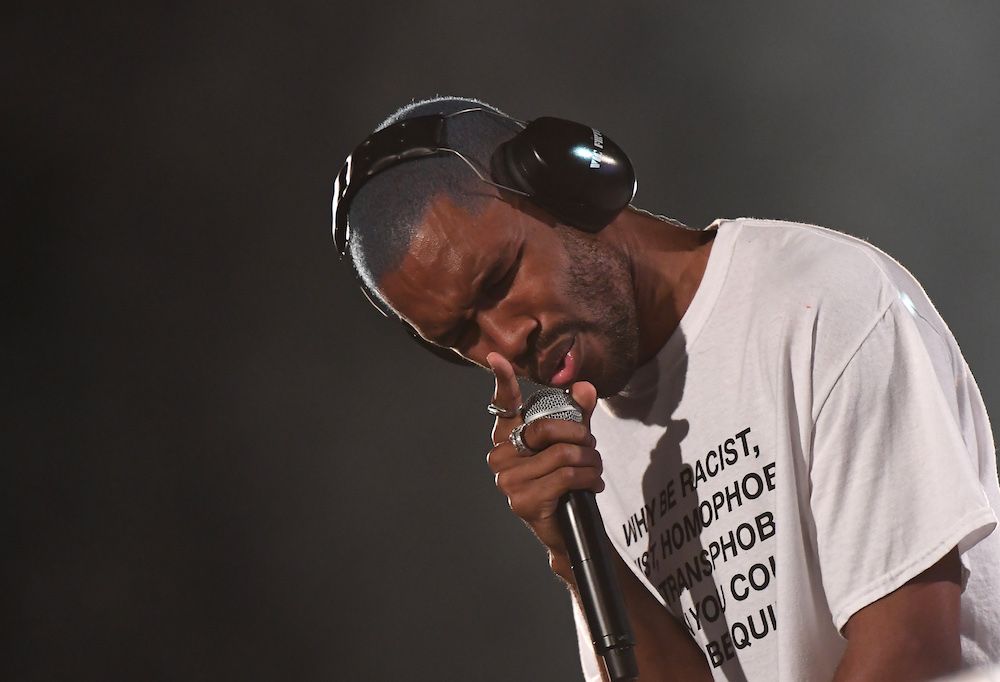
Original image below for quick comparison -
In the 1st image the guy hides well if he happens to have something else to say than "I am tired and I'm trying to find the power switch". Having all possible photo quality degradation filters ON do not make the image worse.
The guy in the 2nd image (or the same person in a better photographing time) seems to have something to say and he looks a skilled performer doing something where he's a master. The image is shot with good equipment in quite uniform light. Why in the hell you want to make his image unsharp?
Altering light and inserting photo artifacts caused by bright stage lights is a different thing. They can increase some tension which is lost due the lack of the music, no matter how clean the image is.
The given older answer shows a way to add some artifacts with advanced filters. I try some others. At first I remove the reddish color cast which surely causes problems if contrast is increased. I use an old ColorWasher plugin which adjusts color balance so that a selection becomes grey. As well one could use Photoshop's own CameraRaw filter which has handy "grey-picker".
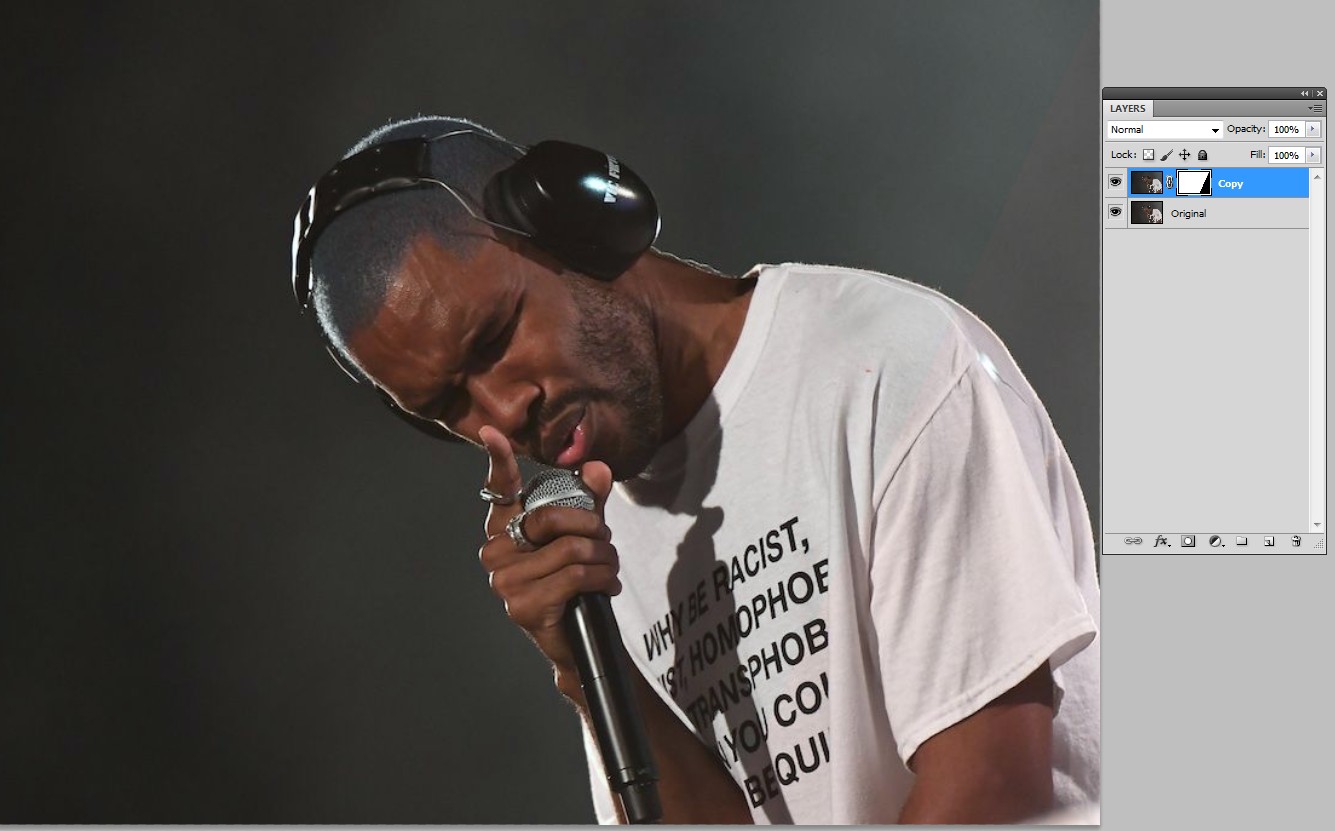
In the next screenshot A triangle in bottom right is temporarily masked off from the fixed copy to show the red cast:
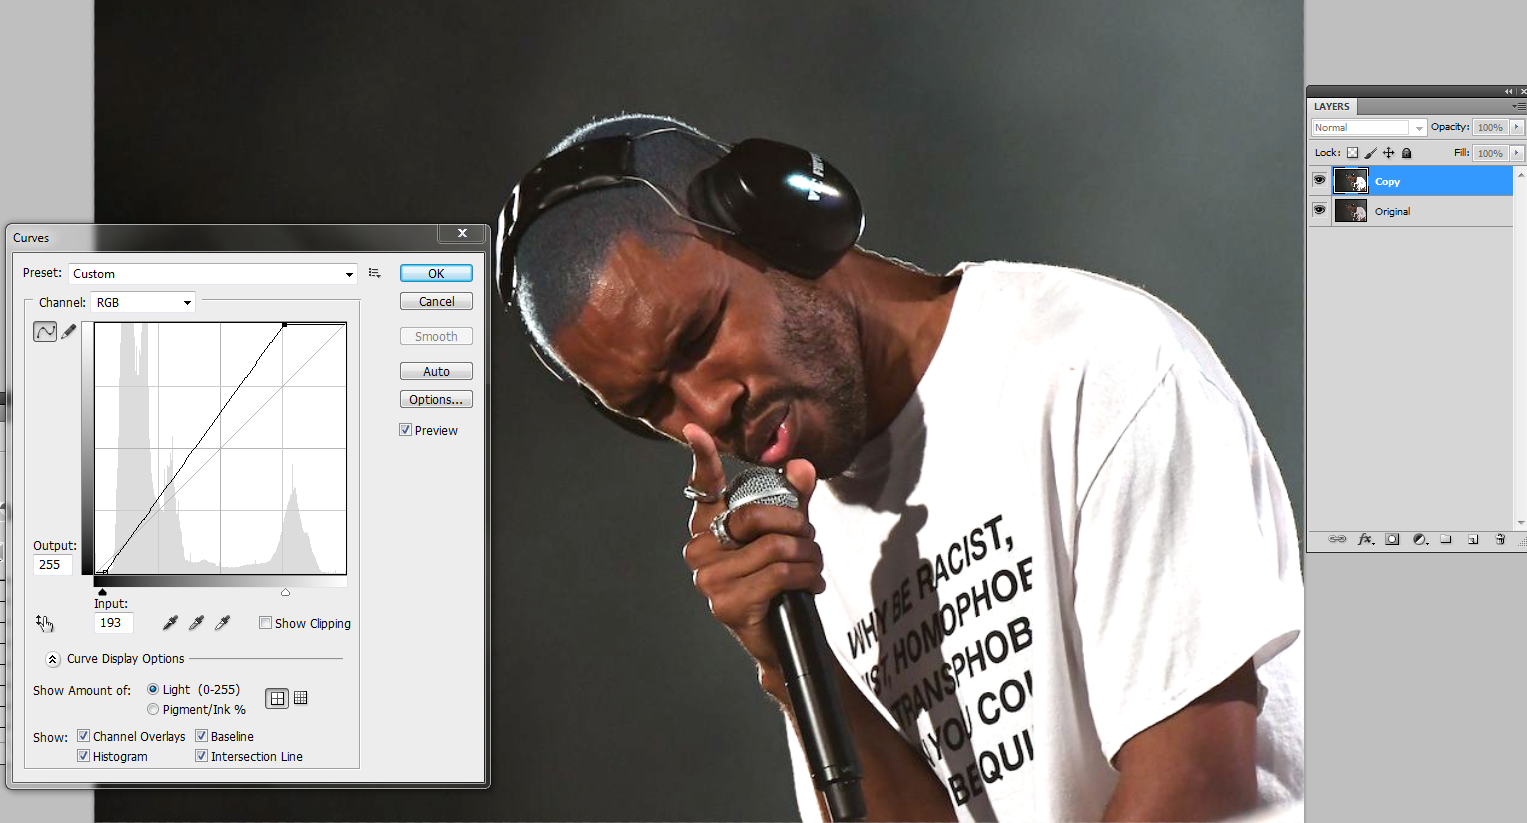
In bright light white cloths often get overexposed if the photographer is not aware of the danger. It can be simulated by applying curves. This would go bust if the white balance was not fixed; bad red blemishes would appear due the rise of the saturation when contrast is increased:
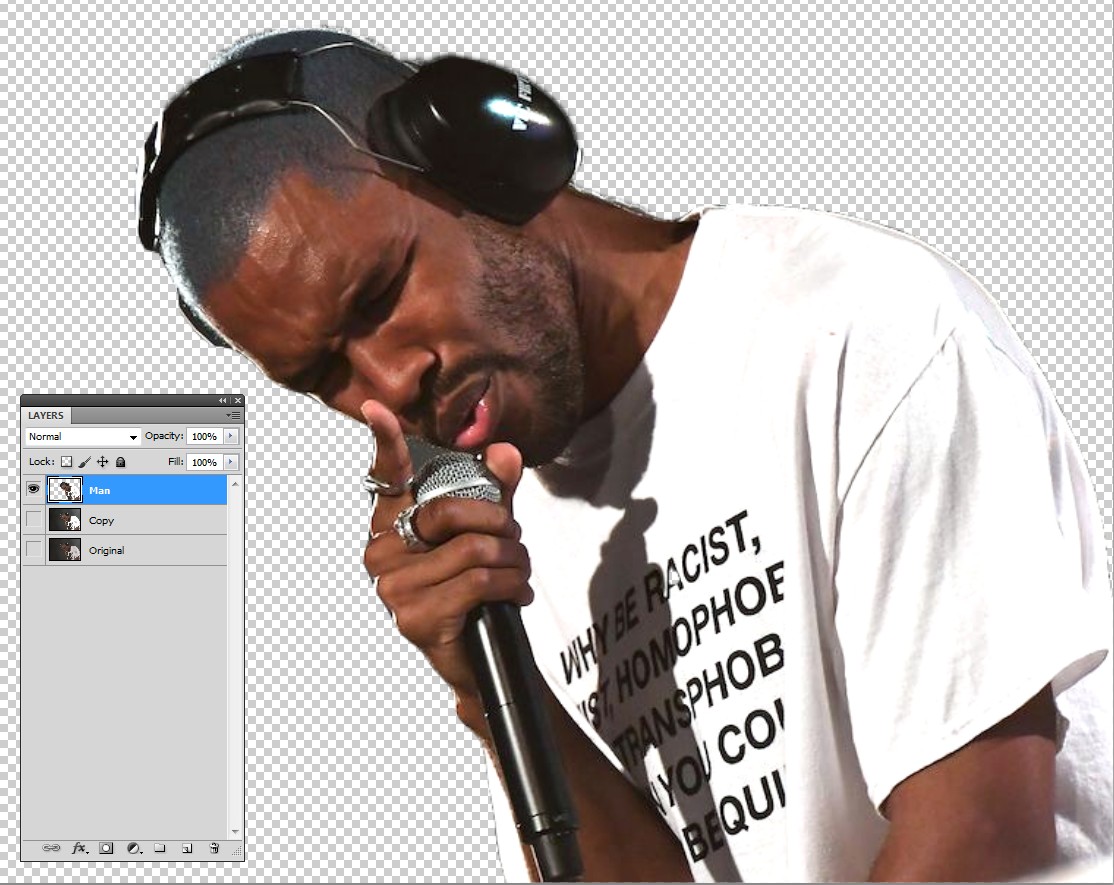
A great part of the effect happen at the edge of the man. To have that edge a copy without the background is needed. It's an usual background removal job which earns no special receipe here, but include the already existing white glow and be precise:
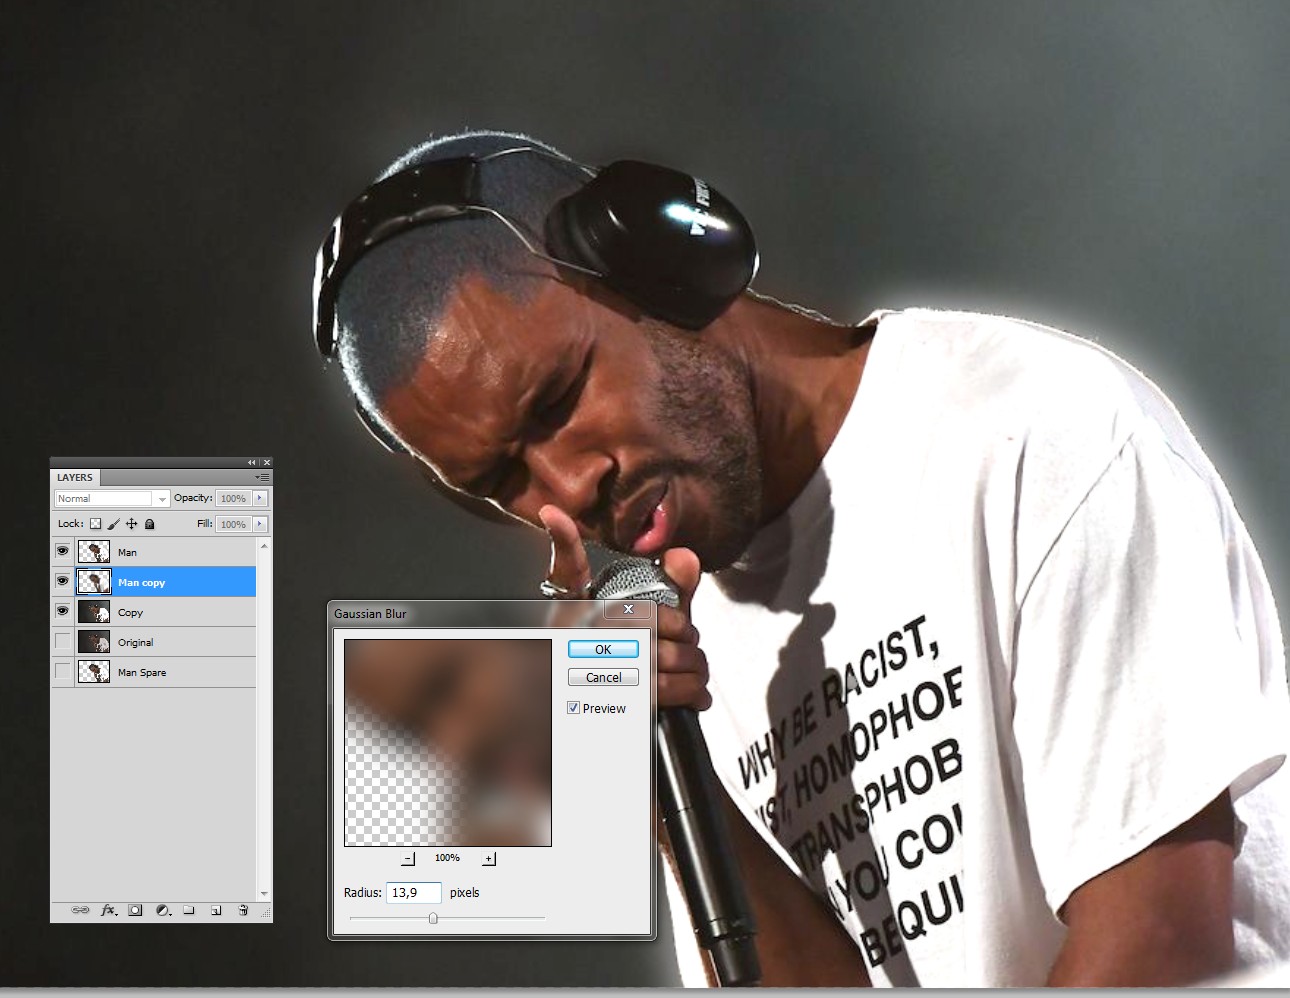
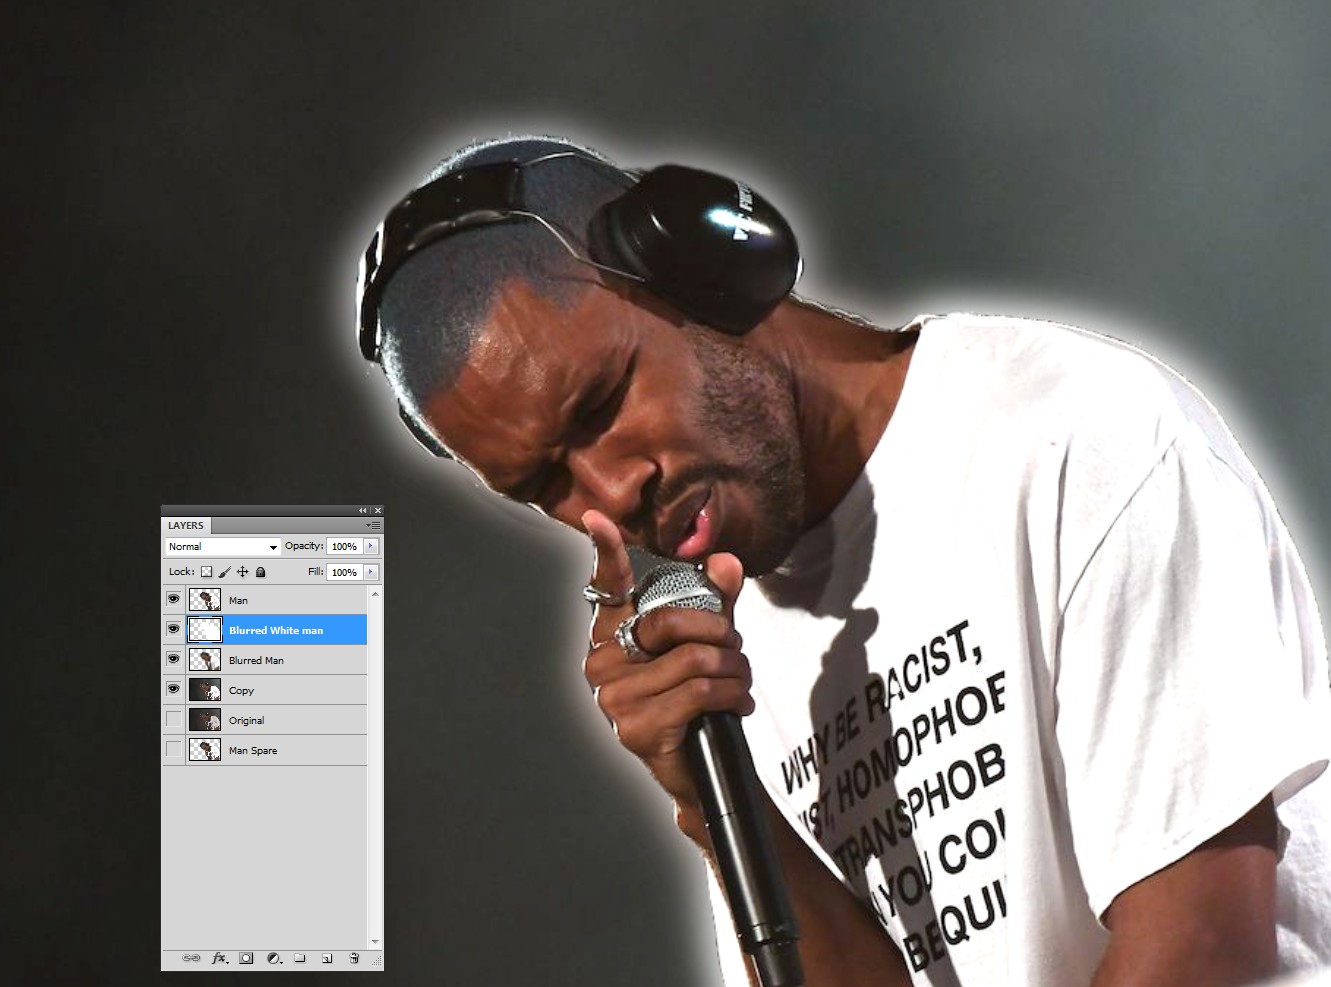
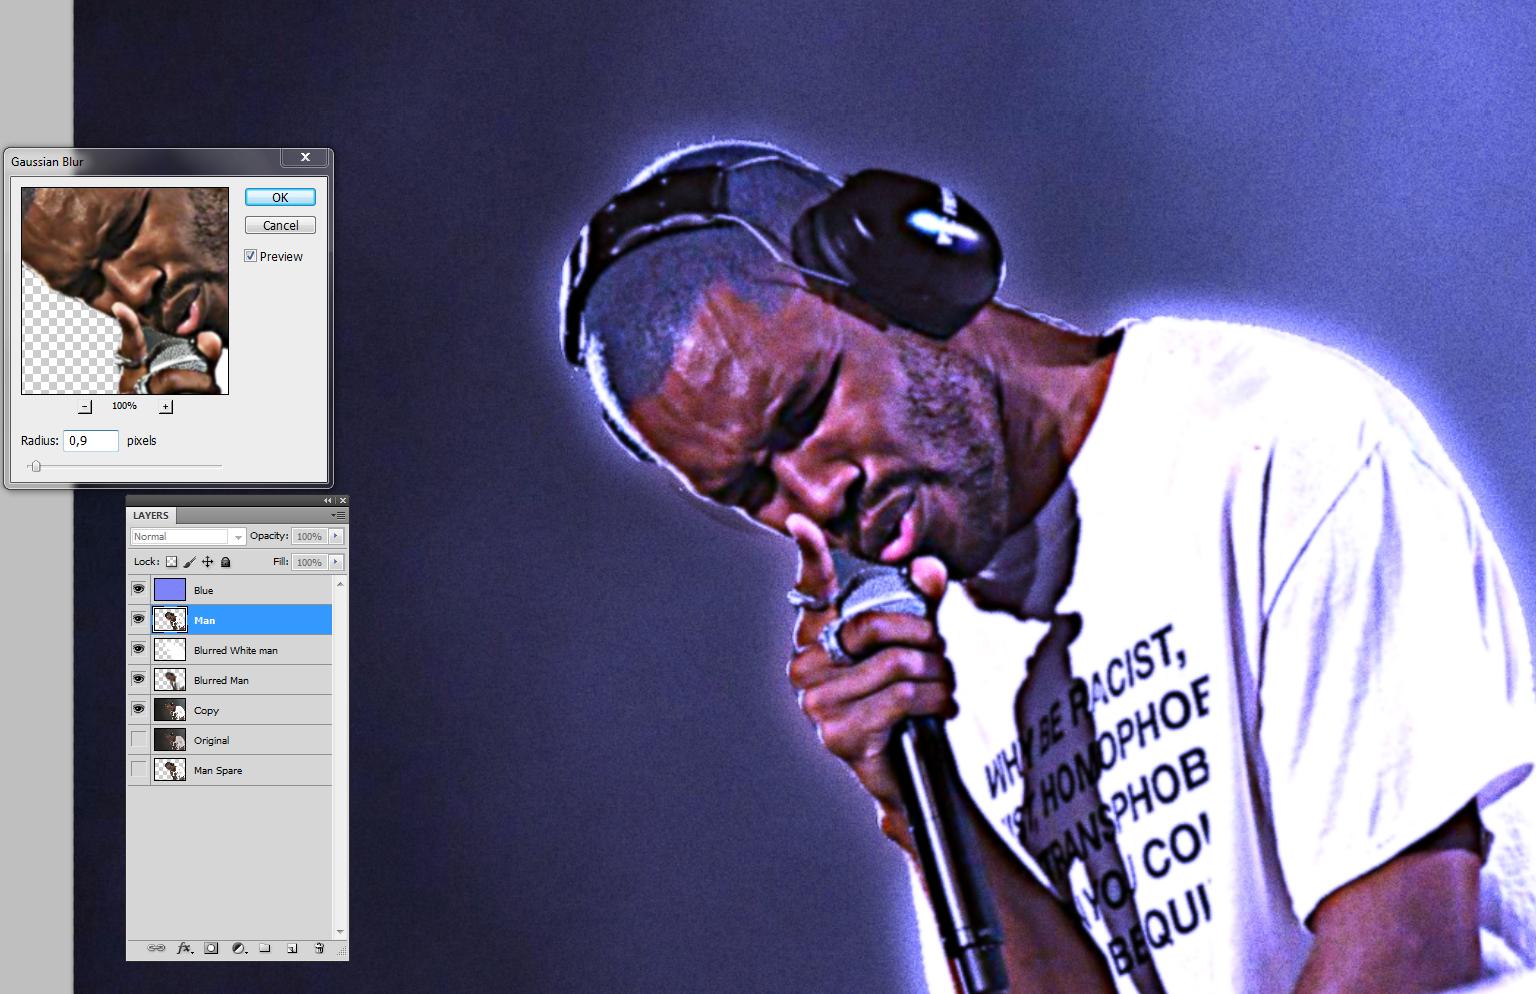
Make a spare of the separated man and have on top 2 copies of it for use. Insert a heavy Gaussian blur to the 2nd layer to get a glow, keep the top layer intact:
This glow can look weak, but make it stronger by duplicating the blurred man layer and turning the duplicate full white with curves. This really is far too much, but reduce later the opacity of the Blurred White man:
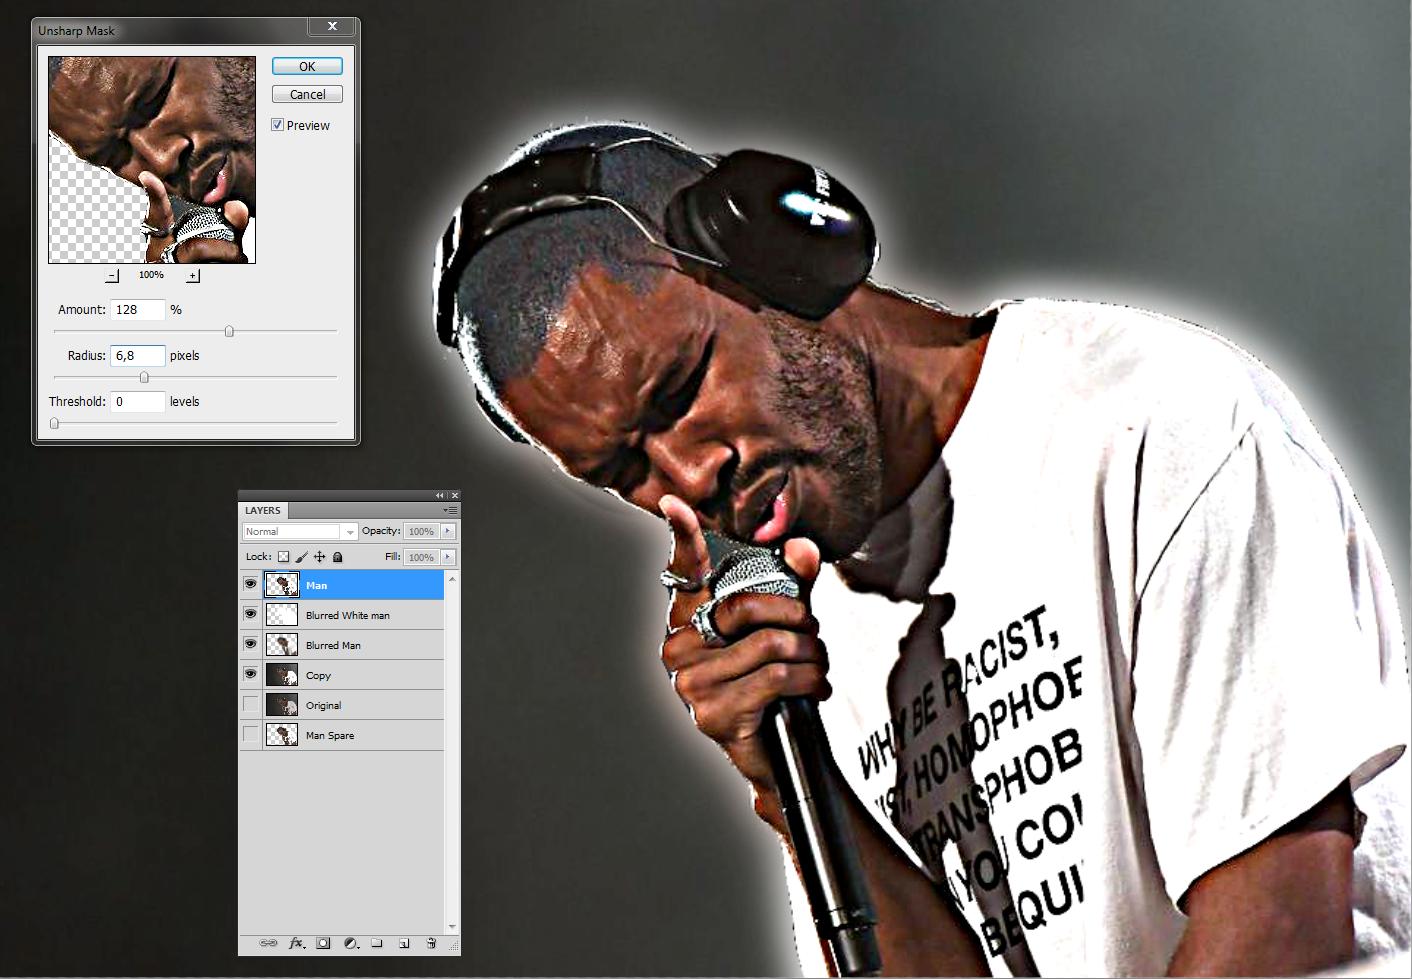
You need some boost to the originally existing bright edges. Filter Sharpen > Unsharp Mask with wide radius makes them. Apply it to the non-blurred Man layer. Filtering increases local contrast. Use higher treshold setting to prevent too much local contrast on the face. I see contrast is needed, so I left treshold =0:
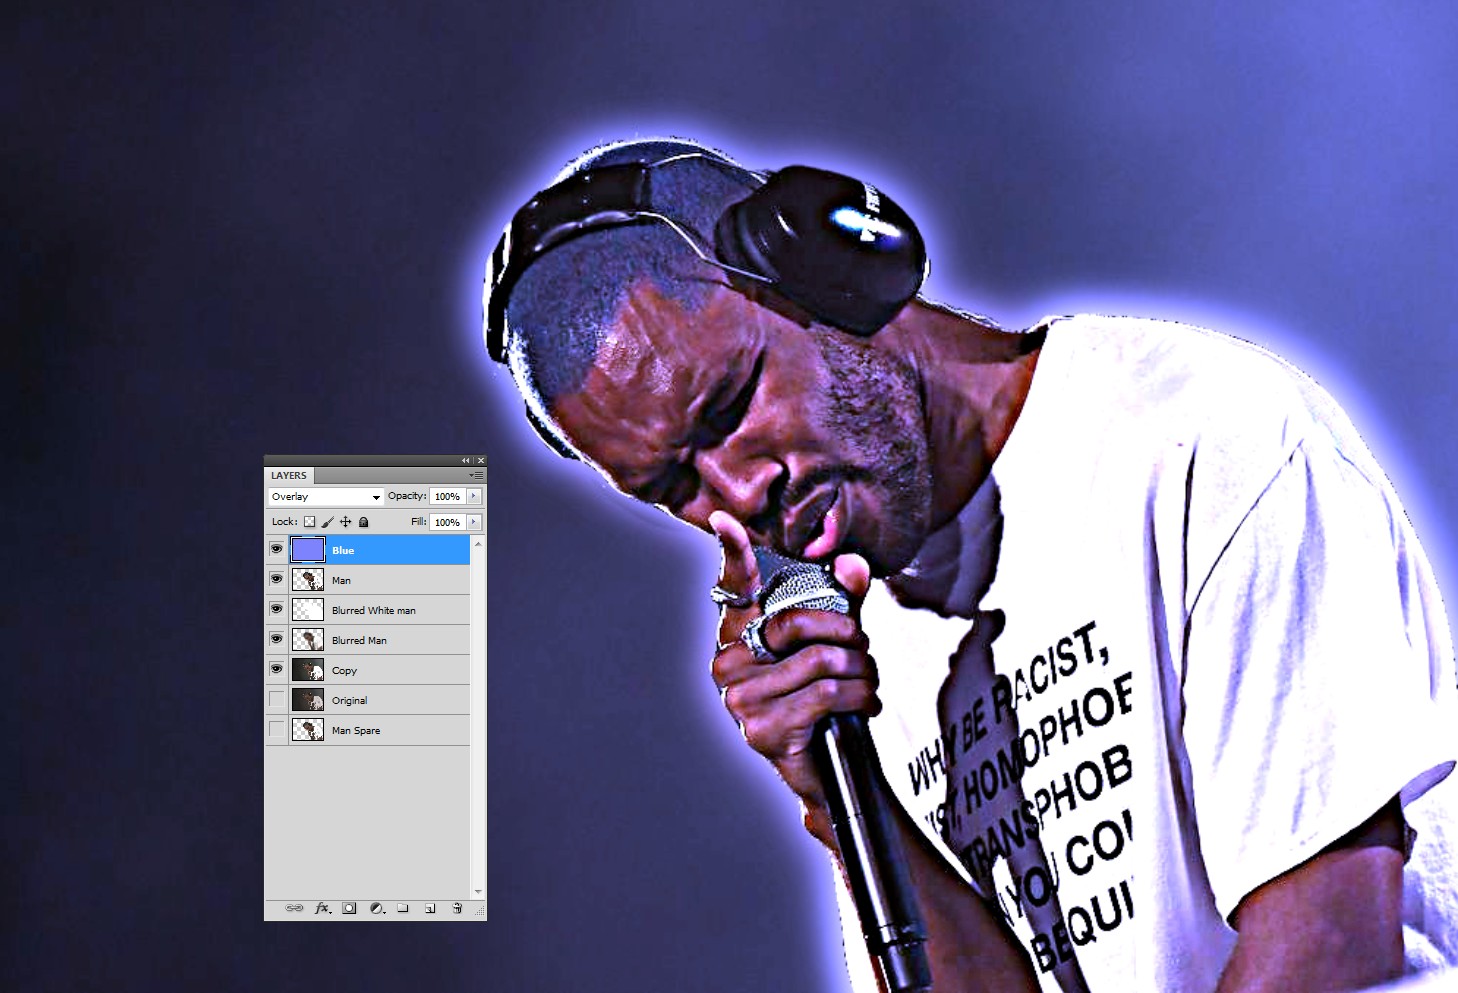
I guess a blueish color cast is useful - that's a common white balance error and it can be made intentionally with lights. I inserted a layer with blending mode Overlay. The layer has solid fill R=127, G=127 and B=255. Pure blue would make the result darker:
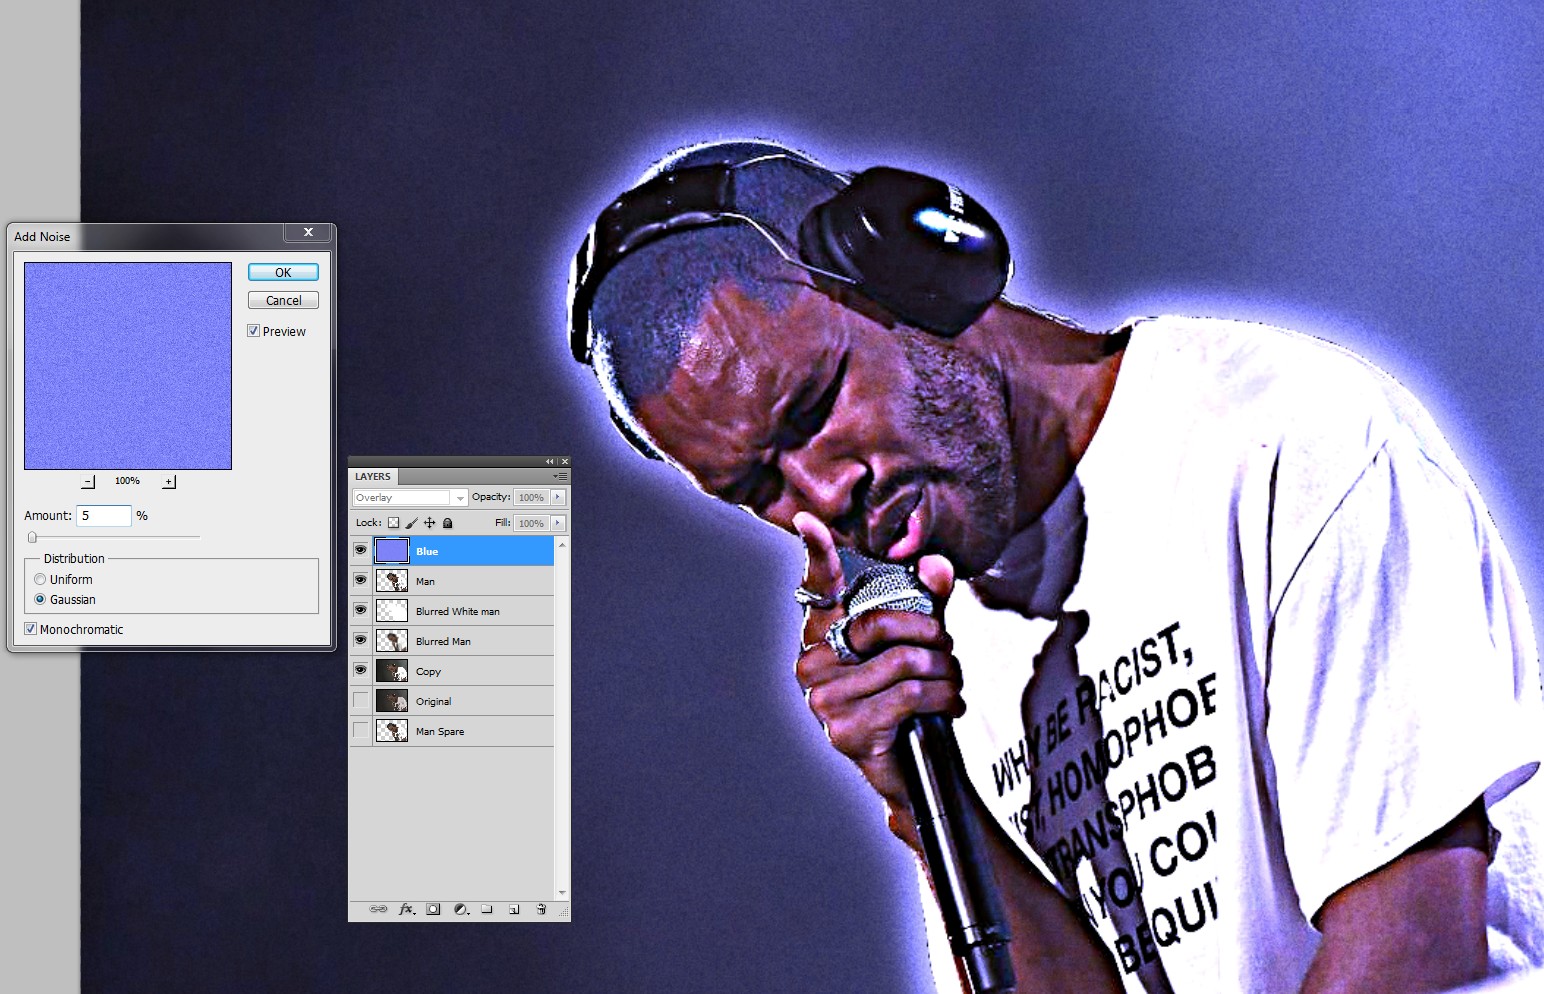
Camera noise or film grain can be simulated with proper filter. But with this resolution also adding noise in Photoshop works:
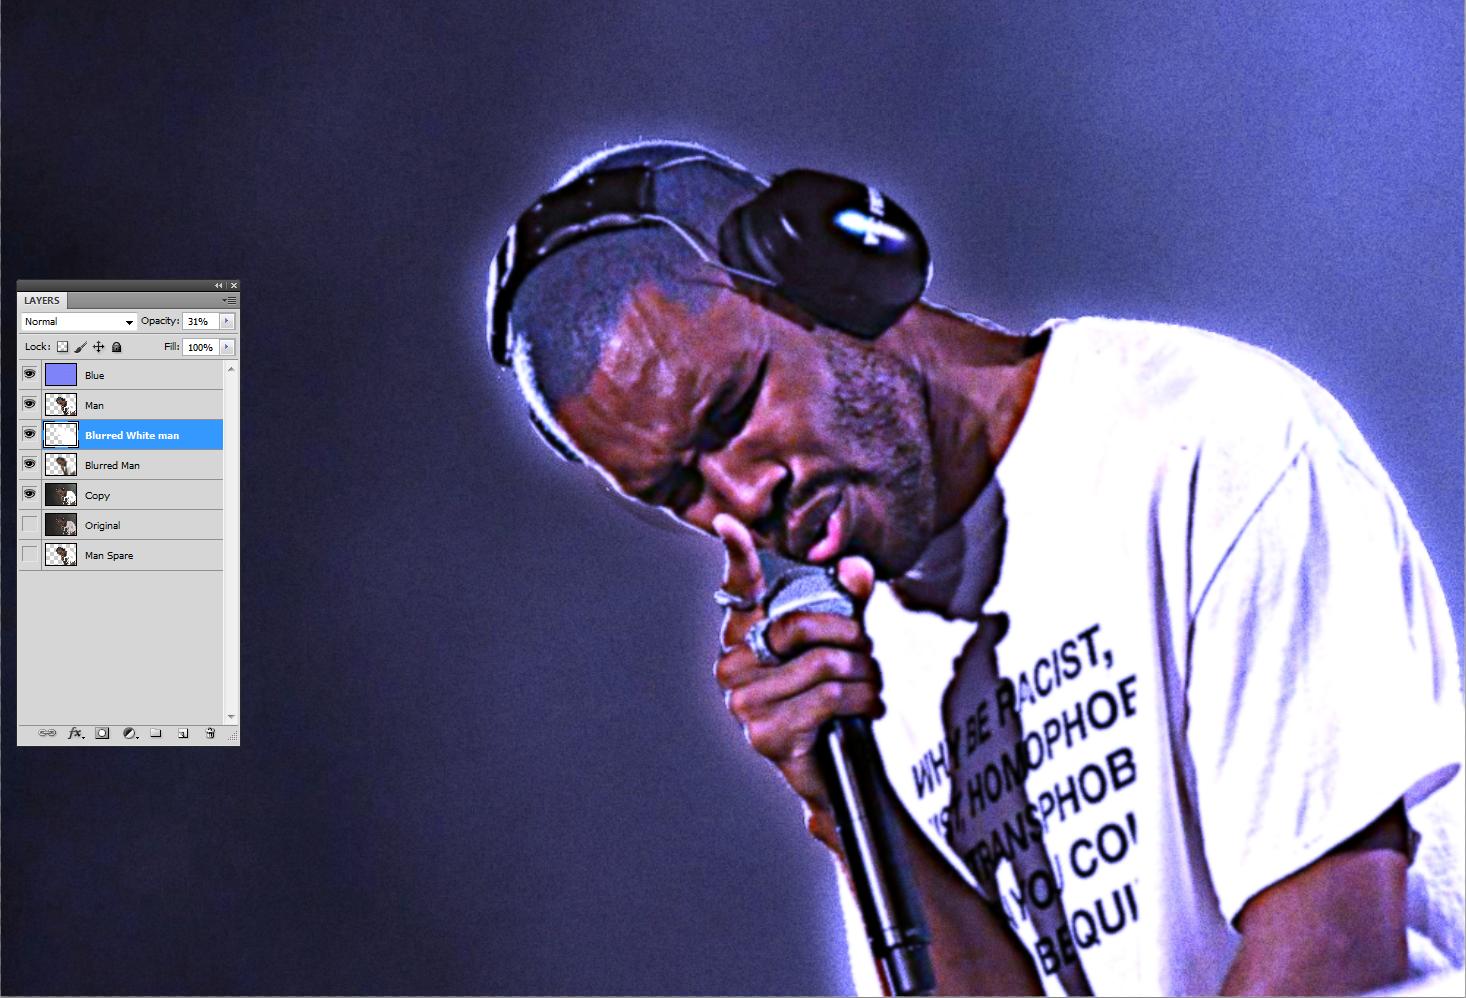
As said, the opacity of the Blurred White Man layer should be reduced. Target the front side, remove the excessive glow on the shoulder later:
If it must be unsharp, add a slight blur to the Man layer.
Take the eraser with a low opacity soft brush. Wipe off most of the glow on the shoulder.There's already smoke in the background which makes the glow look inserted.

