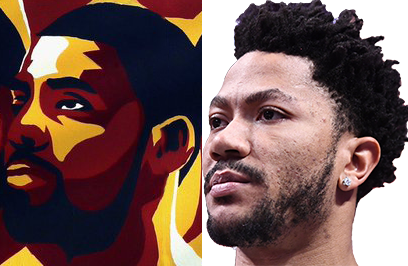
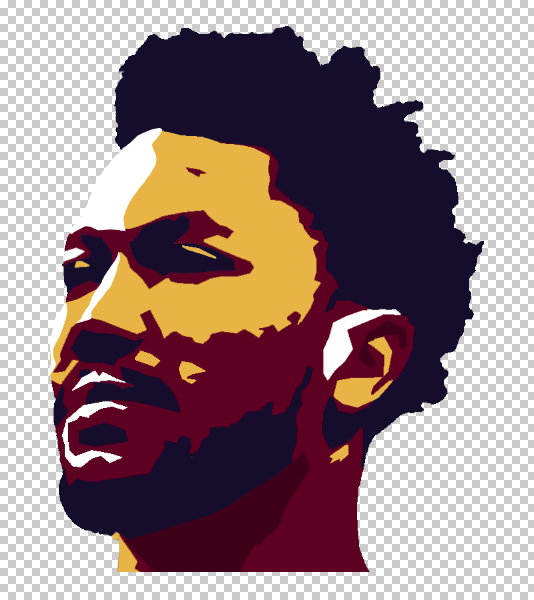
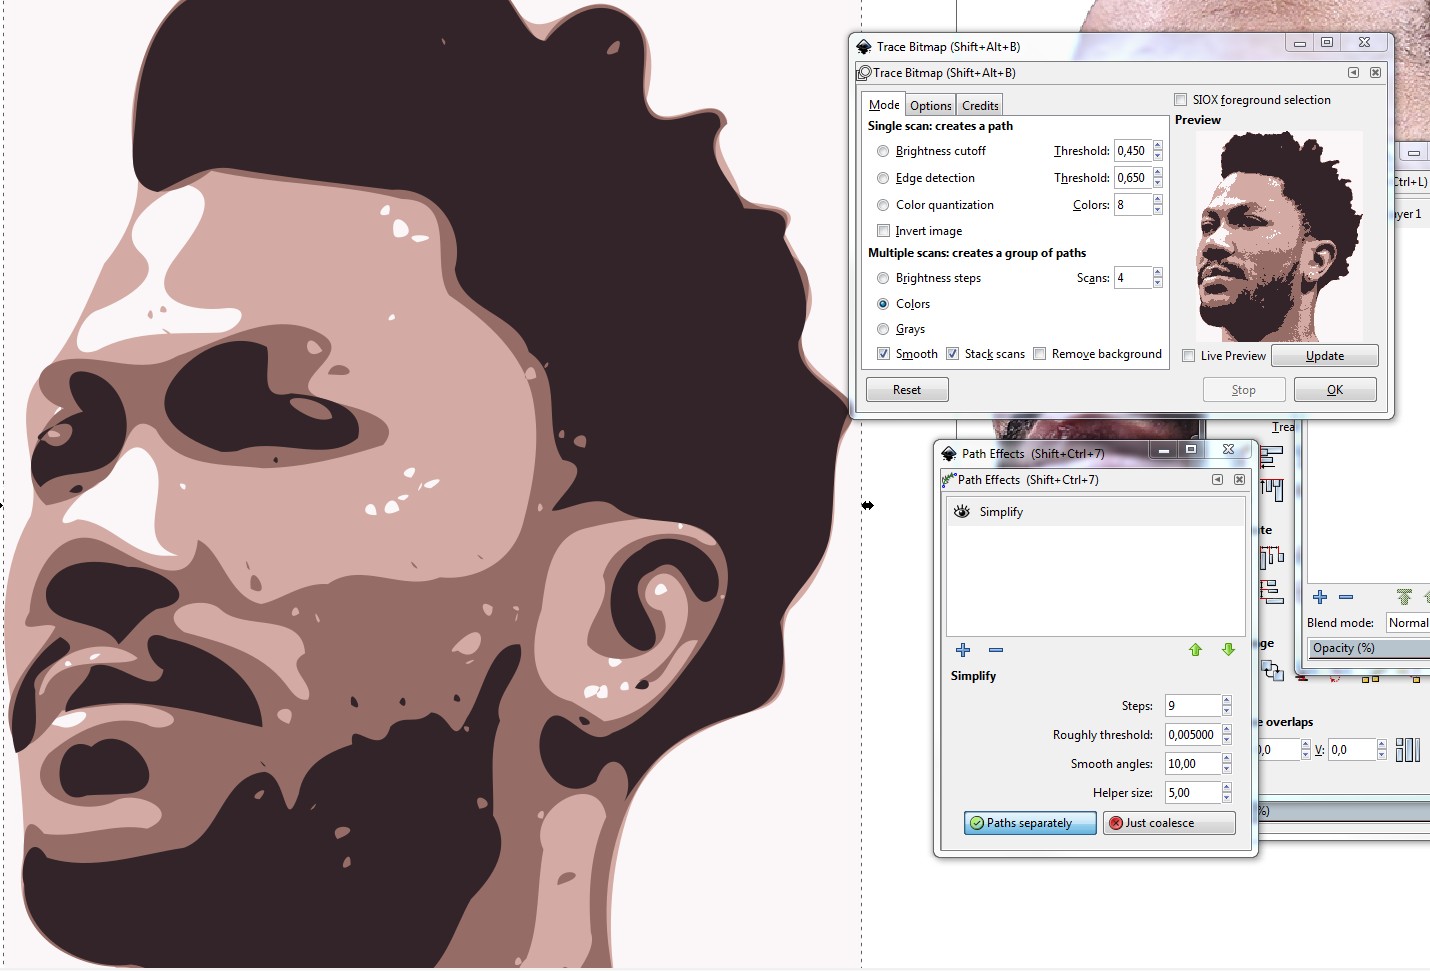
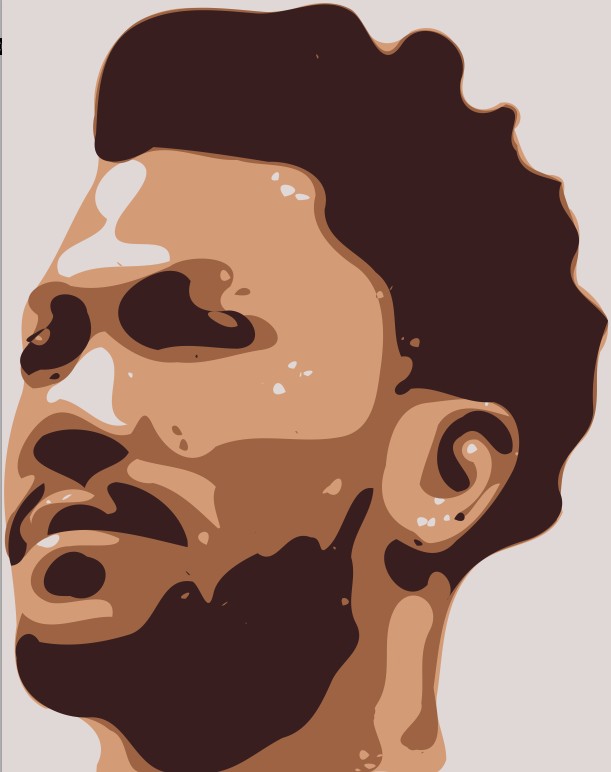
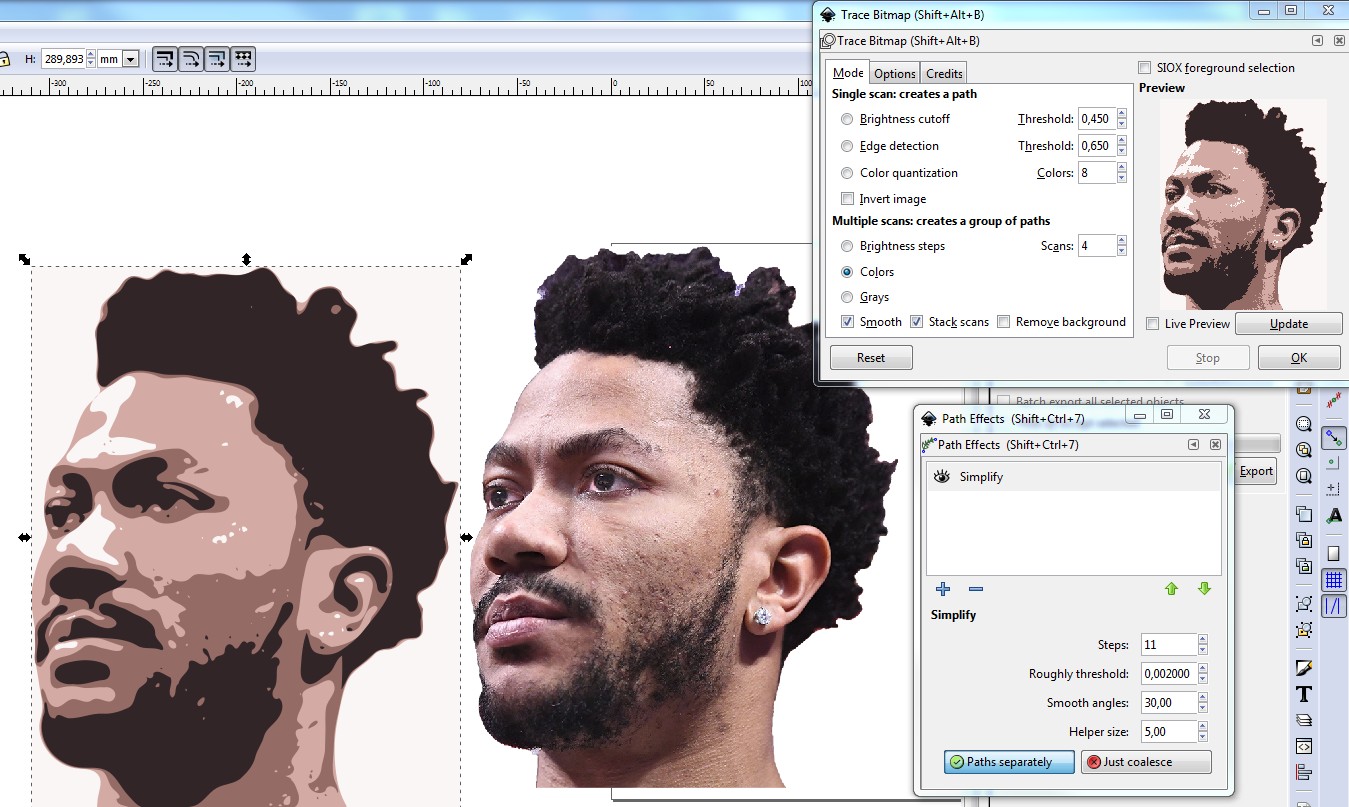
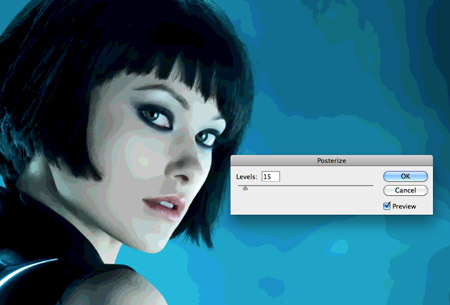
There are actually a lot of tutorials on recreating this effect.
My favorite one is by the wonderful blog SpoonGraphics.
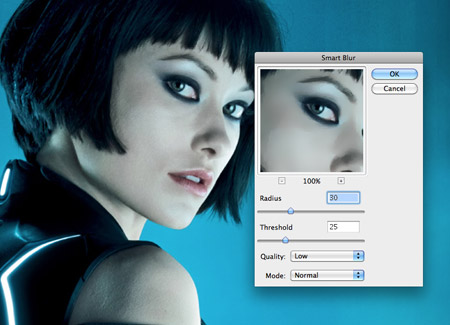
You start off in Photoshop and applying smart blur to reduce the details of the image.

You might need to play around with the amount to get the desired detail reduction.
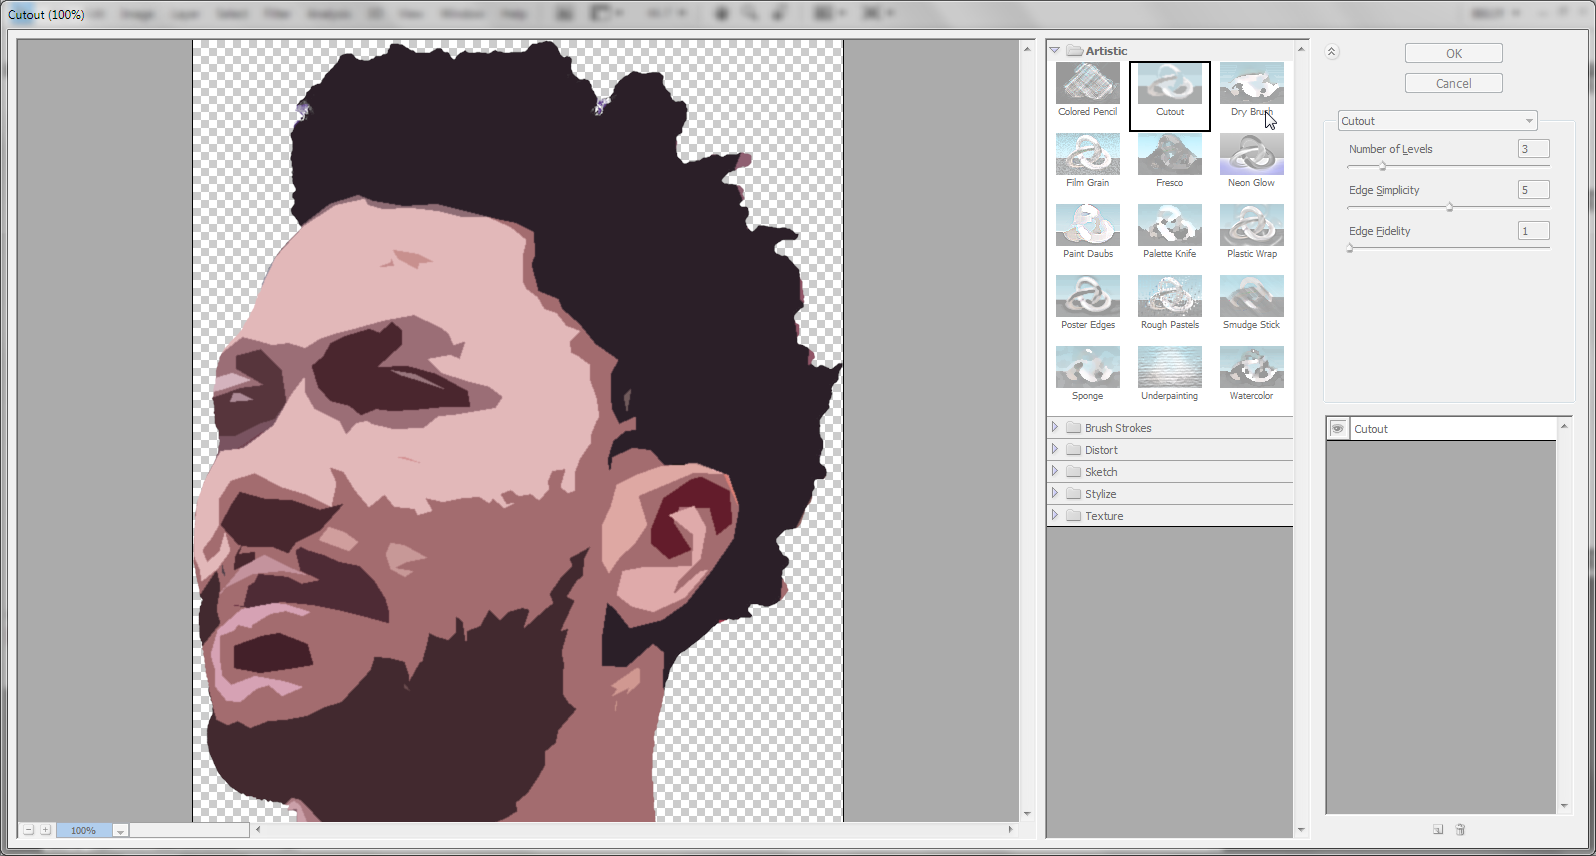
Then you need to segmenting the image with the Posterize effect (Image > Adjustments > Posterize) and find a level that gives you large enough segments to work with.

Then SpoonGraphics recommends to:
Duplicate the Smart Blur layer one more time and place it above the
posterized layer. Change the blending mode to Color to remove the ugly
green and blue tones added by the posterization effect.
This is up to you, and on a per-image basis. Play around and experiment with settings a bit until you find something you like!
Next I would save your .psd and drop it into Illustrator or use a .jpg of your work to start working on your outlines.
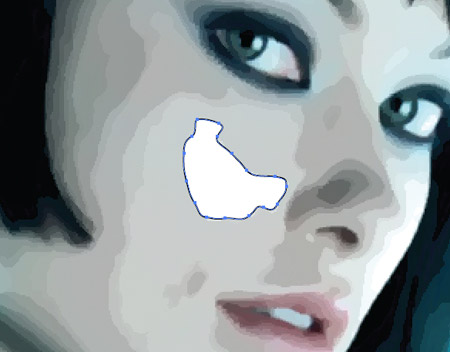
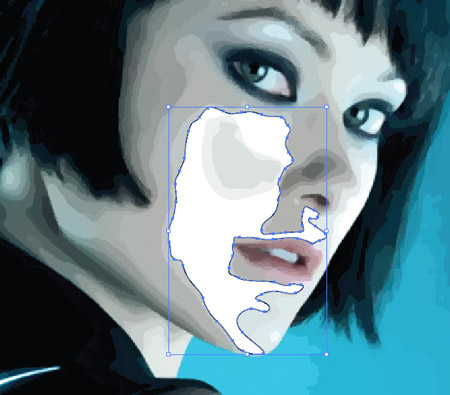
Using the Pen Tool start to trace out the segments you created in the previous steps. Accuracy isn't key but maintaining the general shape of the portrait helps. You need to find that balance between stylization and accuracy.

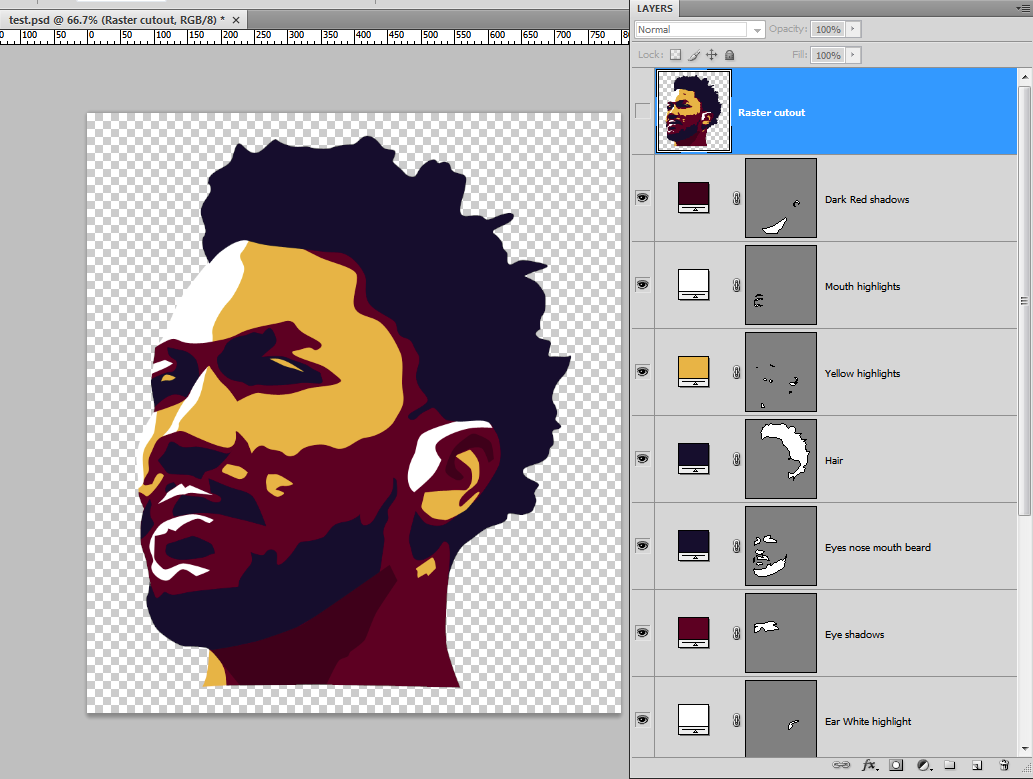
When you have a shape that you like you can start coloring in the art using the Eyedropper and sample a tone from your sample image. Continue doing so, moving onto the next part of the face; trace; then sample the next tone.

Keep in mind that you will need to alter the stacking order of the layers. You can do this with the CTRL/CMD+[ or CTRL/CMD+] shortcuts.
And there you have it, keep working and tweaking your shapes until you get your desired result!

