How can I achieve this type of super smooth liquid chrome texture? Is it done with 100% in Photoshop? Have tried this on illustrator with blending tool and bring it on Photoshop, and only use liquify tool on Photoshop but can't get this kind of smooth liquid effect.
-
Hard to say how was it done... It's probably a mix of different tools, so what you're asking is a full tutorial on the whole piece. Unless you edit to focus on a specific aspect you're interested in, or show your efforts and where you're stuck so we could help with that.– LucianoCommented Sep 1, 2021 at 8:16
1 Answer
It's too complex for making an exact copy by starting from a piece of plain text and only inserting effects. At least it's too complex for those of us who have a normal head bone thickness.There are also some random looking twists and noise. A genius maybe could figure out beforehand how to replicate everything with effects.
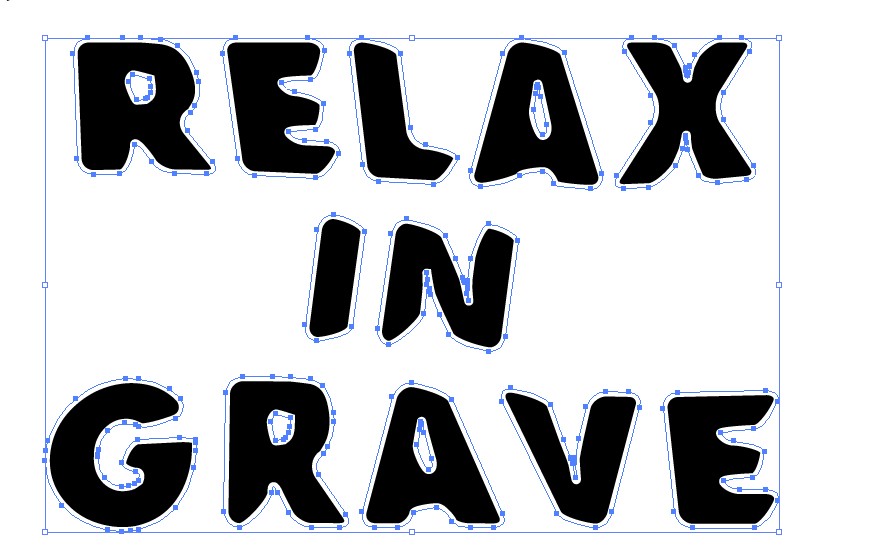
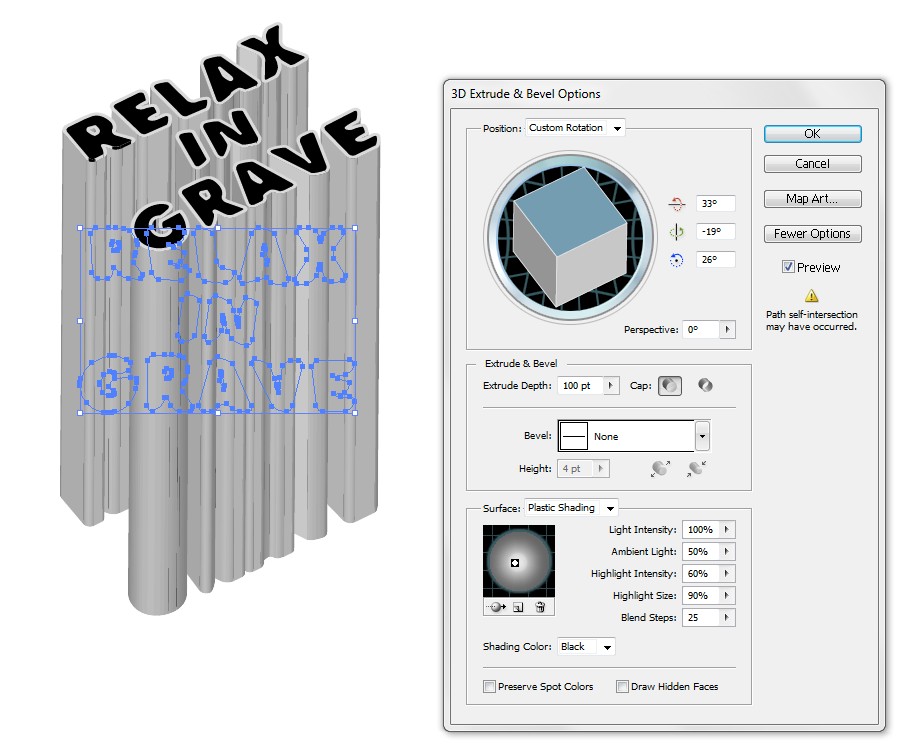
But some tools can be given for your own explorations. Prepare a piece of black text with white stroke. I have made it in Illustrator because also 3D extrusion is needed and it works there better. It should work well in Photoshop if you have reasonably effective modern PC and recent Photoshop. I unfortunately have now in my hands museum grade stuff.
This is my text. It has quite distorted letters. I avoid straight lines between sharp angles to get gradient shadings in the forthcoming extrusion.
The text has black fill, white stroke and it's expanded to curves.
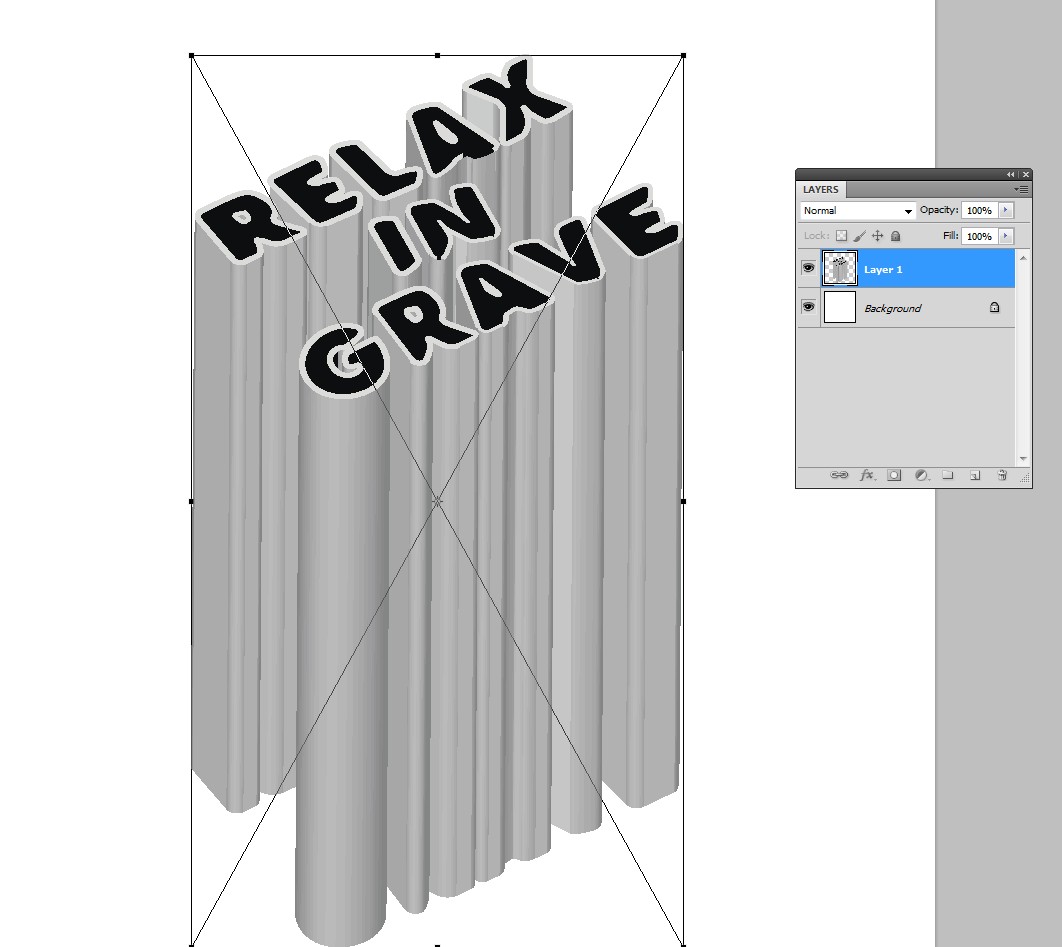
Extrusion to some height gave this:
 ]2
]2
The light is set to give gradients. Expanding the appearance would create a big amount of new edges because the gradients would be approximated with small single color shapes. I skip it to avoid new uncontrolled features. I paste the shape to a 1000 x 1000 pixels empty image in Photoshop. The shape is pasted as pixels. It can be stretched to the final size before nailing the pasting:
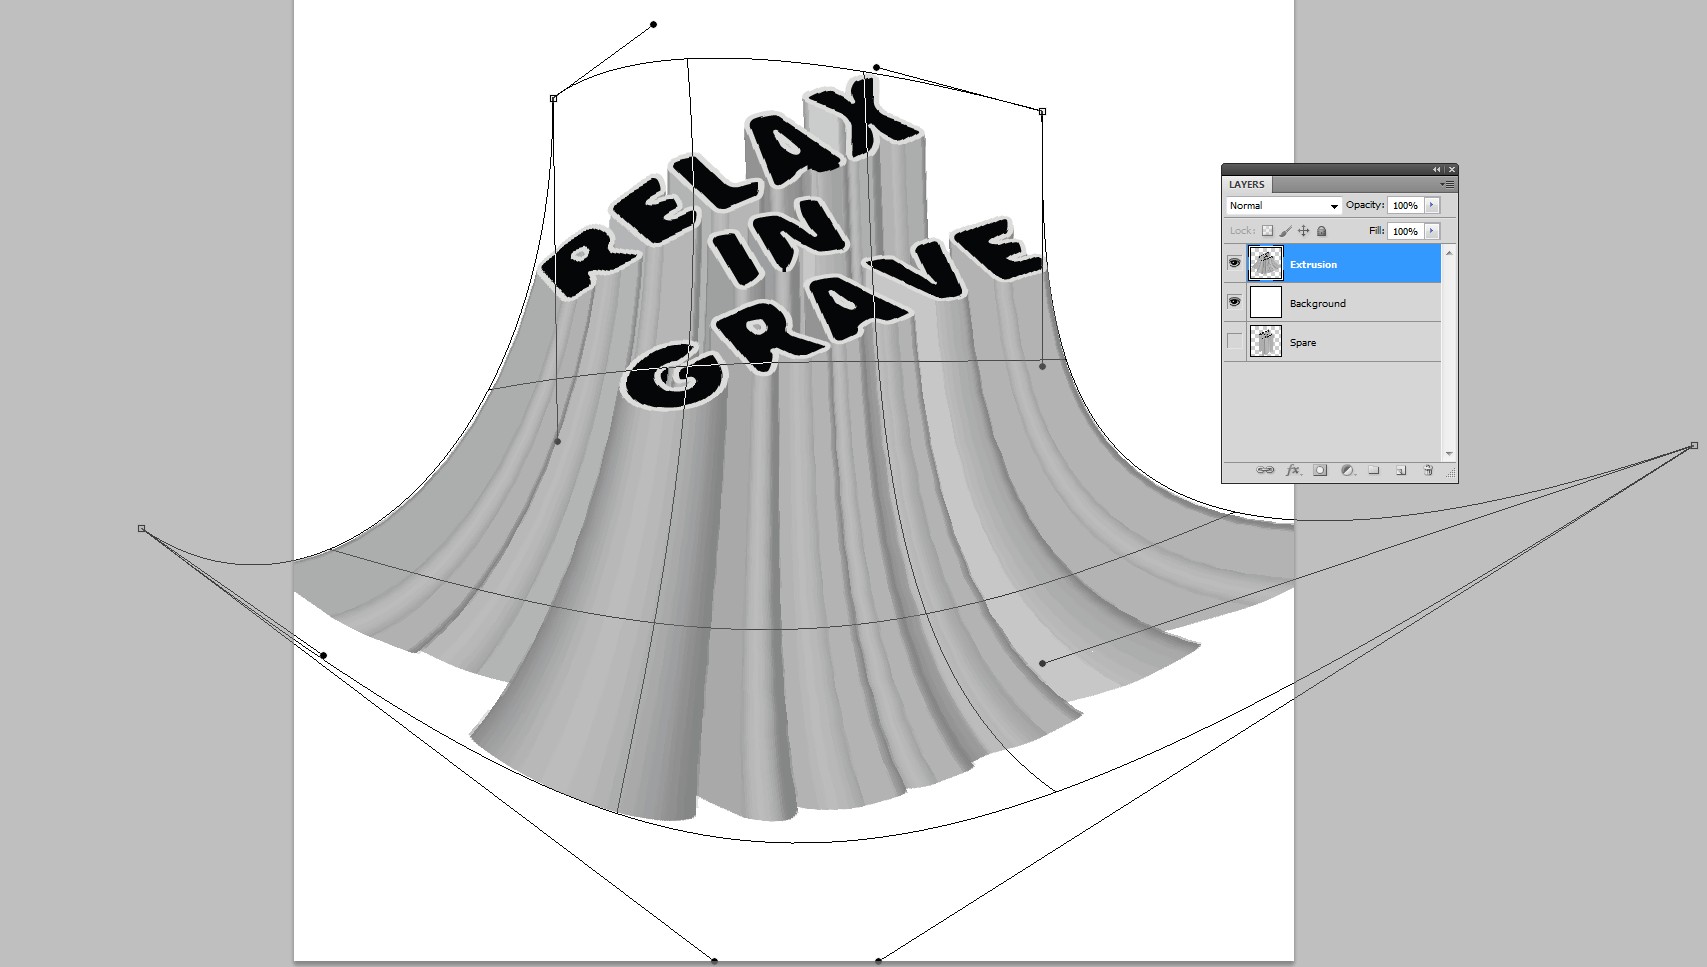
The text top surface can be made to look curved and the extruded foot can made wider in the bottom by applying Edit > Transform > Warp:
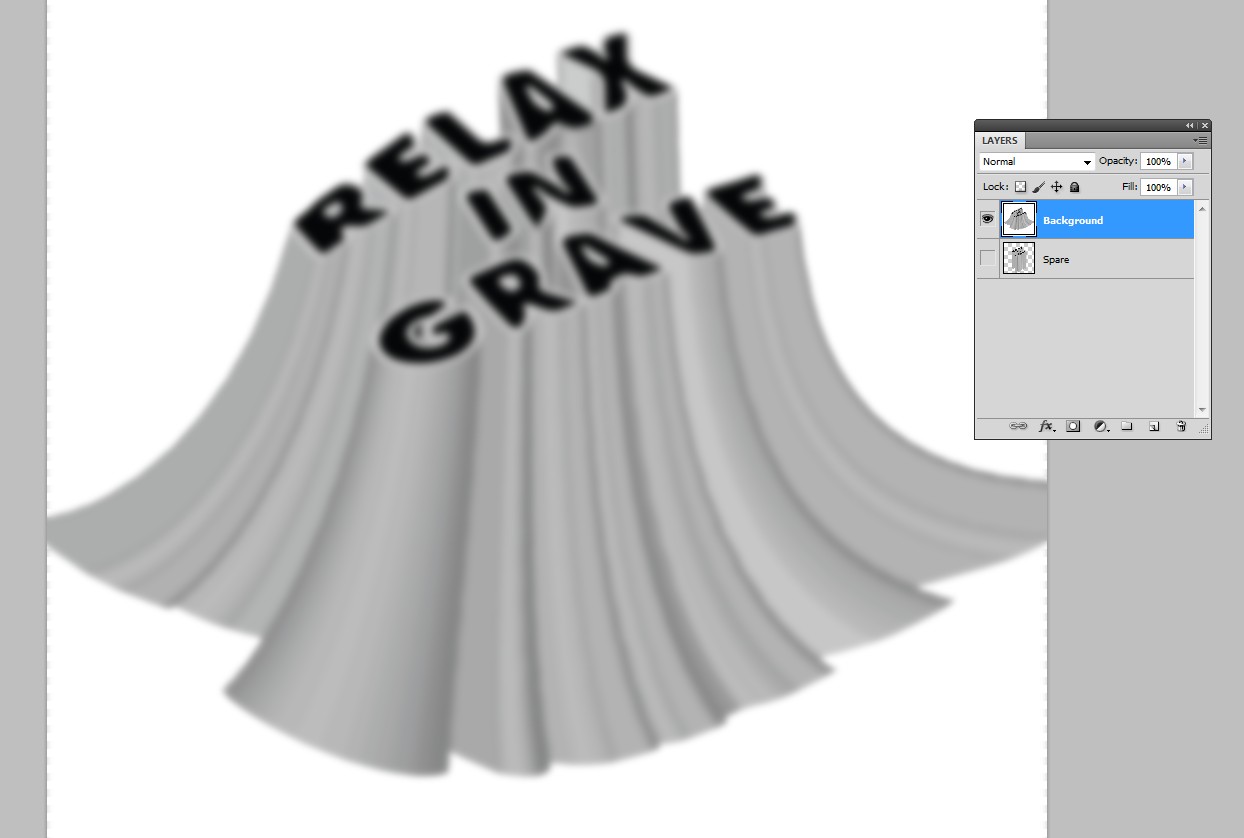
To get more gradient tones the shape can be blurred and merged with the white background layer. Note that I have a spare copy of the original shape because I use destructive effects. The real pro way is to use smart objects and to apply all effects as adjustment layers, layer styles and smart filters. I keep this simple.
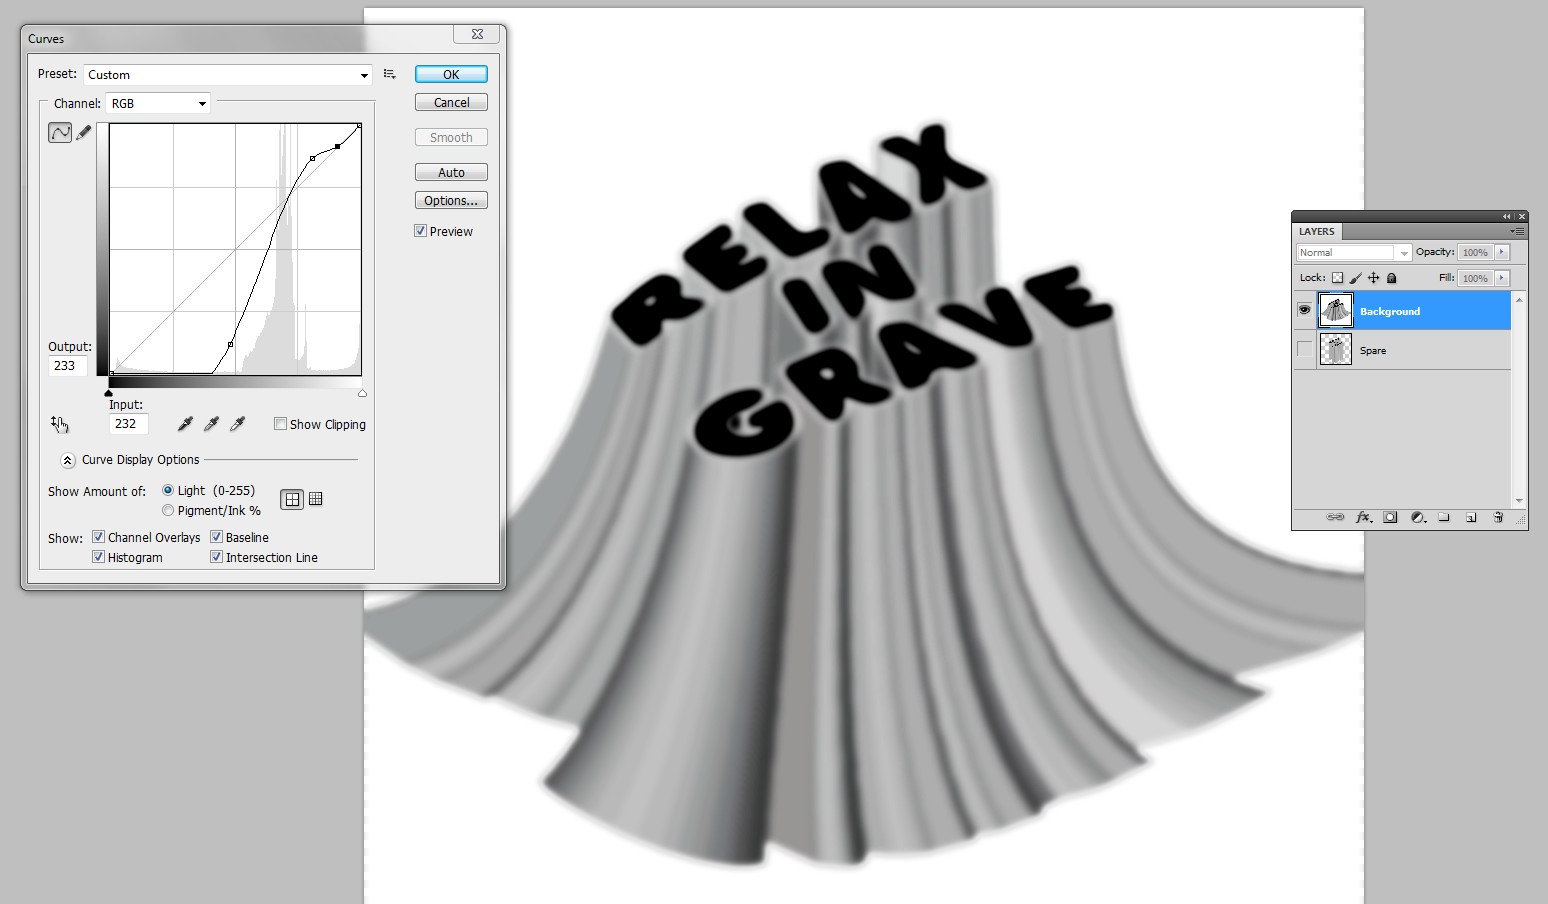
The range of the greys in the base part is quite narrow. It's useful to stretch it with level or curves. It makes easier to adjust curves in a weird way later:
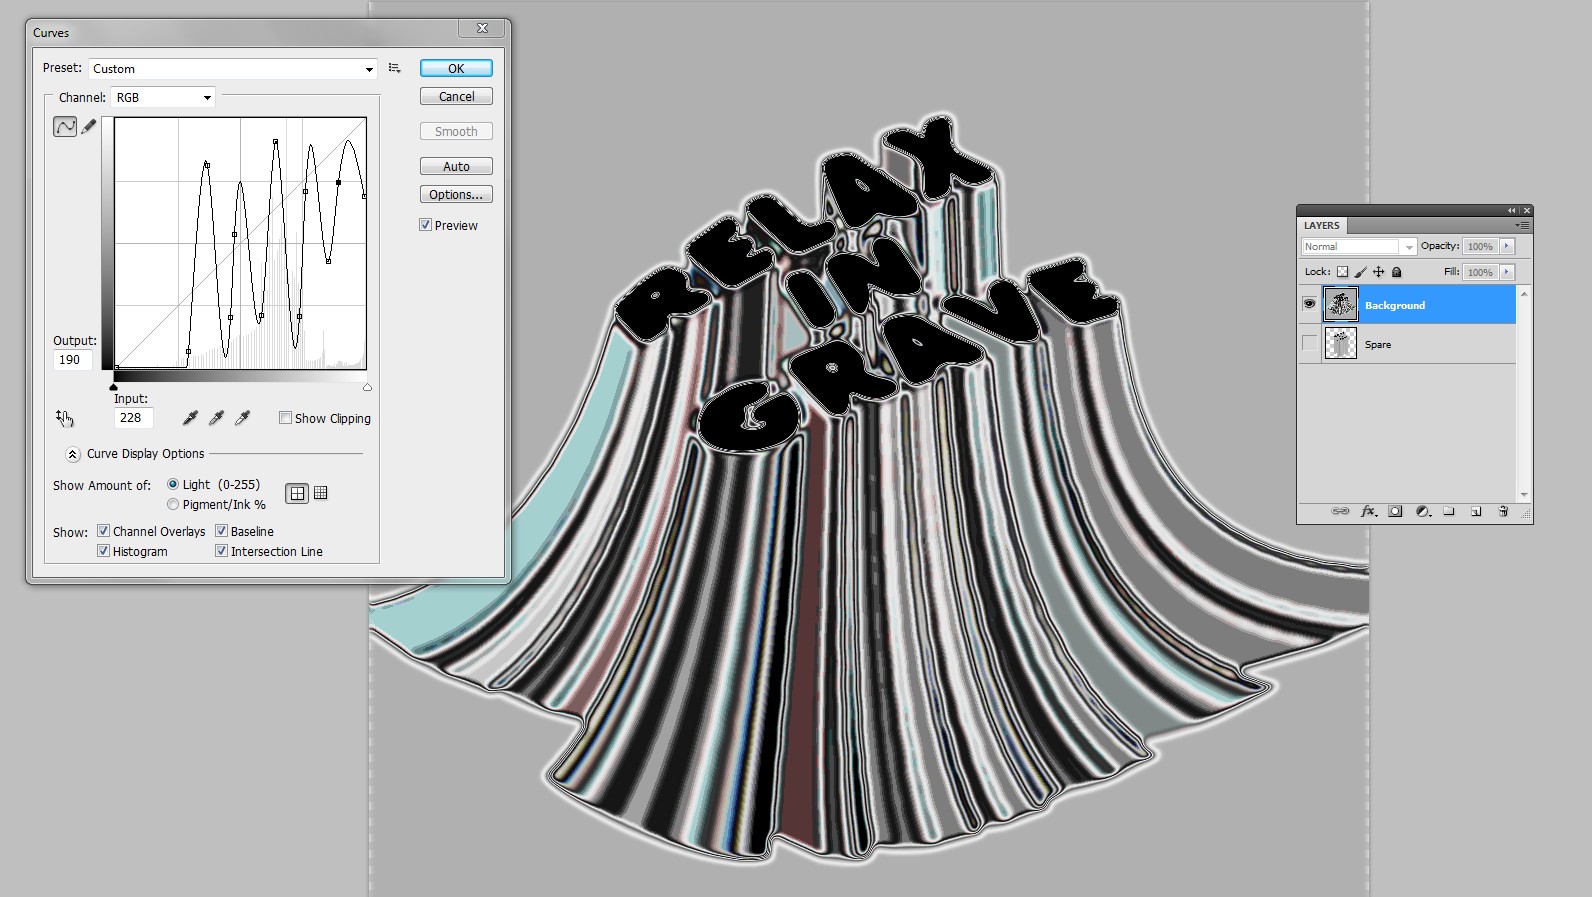
Now the metallic effect can be got by applying a bumpy curve:
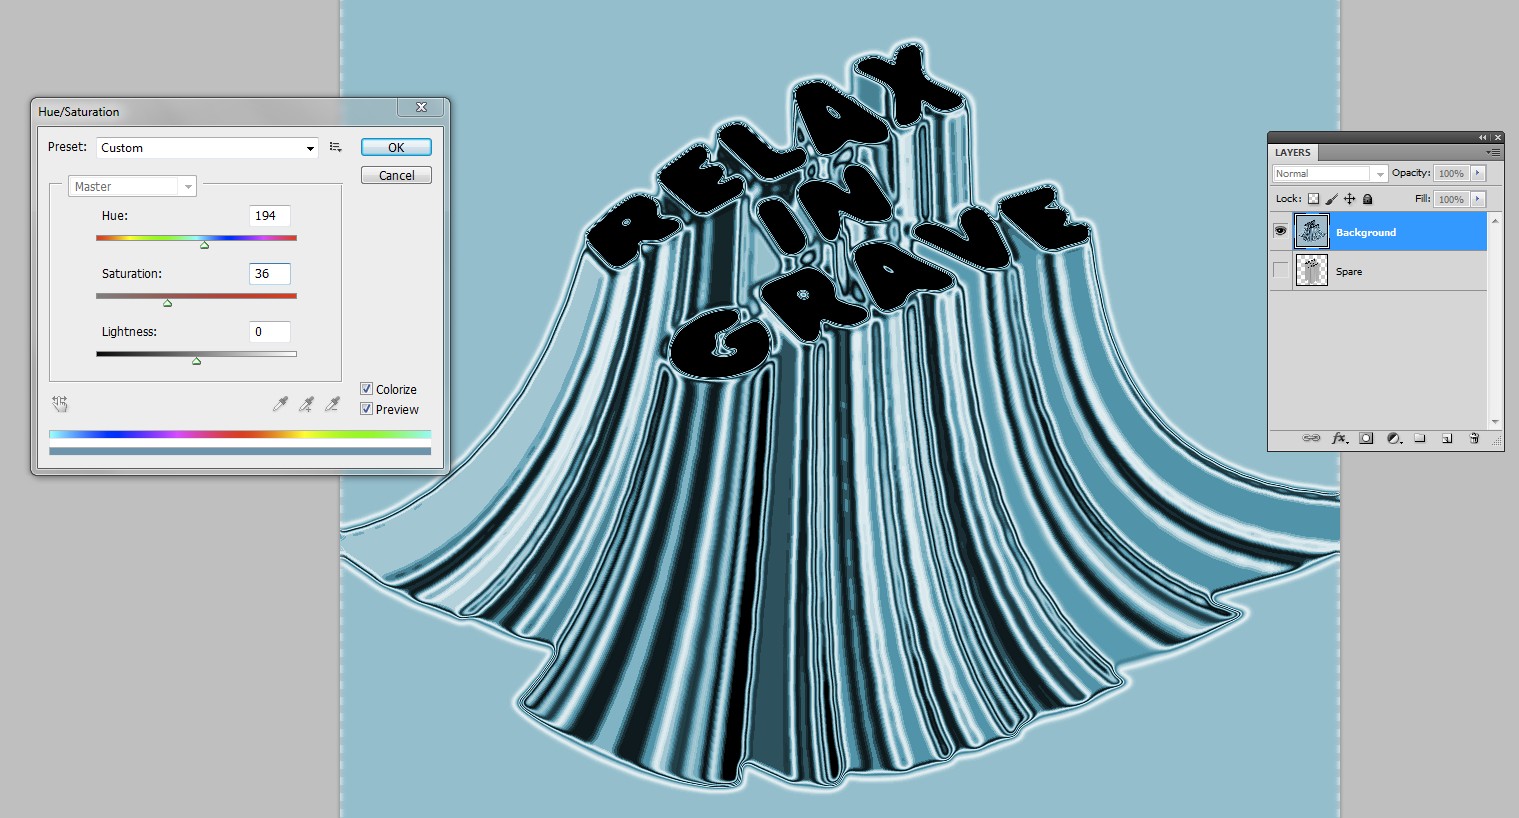
You see there's some colors. They are rounding errors in Photoshop. They can be removed by desaturating or by applying Hue&Saturation > Colorize to get a single hue image:
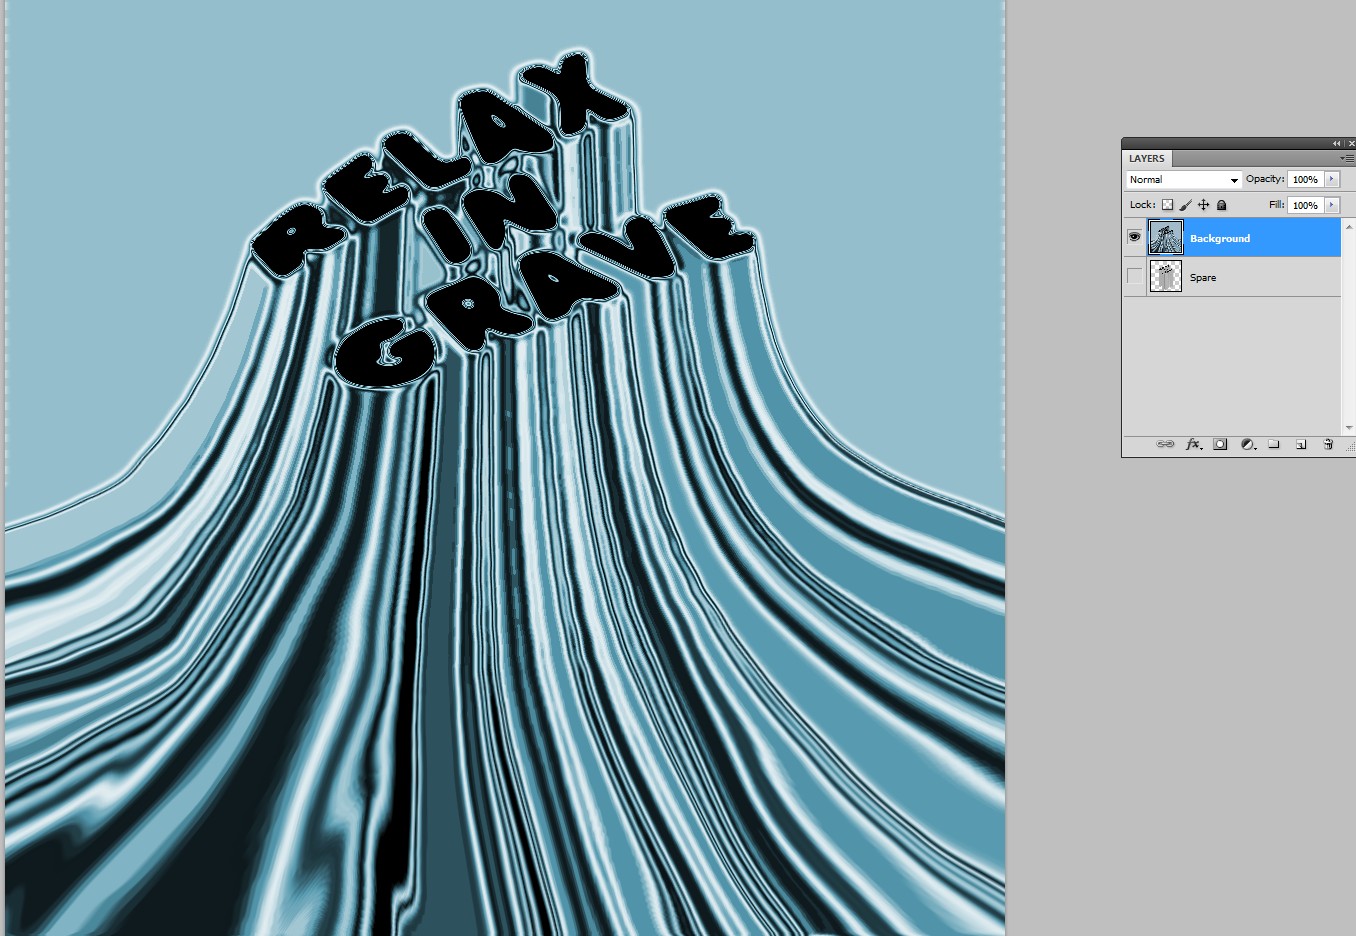
The foot can be made bigger by applying Liquify filter. The stretching is brushed manually:
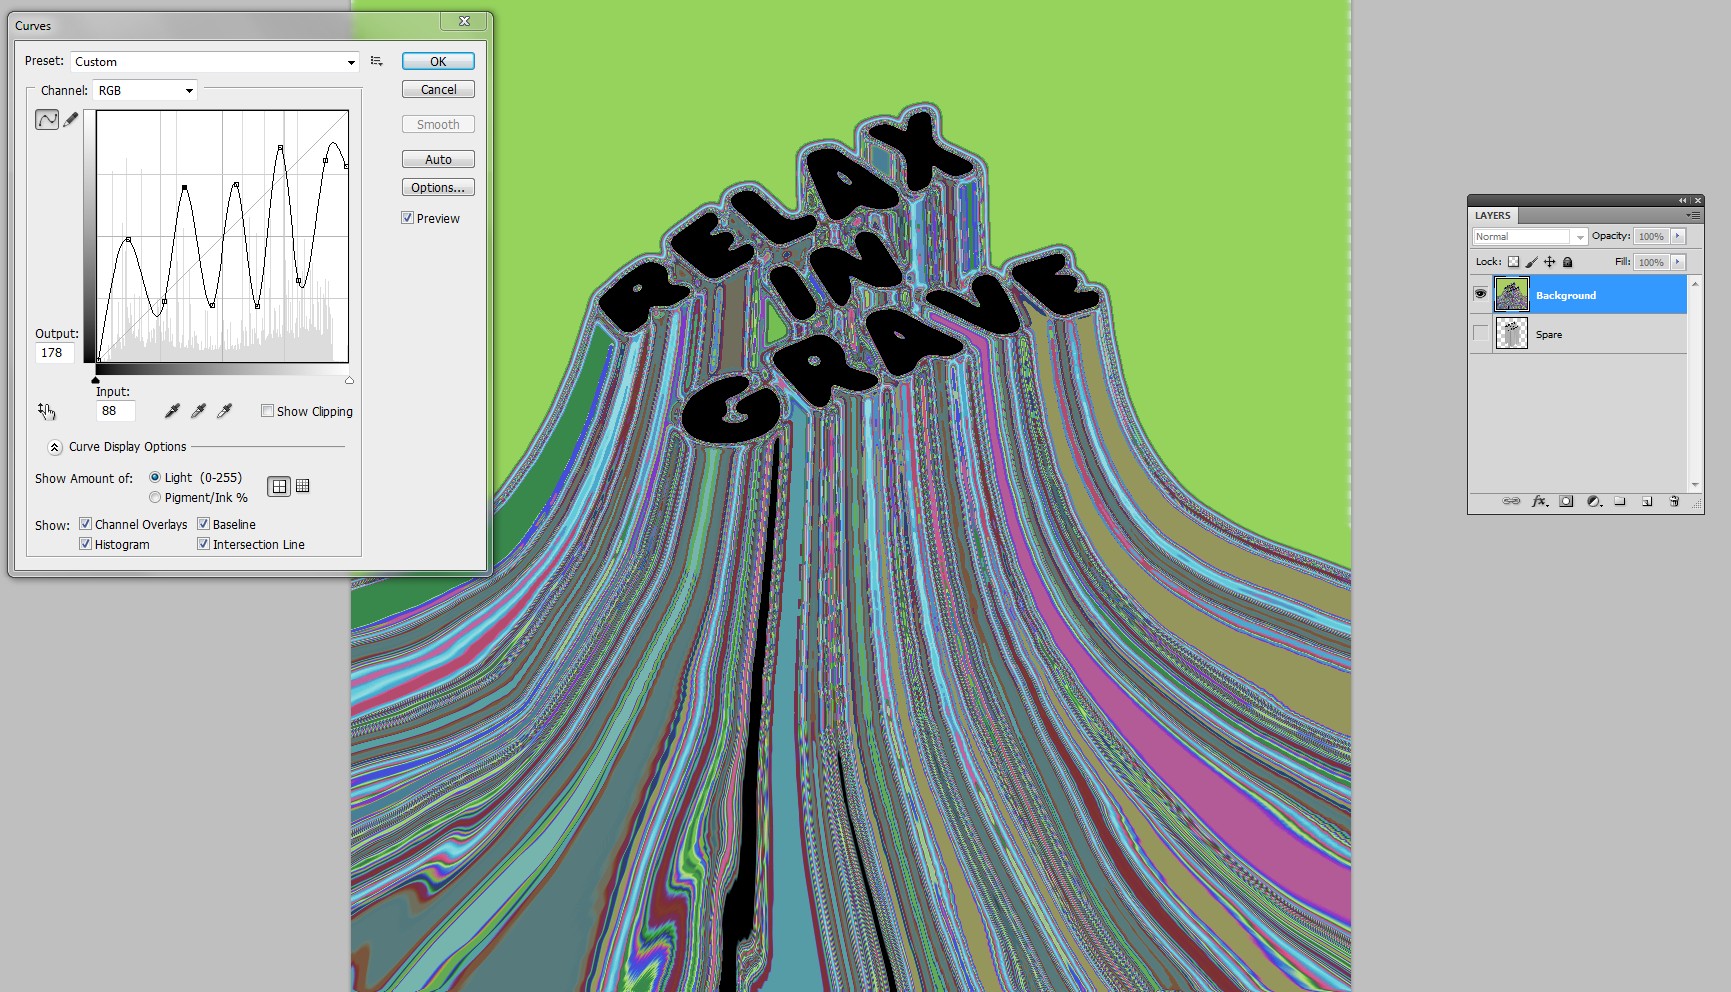
You may want something more complex and line drawing-like details. Double the complexity by applying again a bumpy curve. Color will become weird, but that can also be useful for something:
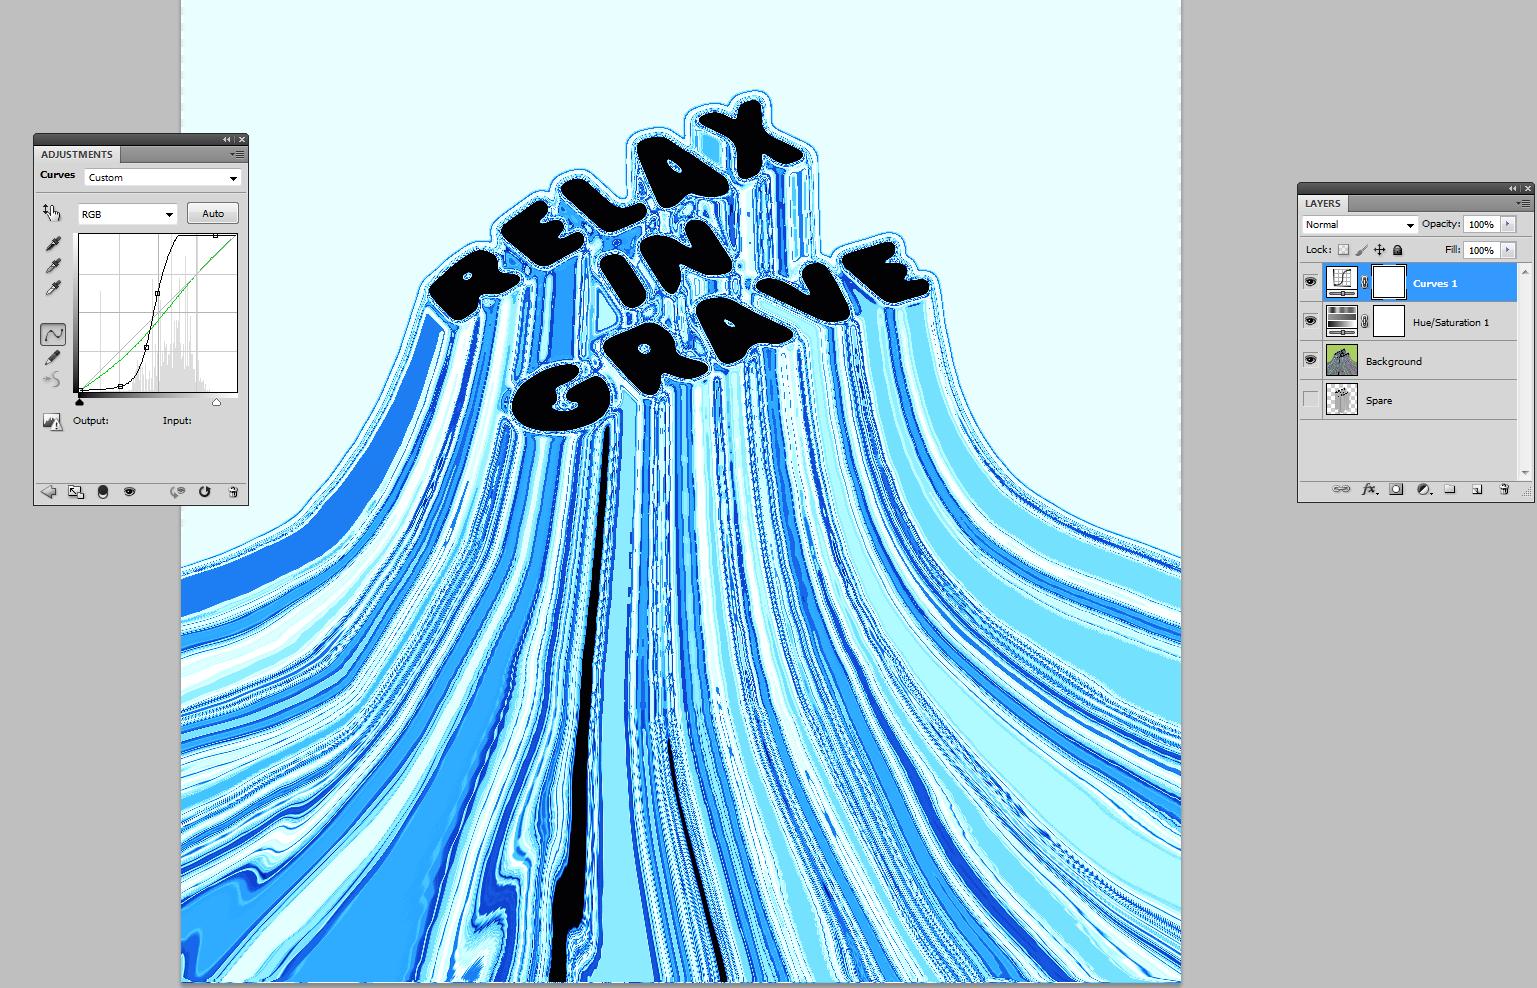
I inserted a couple of adjustment layers. The curves layer increases the contrast and reduces green. The Hue&Saturation layer restores the blueish color:
Instead of bumpy curves one can as well use gradient maps. Photoshop has edge finding and emphasizing filters for more clear strokes. I skip trying them and stop here. Good luck in your own experiments!

