Tens of thousands of dots as separate vector shapes probably is too much, as already said in the earlier answer.
Illustrator might survive better if the dots were generated in rendering by some noise, grain or halftone dithering effect. Noise or grain is already tried in a comment (by Scott). But it's not a ready to use method, it's shown only as an idea where the right method might be found.
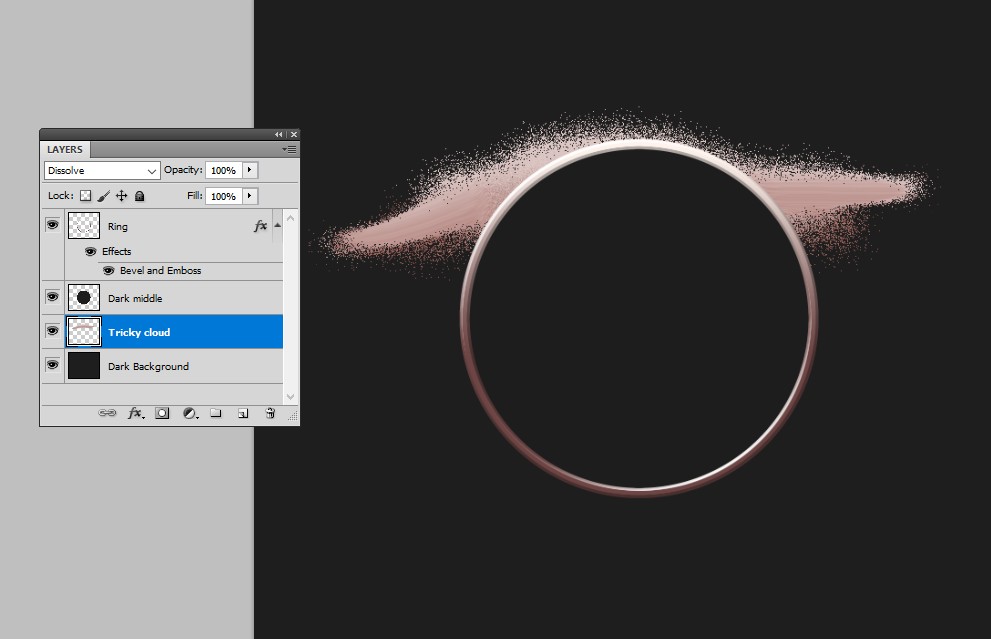
The earlier answer makes a noise (Dissolve is a way to add noise) based raster image in Photoshop. Making tens of thousands of paths is avoided and noise in Photoshop is not worse than Illustrator's noise, which also is a raster image. So there's written and it sounds reasonable. Unfortunately the image in the question has much trickier dot cloud than what's shown in Scott's comment and in the answer.
We can try to make it better in GIMP. Grain & noise effects depend there on the used image pixel dimensions. Having too big image in pixels can cause problems, because pixels must be combined to display the image. We start from 500 px wide image. All of its pixels can be easily shown on normal screens without scaling down and combining pixels. Resampling to larger size is not as harmful.
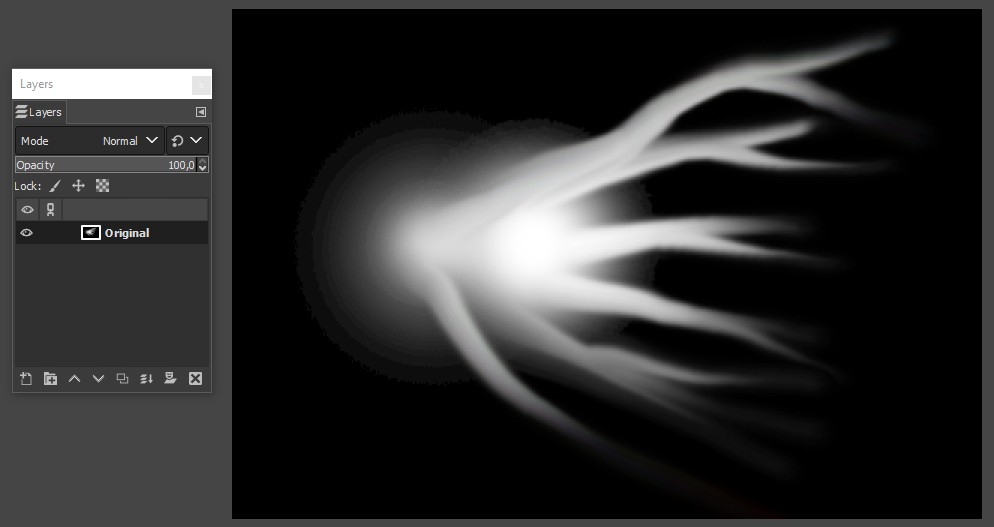
At first we paint a 500 px wide single layer image which contains white and greyshades on solid black. We want to have white, black and smooth gradients between them. This one presents nothing, it has only some random strokes:

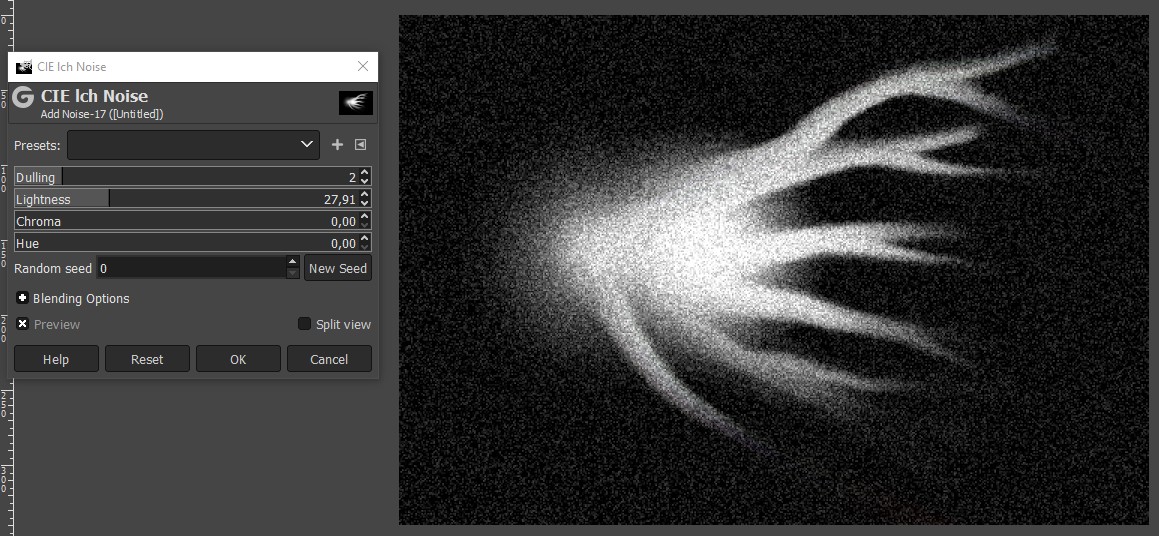
At frst we try to make the dots with noise. The layer is duplicated and the duplicate gets some noise. It's possible to reduce full white noise noise dots on black and full black noise dots on white with parameter "dulling". We use it. We do not add color:

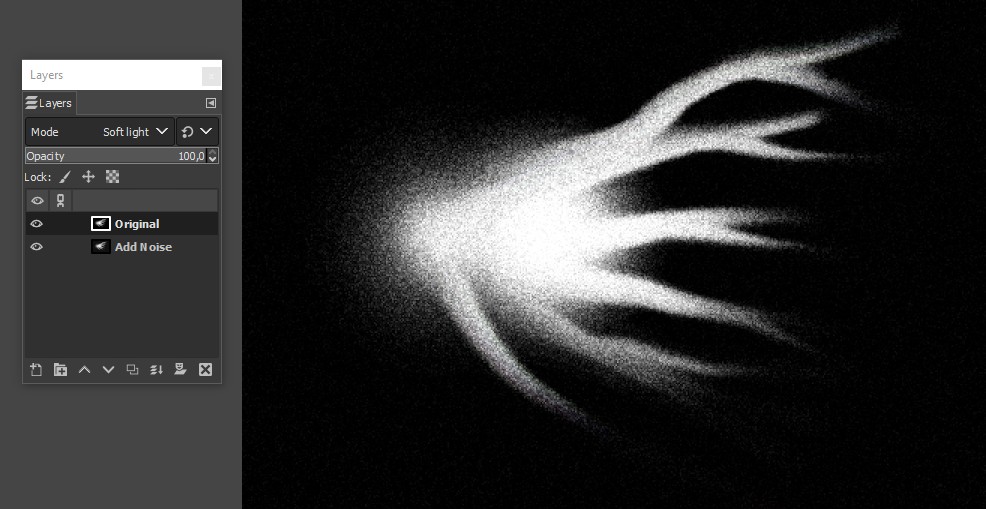
This has still too much light dots on black, but it can be reduced by using the original as "light" with blending mode multiply or soft light. Here's the latter:

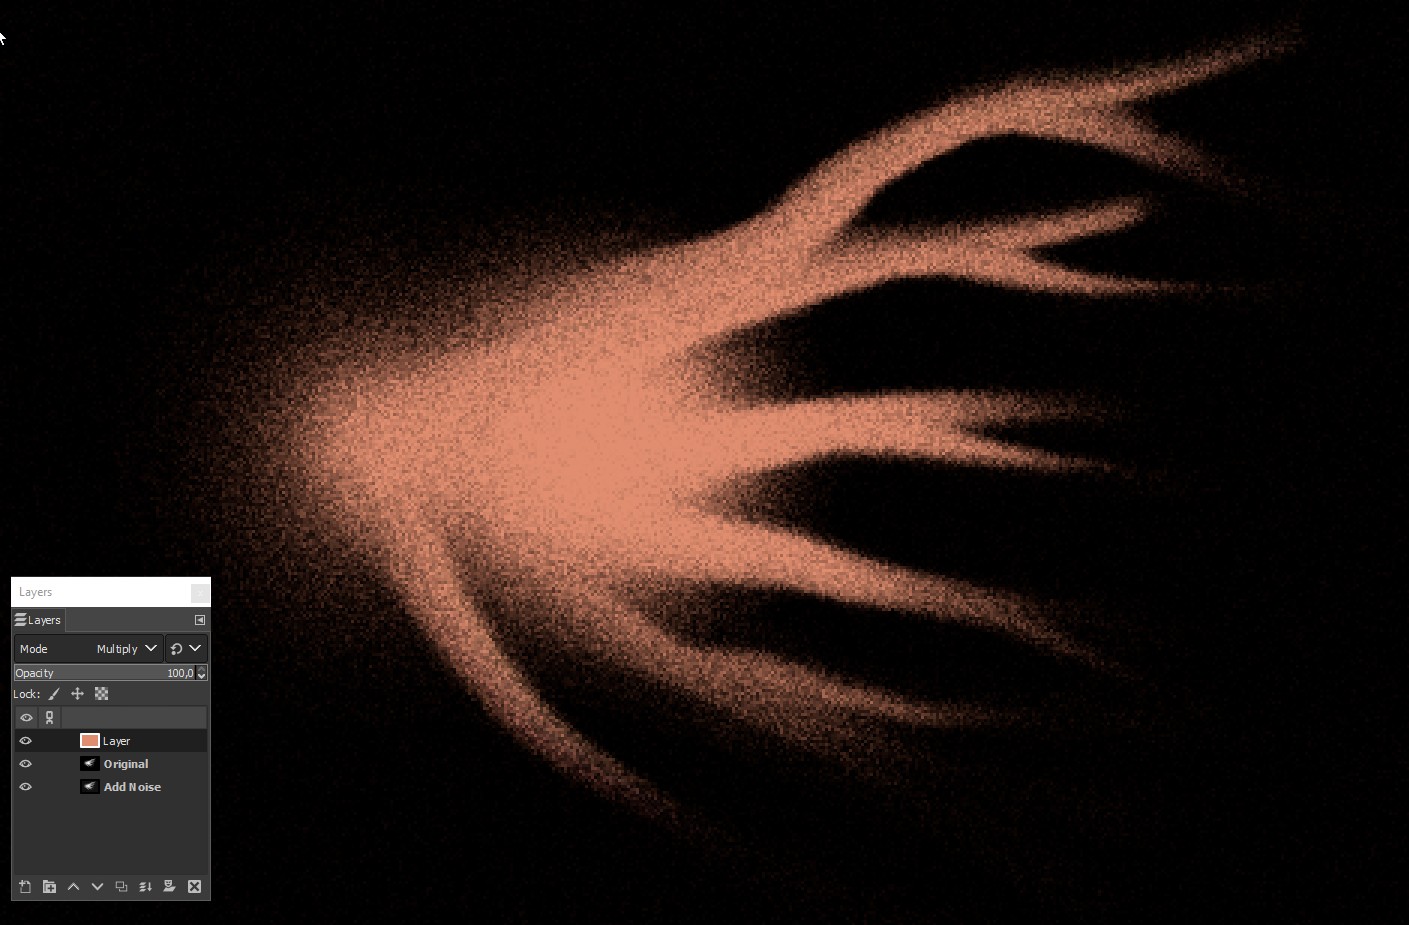
It can be colored for ex. with a gradient map or more simply by adding a colored layer with blending mode multiply. This one has only single colorizing layer. The hue is 15 degrees, saturation is 50% and the value (its brightness in Photoshop) is 100%:

The result clearly is rough too randomly. The image in the question has a pattern - not anything simple, but the dots seem to follow some rule. We can get somethig in a complex way regular with Floyd-Steinberg dithering
(diffusion dithering in Photoshop) which is a half-toning method to present greyshades with black and white dots.
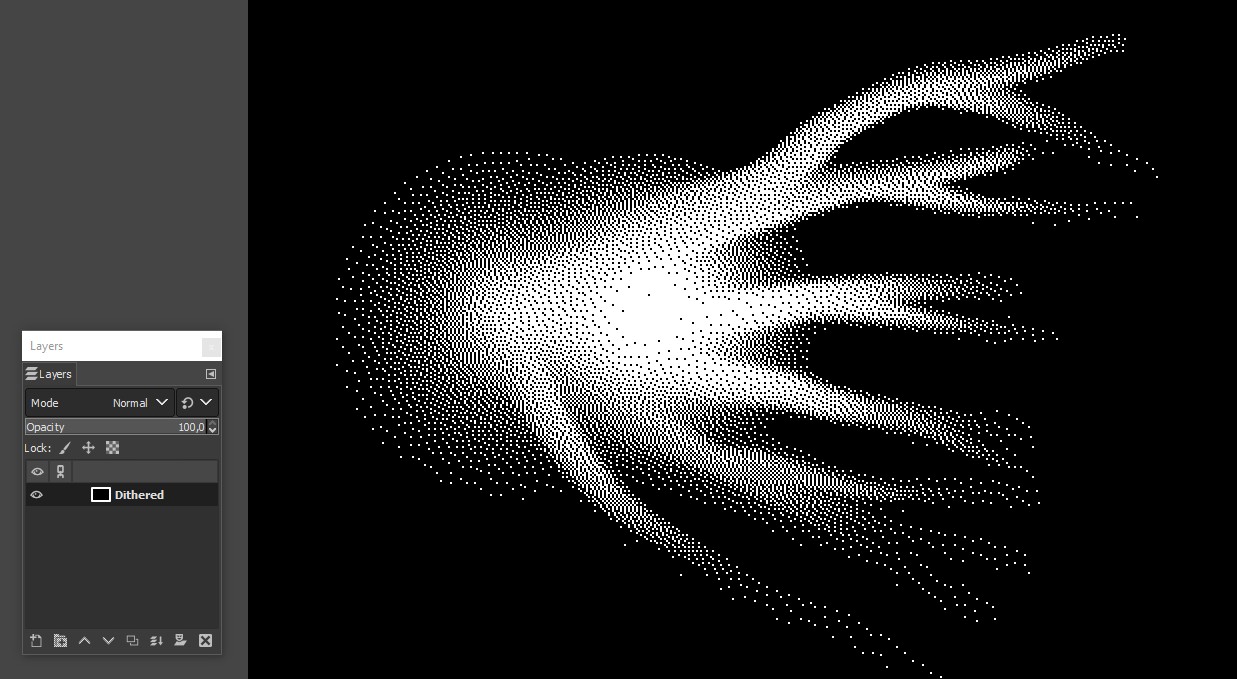
The original must be copied to a new image. By changing the color mode to "Indexed" and selecting pure 1 bit version with Floyd-Steinberg dithering gives this:

It can be copied and pasted to the RGB version as a new layer. If one has G'MIC filter pack installed he can get the same dithering as an effect without making a temporary new image.
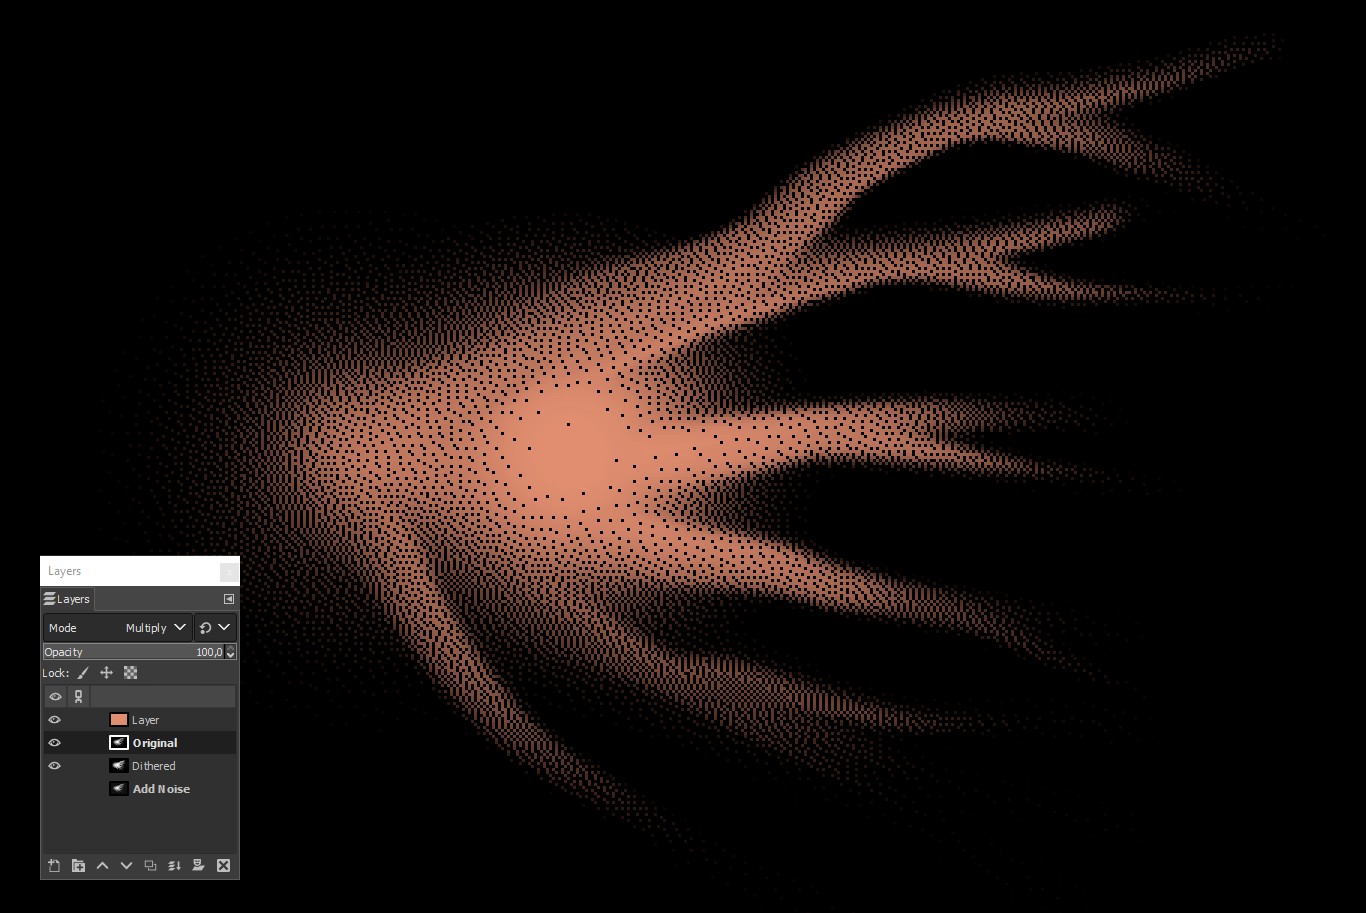
The dithered version has only black and white dots. We must use the original with blending mode multiply to have brightness variations. The result in color (the previous dots by noise layer is disabled):

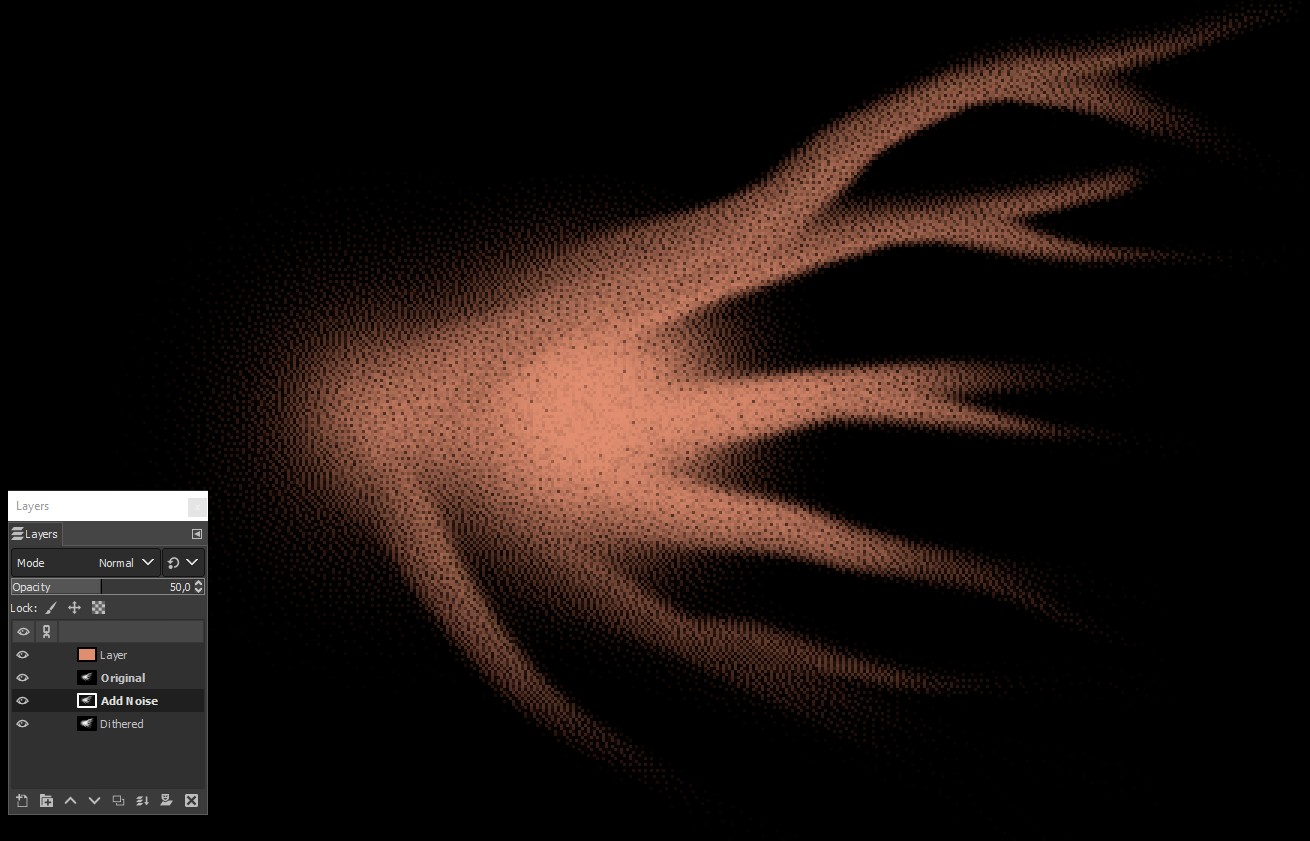
It's not the same as the wanted one, but it can be useful. The dots are not in any regular grid, but they may still look too mechanical. Some roughness can be added by mixing the noised version and the dithered version with transparency. In the next image the noised layer is above the dithered layer with about 50% opacity:

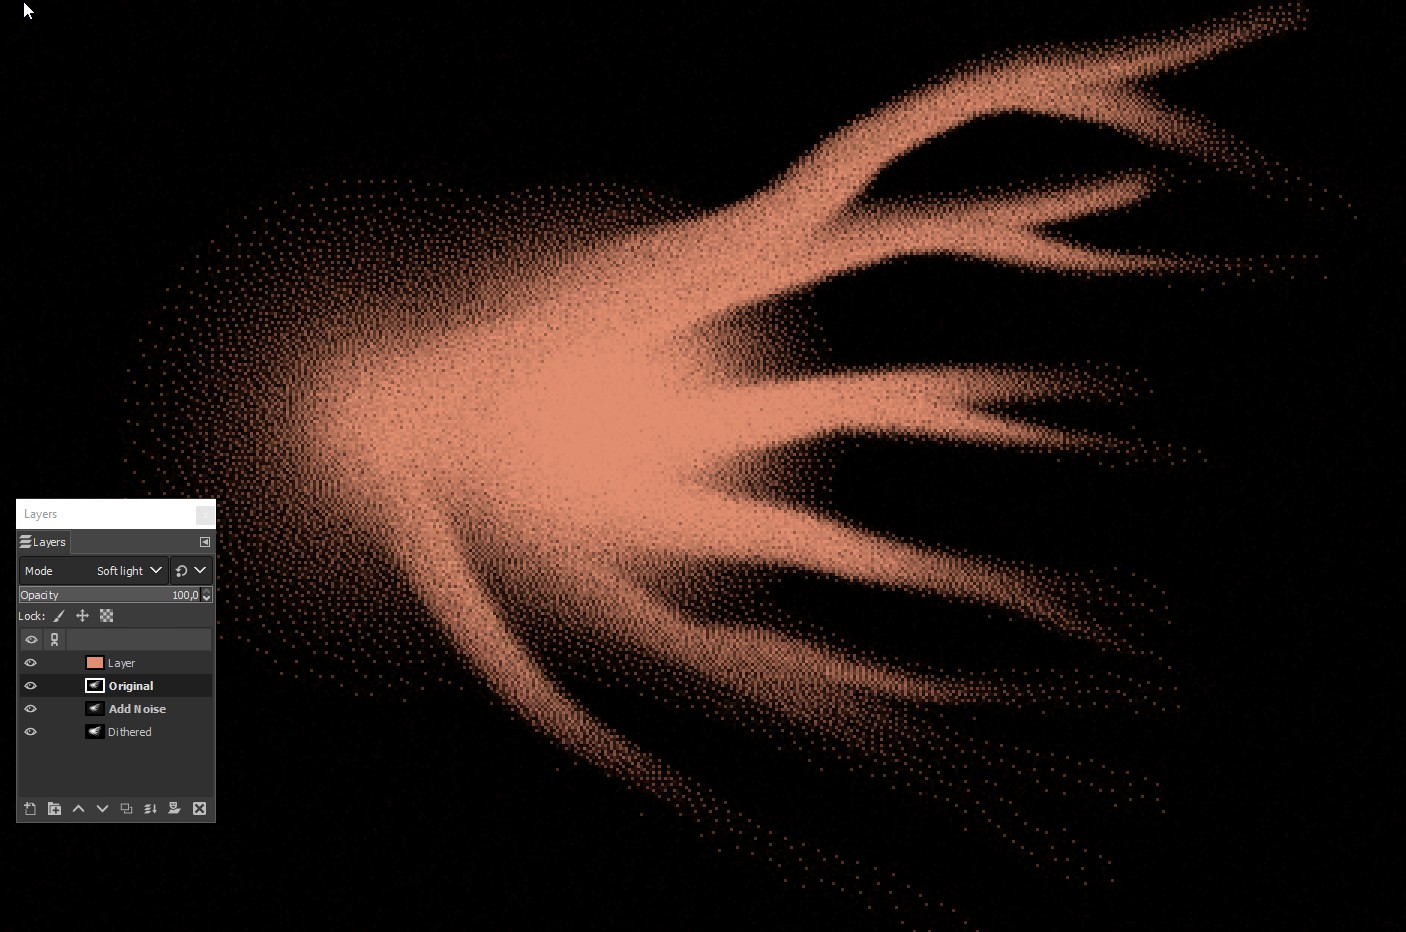
The next variation uses the original in blending mode soft light. The noised version can have much less transparency. The effect spreads to wider area and looks brighter:

Combining the dots by noise and dithered dots versions look somehow less mechanical, but that's only an opinion.

