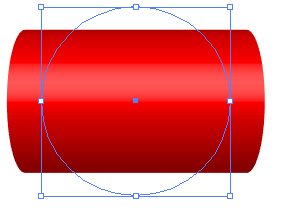
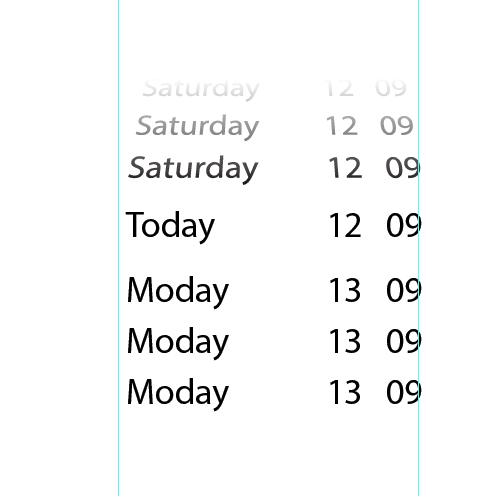
1

I'm trying to reproduce this subtle 3D effect on the Apple time and date selection wheel. How can I do this in Adobe Illustrator?
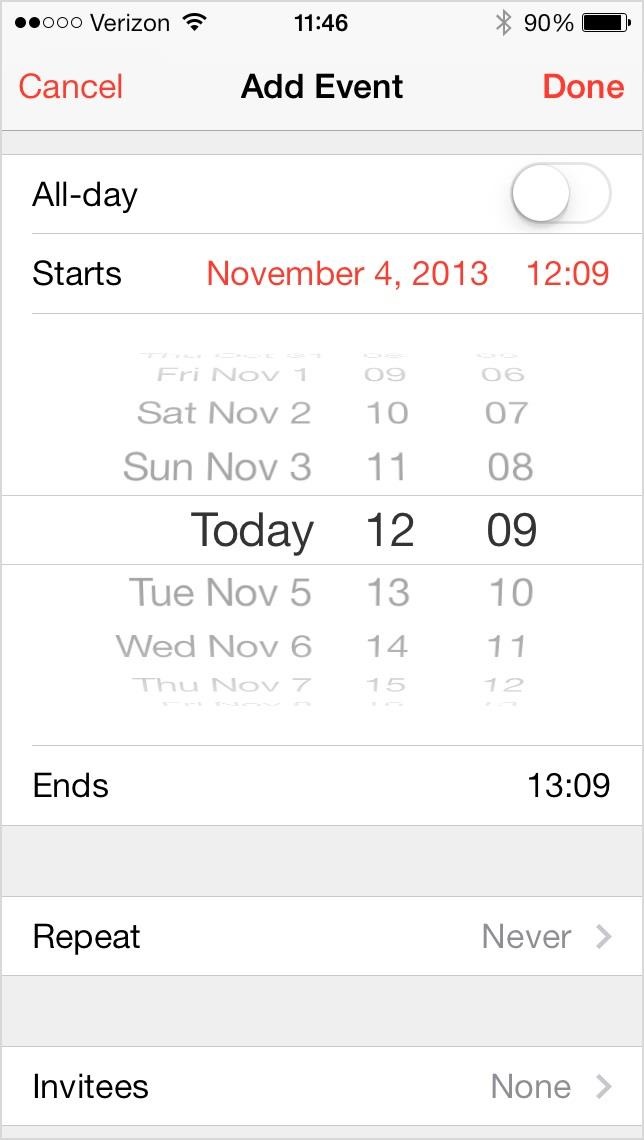
Apple iOS selection wheel

2
  • The lines are distorted in perspective, so that's what you'll have to do to reproduce it.
    – KMSTR
    Commented May 3, 2015 at 9:38
  • I would not call this effect "subtle" :P Maybe if the 'cylinder' was much larger, so the distortion would be far less.
    – Jongware
    Commented May 3, 2015 at 15:20

2 Answers 2

4

Naty's answer is close but since you're looking for the "correct distortion of a cylinder", you should use an actual cylinder. Illustrator has very limited (and sometimes buggy) 3D tools available, but this is a case where it has just what you need.

In short, you should 3D extrude a circle and map the text around the cylinder that is created. To do this:

1. Create your text, make it a Symbol

To do that, just select the text and either drag it to the Symbols pane or click the New Symbol button.
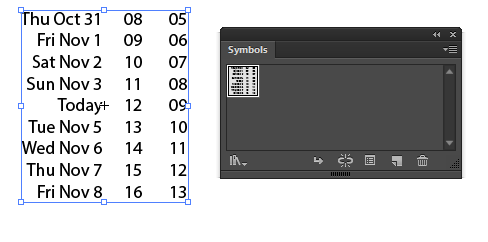
creating a Symbol in Illustrator

2. Create a circle, 3D Extrude it

Select the circle, use Effect > 3D > Extrude & Bevel...
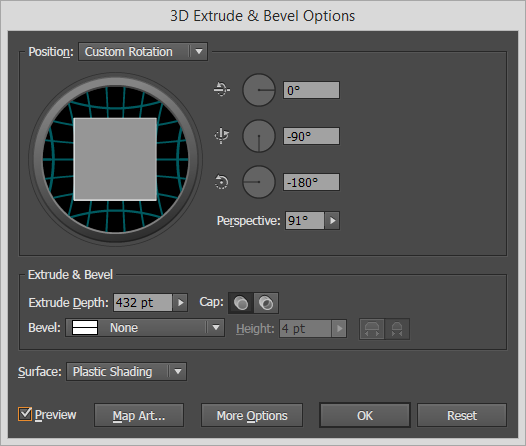
Illustrator 3D Extrude & Bevel Options a 3D cylinder

3. Map your symbol to the face of the cylinder

Click the Map Art... button, select the correct surface (the rectangular one), and apply your symbol
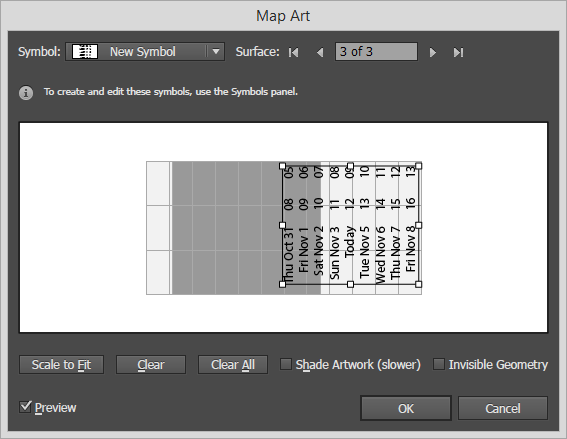
Illustrator Map Art panel

4. Set the "Surface" to "No Shading"

This is a dropdown in the "3D Extrude & Bevel Options"
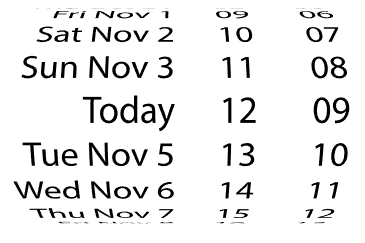
imitation Apple date selection wheel

And you're done! You can play around with the "Perspective" setting in the 3D Extrude & Bevel options to find the right level of distortion for your needs.

0

I'll open by saying that this is something that you should do on photoshop, but if you insist on illustrator here is how it goes:
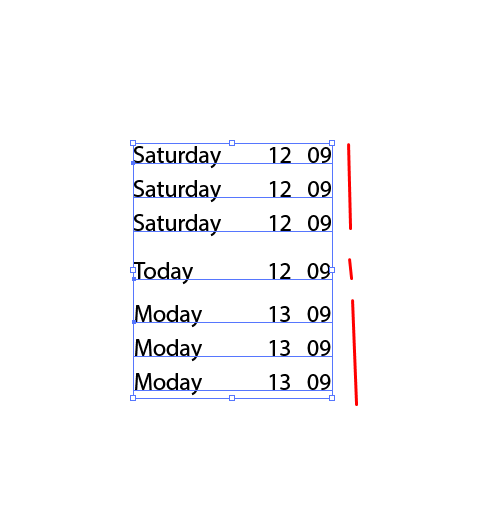
  1. Create the type, separated into 3 objects - top, middle and bottom: enter image description here
  2. Go to the top group, create outlines, make it a compound path (object>compound path>make) and give it a 3d rotate effect like in the image (the 20 degrees is my suggestion you can do more or less but leave the other attributes as I wrote them): enter image description here
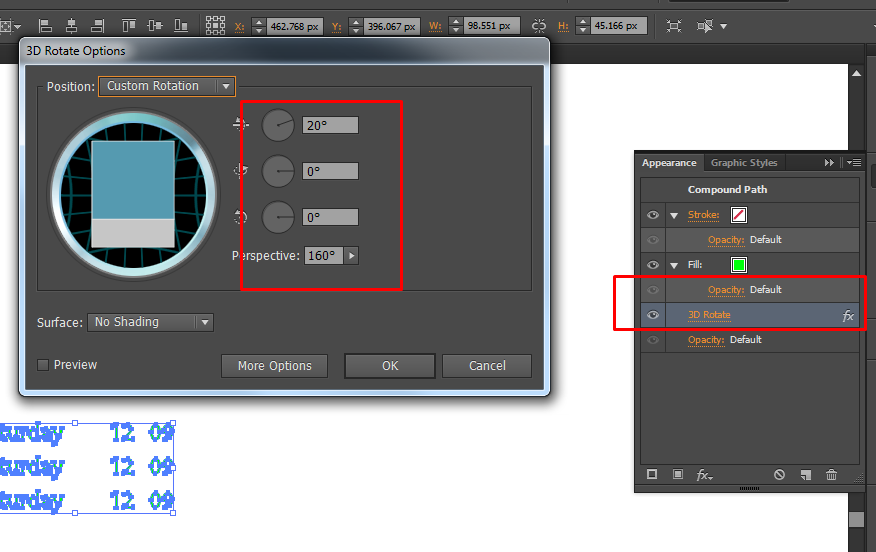
  3. Expand the image (object> expand appearance) and change the color to a gradient: enter image description here
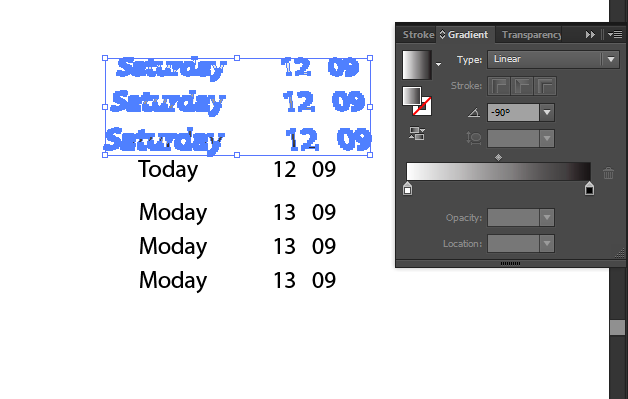
  4. Use guides to fit it to it's place and then do the same to the bottom part. enter image description here
4
  • Great Help! Still wondering why wondering you would prefer to do something like that in Photoshop? As this is just a piece in a larger design which is very vector based.
    – Benedikt
    Commented May 3, 2015 at 12:31
  • In general - Web design is done in Photoshop, even vector based web design is done in Photoshop - understanding why is an entirely different question. Now specific this entire explanation would have taken 2 easier steps in Photoshop.
    – Naty
    Commented May 3, 2015 at 12:38
  • This is on the right track but not quite correct. I've added an answer to show how to map the art to a cylinder to get the correct perspective.
    – JohnB
    Commented May 3, 2015 at 12:50
  • 1
    @Benedikt you're right in thinking this should be done in Illustrator. My rule of thumb is: anything that can be vector should be vector; as shown this can easily be created in Illustrator. Photoshop has poor vector support in comparison to Illustrator and should not be the tool of choice for vector editing.
    – JohnB
    Commented May 3, 2015 at 12:55

Your Answer

By clicking “Post Your Answer”, you agree to our terms of service and acknowledge you have read our privacy policy.

Not the answer you're looking for? Browse other questions tagged or ask your own question.