You can create custom gradients in GIMP by sampling the colours from your original. Adding more stops is the key to getting an accurate gradient.
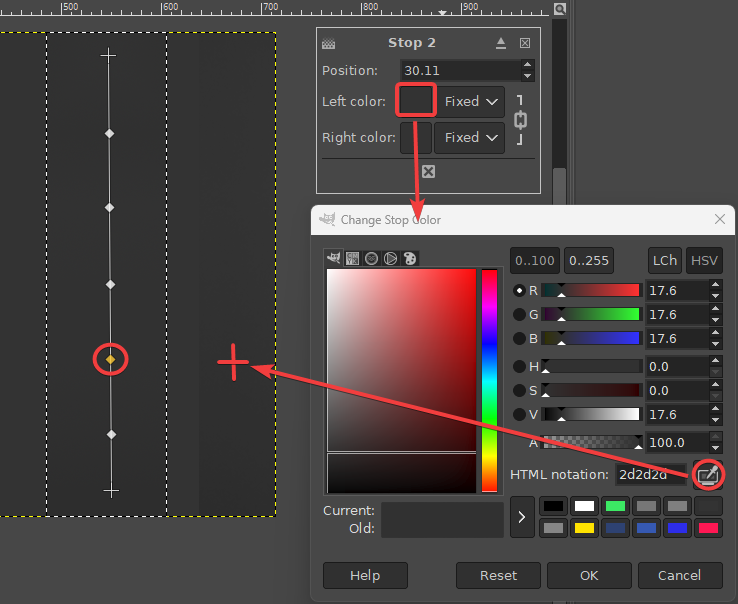
Basically, make a selection next to the gradient, then click and drag a gradient with the gradient tool, insert colour stops by clicking on the gradient line.
Then select a colour stop, click on the Left colour square, and when the Change Stop Colour dialog appears, click on the eyedropper tool and sample from the original gradient, hit OK. Repeat for the other stops.
Here's an example showing the sampling of a colour stop from the original image.

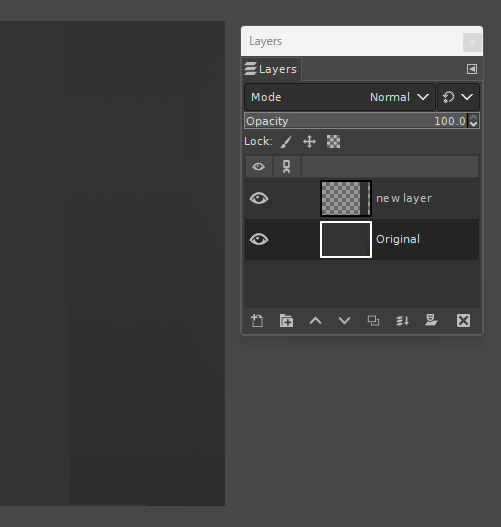
You can then apply the gradient to a shape on a new layer, and move it to over your original to check, and disable the View > Show Layer Boundary. The example below shows them overlapped. The gradient is almost exact.

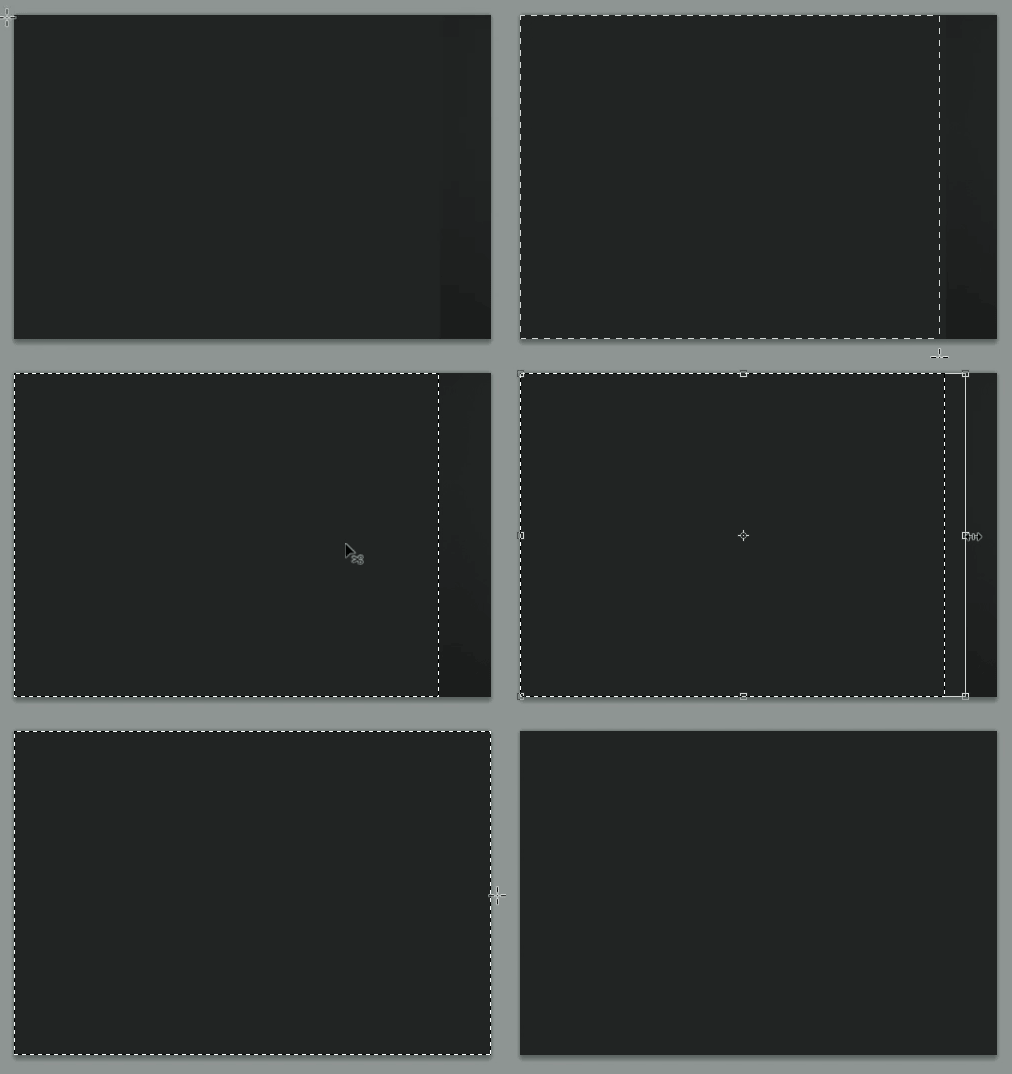
It's also possible in GIMP to do essentially the same as Scott has shown with Photoshop. Select, copy and paste the gradient section, then using the Unified Transform tool Shift+T, while holding down Shift, and click and drag the edge handle to stretch it over the entire image. Don't forget in GIMP after transforming a floating selection, you then have to anchor the floating selection either to a new layer, or to the existing layer.


