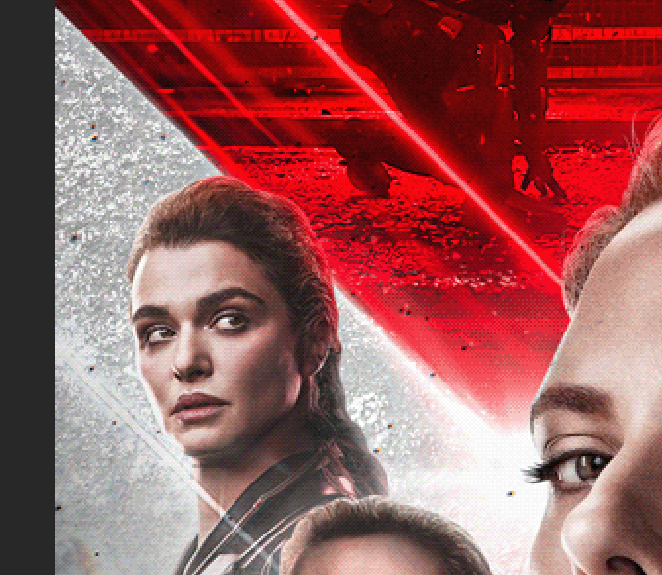
I am interested in finding out what texture does they use in this Black Widow poster. The only thing I have in mind was it's a noise texture or a mezzotint effect but I tried to recreate it and I failed :(. How do I do this?
2 Answers
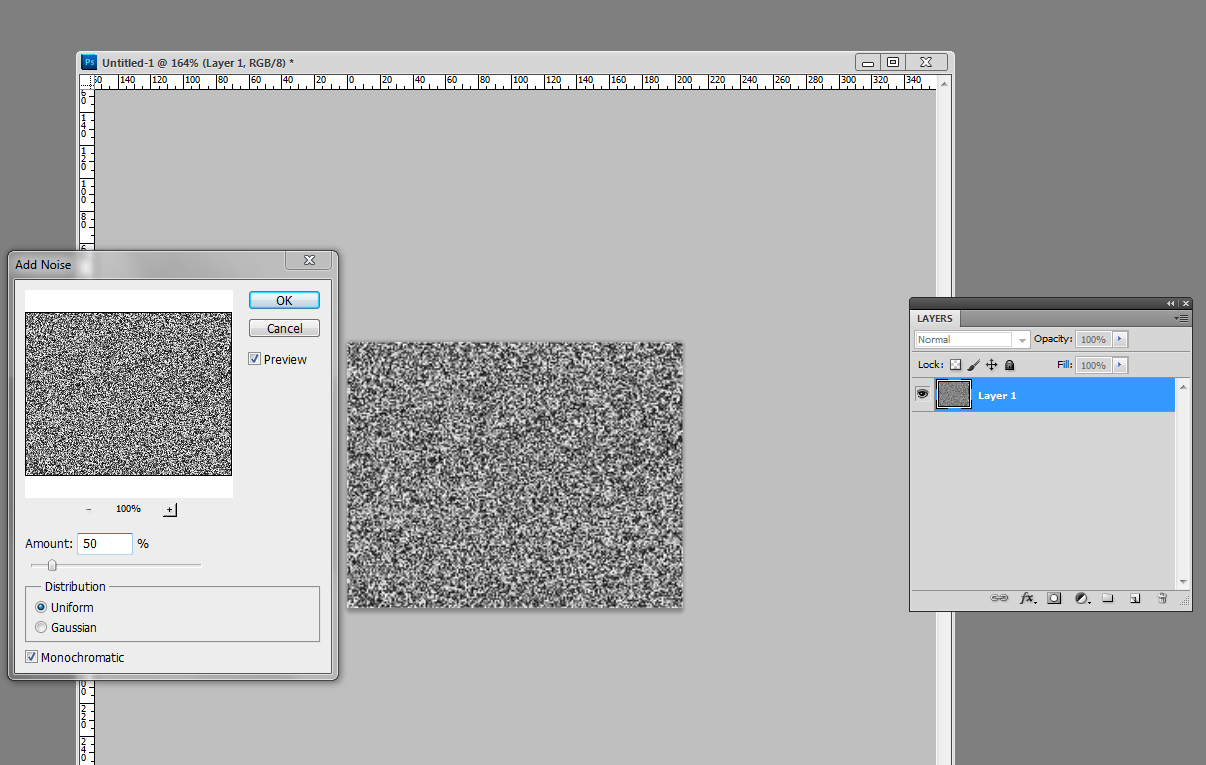
Make an empty RGB image which has say 300 x 200 pixels.
Fill a layer with 50% grey (=RGB 128,128,128)
Insert 50% monochrome uniformly distributed noise
Zoom in so much that pixels become well visible on the screen, say to +500...600%
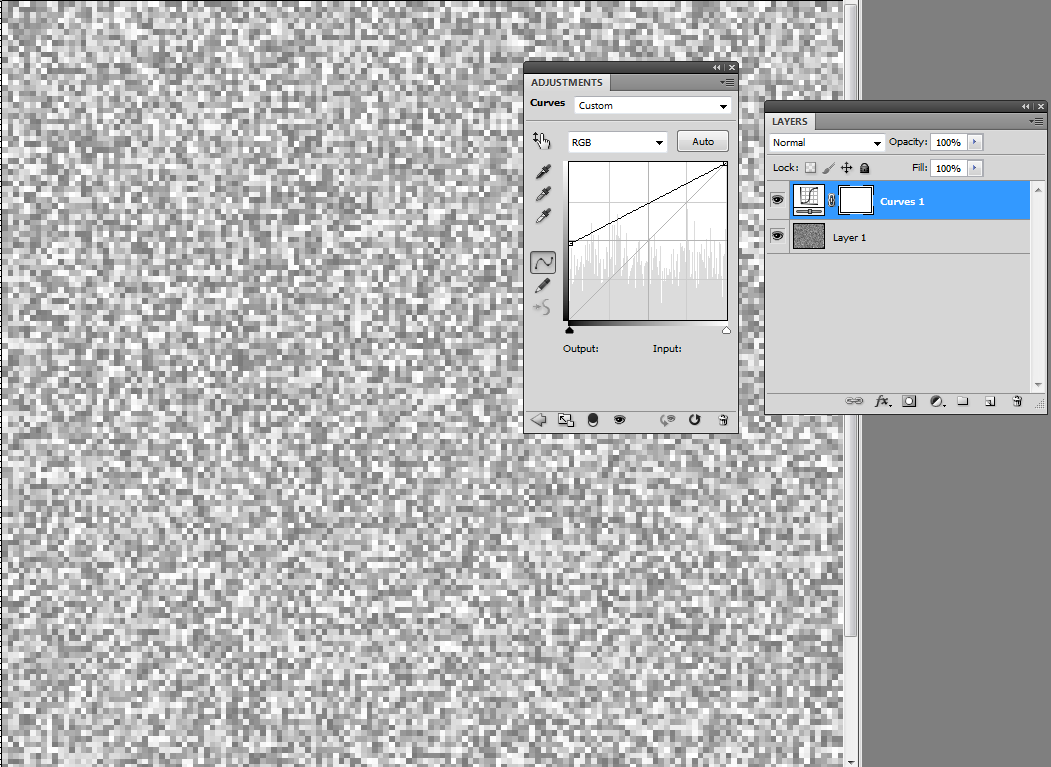
Insert adjustment layer Curves and modify the curve until the distribution of the greys looks right
Merge the adjustment layer to the noise layer.
Your example was blurry. Heavy blur appears without asking if the image is scaled to bigger size with smooth resampling. Resize the image to 500...1000% with Nearest Neighbour resampling to keep the sharpness. Insert Gaussian Blur if it must be blurry.
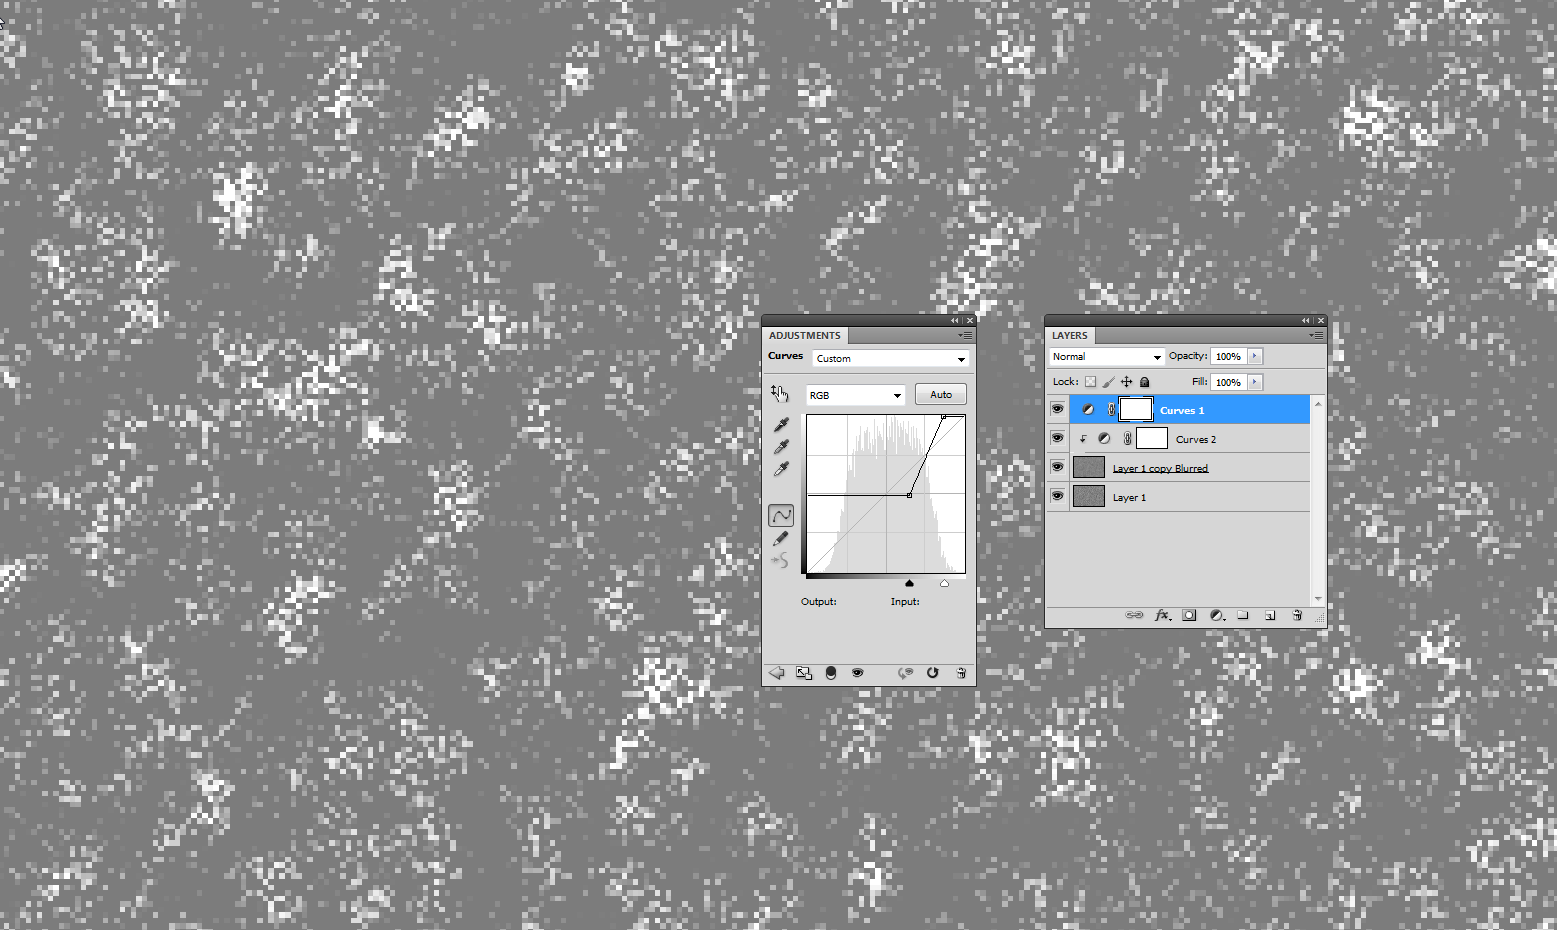
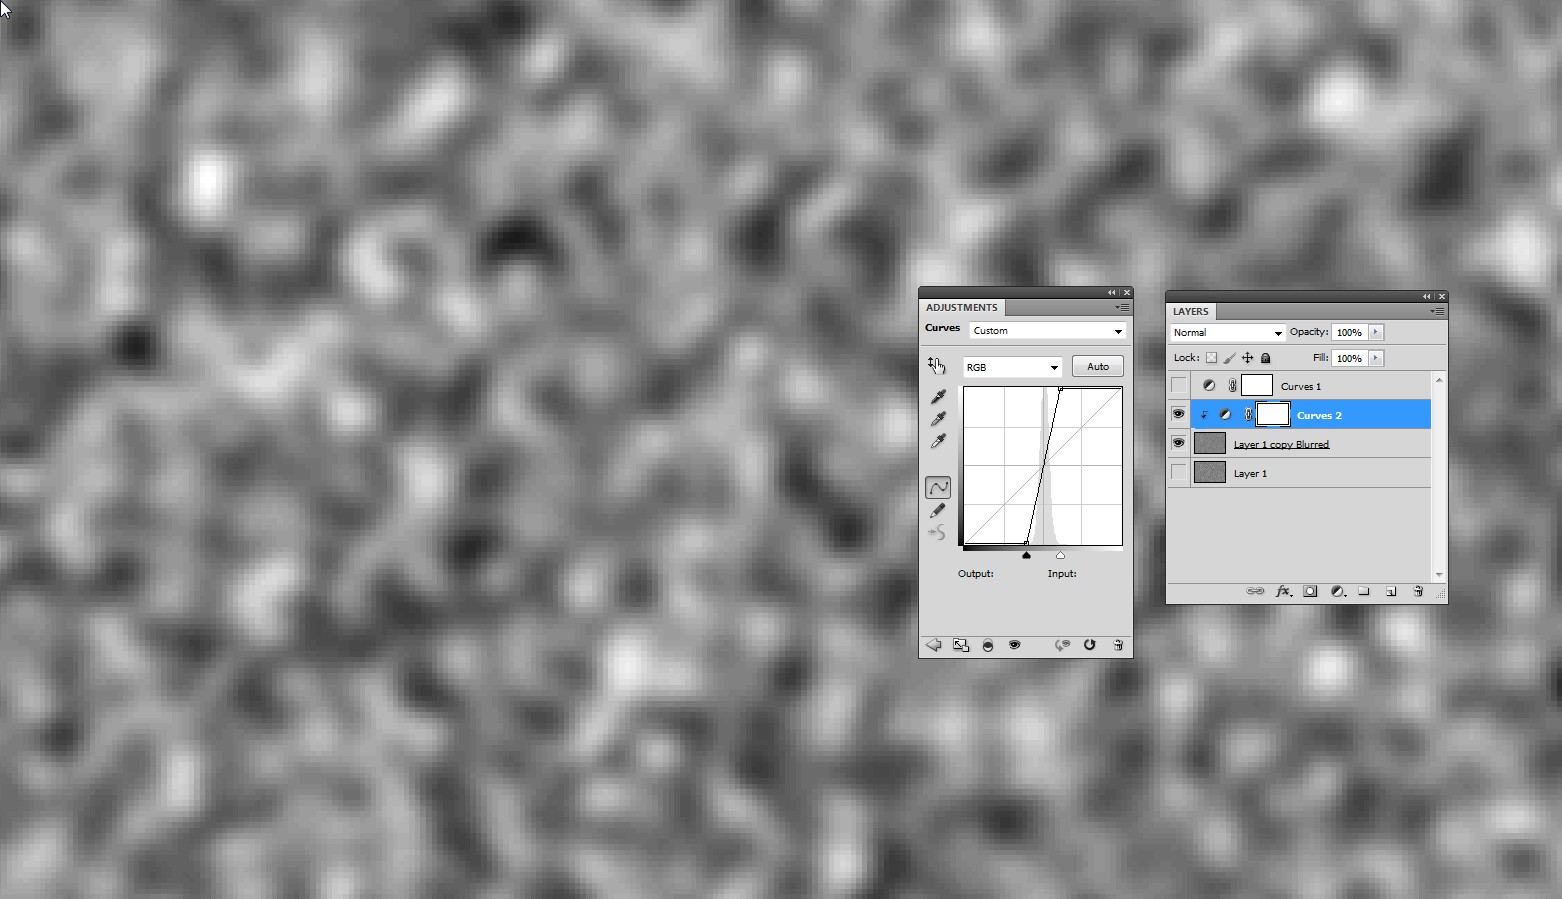
There seems to be wide grey areas between noisy islands. You can add it before scaling the pixel dimensions up. Use such curve which clips all too dark to certain level (here to 50%) and insert a smooth wavy texture which alters the brightness of the noise:
The 2 mid layers are the inserted smooth texture. It's simply a copy of the noise texture layer, but blurred. It's contrast is lifted up with another curves layer (NOTE: the next layer only switch is ON) and the opacity of the blurred noise is reduced. In the next image the 2 mid layers are shown with full opacity:
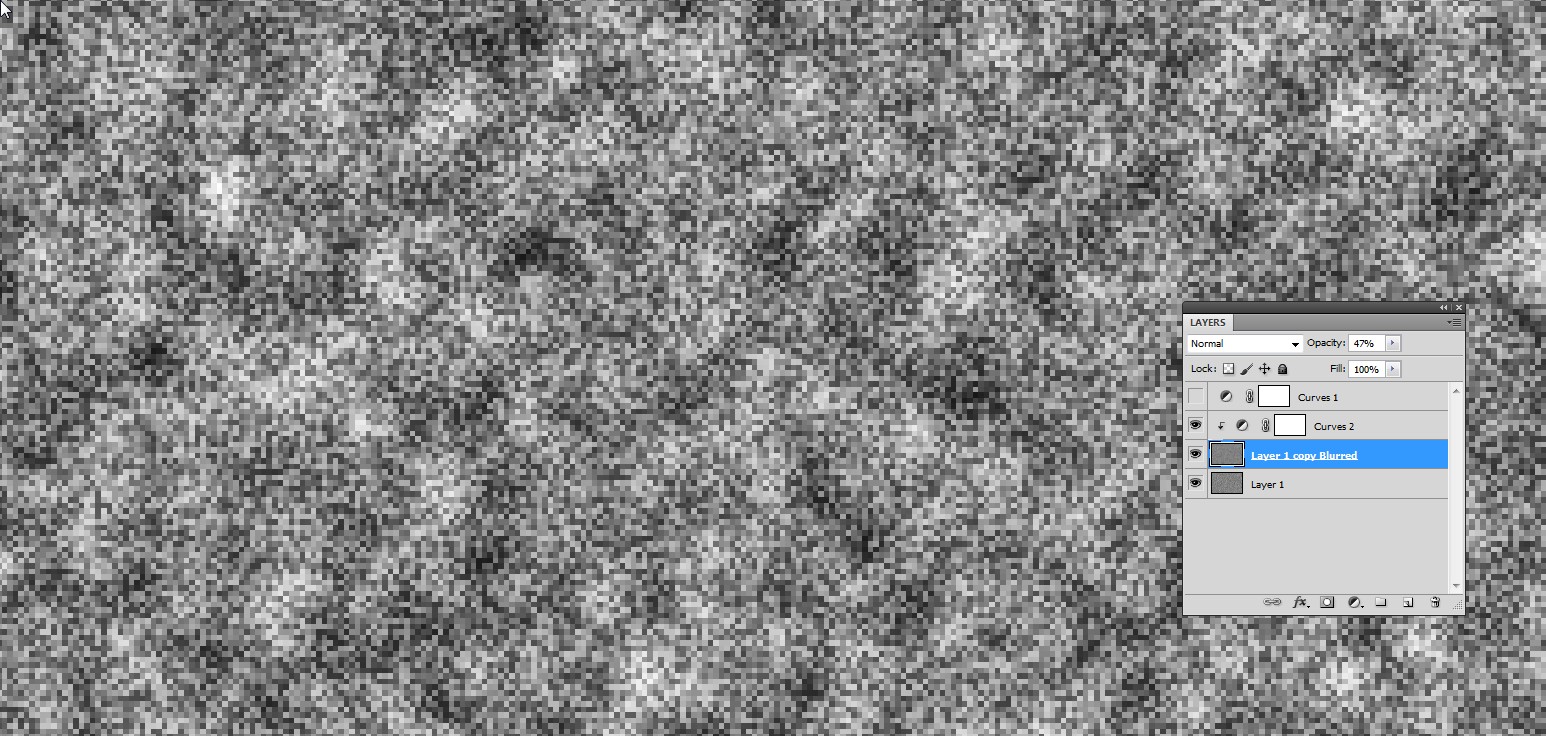
The opacity is reduced to 47% and the original noise in Layer1 is turned ON:
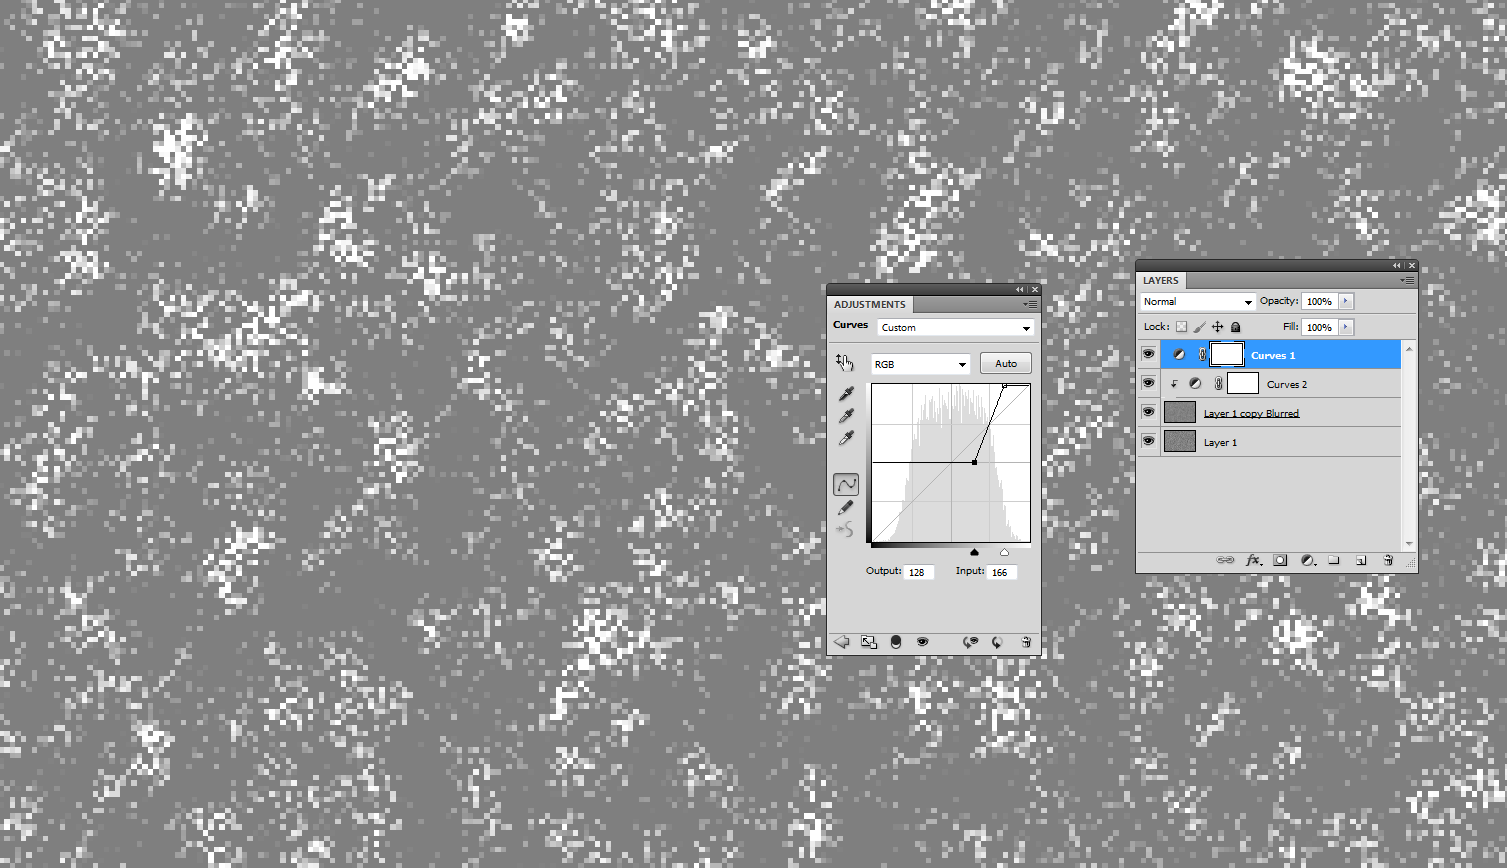
The original Curves layer is ON and readjusted to leave large grey areas:
Those 2 mid layers can be replaced by a single manually painted layer for full control.
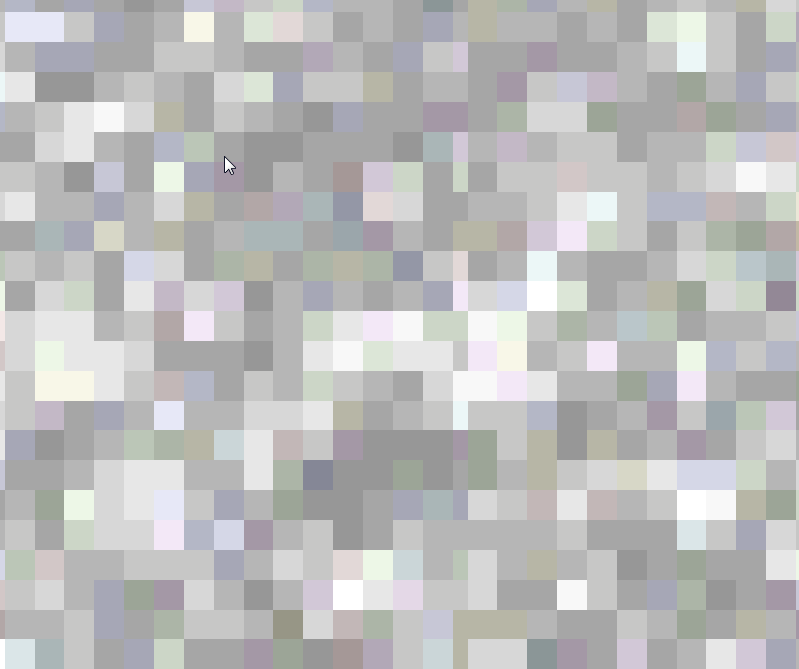
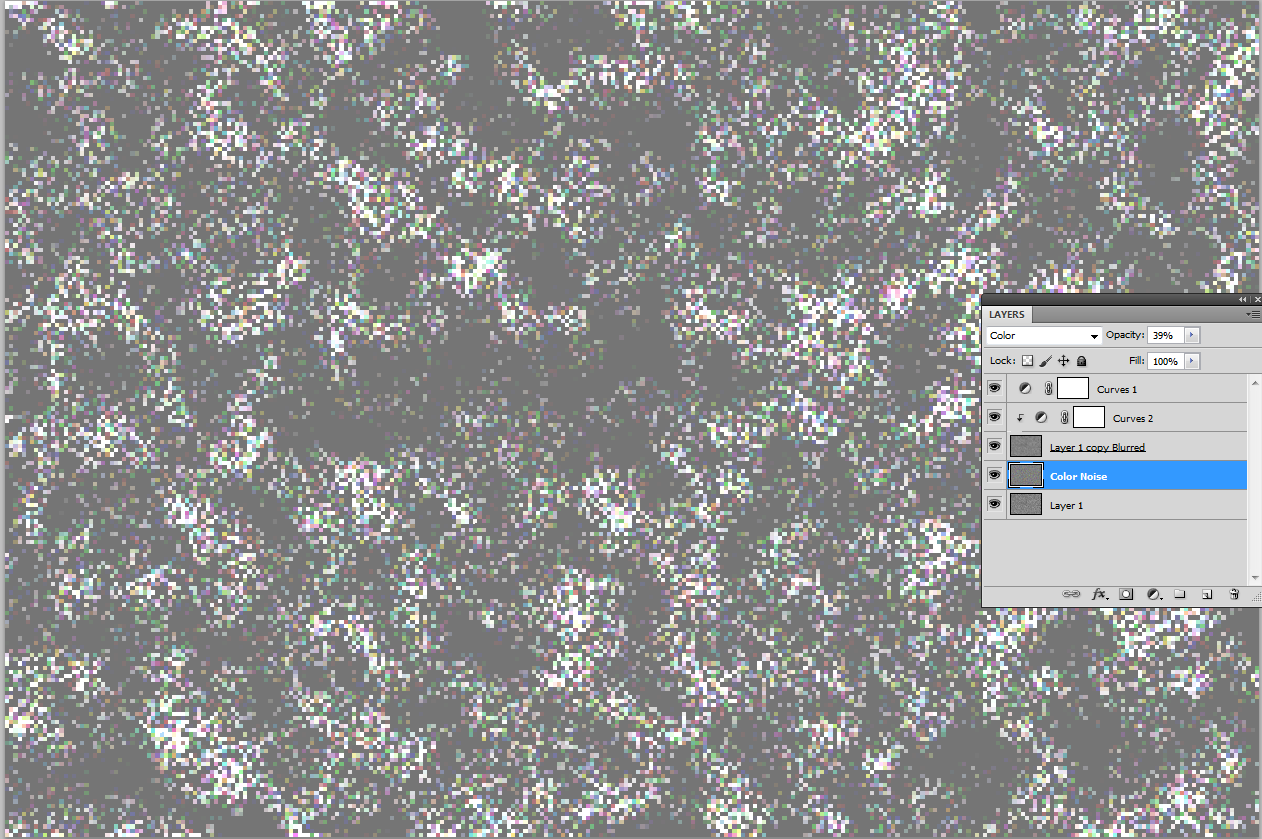
BTW The image you attached has also other tricks. There's color noise which is well visible only with high zoom in:
That can be got by inserting a grey layer with Color noise, layer blending mode = Color and reduced opacity:
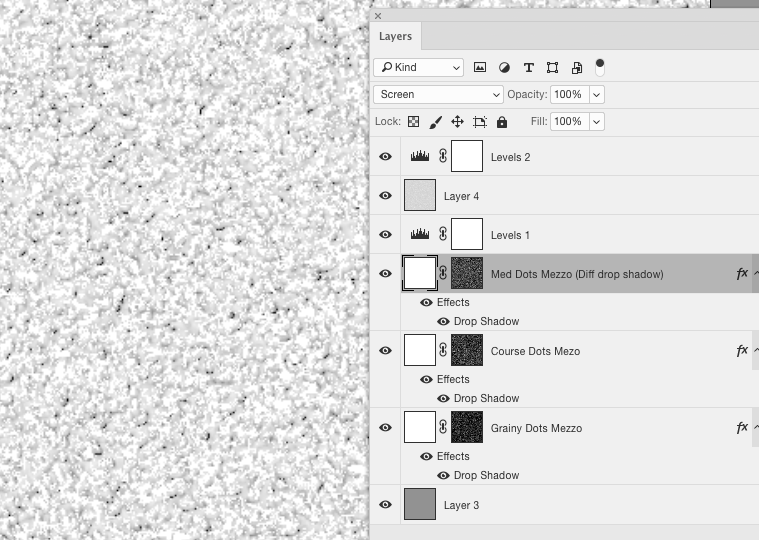
Mezzotint seems to work well enough.
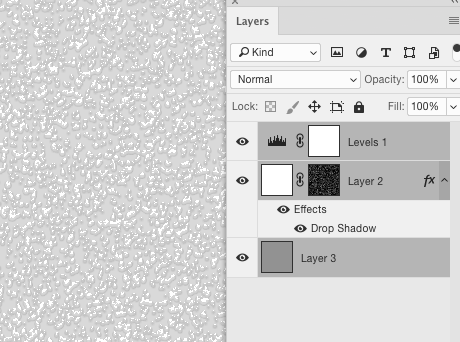
- New Doc, fill base layer with 50% grey
- New layer, fill with white
- Add a Layer Mask to white layer
- Apply
Filter > Pixelate > Mezzotint (Grainy Dots)to the mask - Add a Drop Shadow Layer Style to this masked layer.
- Use a Levels (Or Curves) Adjustment Layer to decrease the contrast.
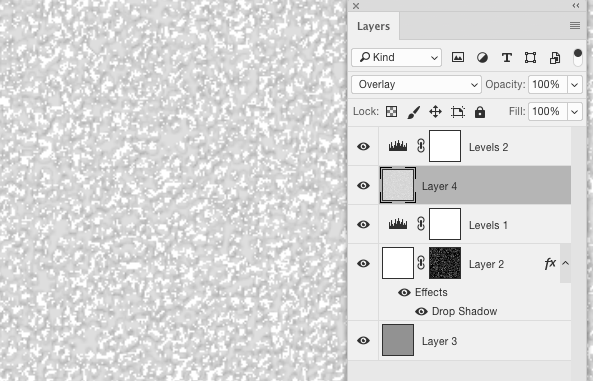
- New Layer then
Layer > Merge Visiblefrom the menu - Set this merge layer to
Overlay - Flip merged layer both vertical and horizontal (or rotate 180°)
- Final Levels adjustment to tweak contrast/values....
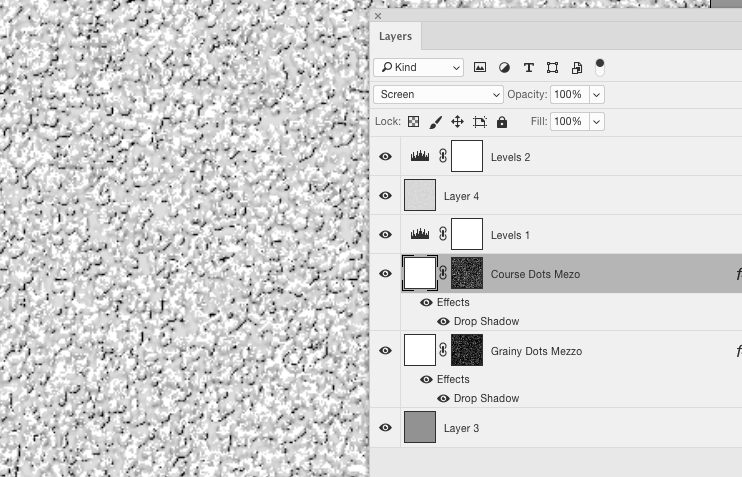
One could double-up on the initial mezzotint layer to increase things a bit more.
It's just a matter of experimenting from here really.

